Floral Ice Cubes – How To
When it comes to throwing a party, I like to think of every last detail. I am always looking for simple DIYs that will not only look great, but also add a personal touch. Last year for my bridal shower I made these floral ice cubes and I got so many compliments! They are such a fun, easy, and inexpensive way to elevate an otherwise boring drink display.
Now that wedding and shower season is upon us, I’ve gotten so many requests from friends about how to make these ice cubes. I knew it was time to create a full tutorial and share it with everyone!
My step-by-step process is below, as well as my tips and tricks to make the process easier! Enjoy!


STEP 1
Cut the heads off of your flowers and place them face down in each well of your ice cube molds. Only cut as many heads as you have molds – leave the remaining flowers on their stems in water until you are ready to cut them for your next batch.

STEP 2
Pour a tiny amount of distilled water into each well of your molds. Only pour enough to “anchor” the flower head to the bottom of the well in the position you choose.
If you pour too much water, the flower will float and either not be as visible in the center of the cube or will float to the top and not be encased in the cube at all.
See my tips and trips section below for my notes on which water to use and how to get the clearest possible cubes!
STEP 3
Carefully place your molds in your freezer and allow to set for a few hours. Try not to move the molds while they are setting so that the flowers do not become dislodged or fall over!
STEP 4
Once the flowers have set, fill each well to the top with water. Note: you need to work quickly during this step so that the small anchor layer of ice does not melt and float to the top.
STEP 5
Return the molds to the freezer and allow the cubes to fully freeze (I usually do this overnight).
STEP 6
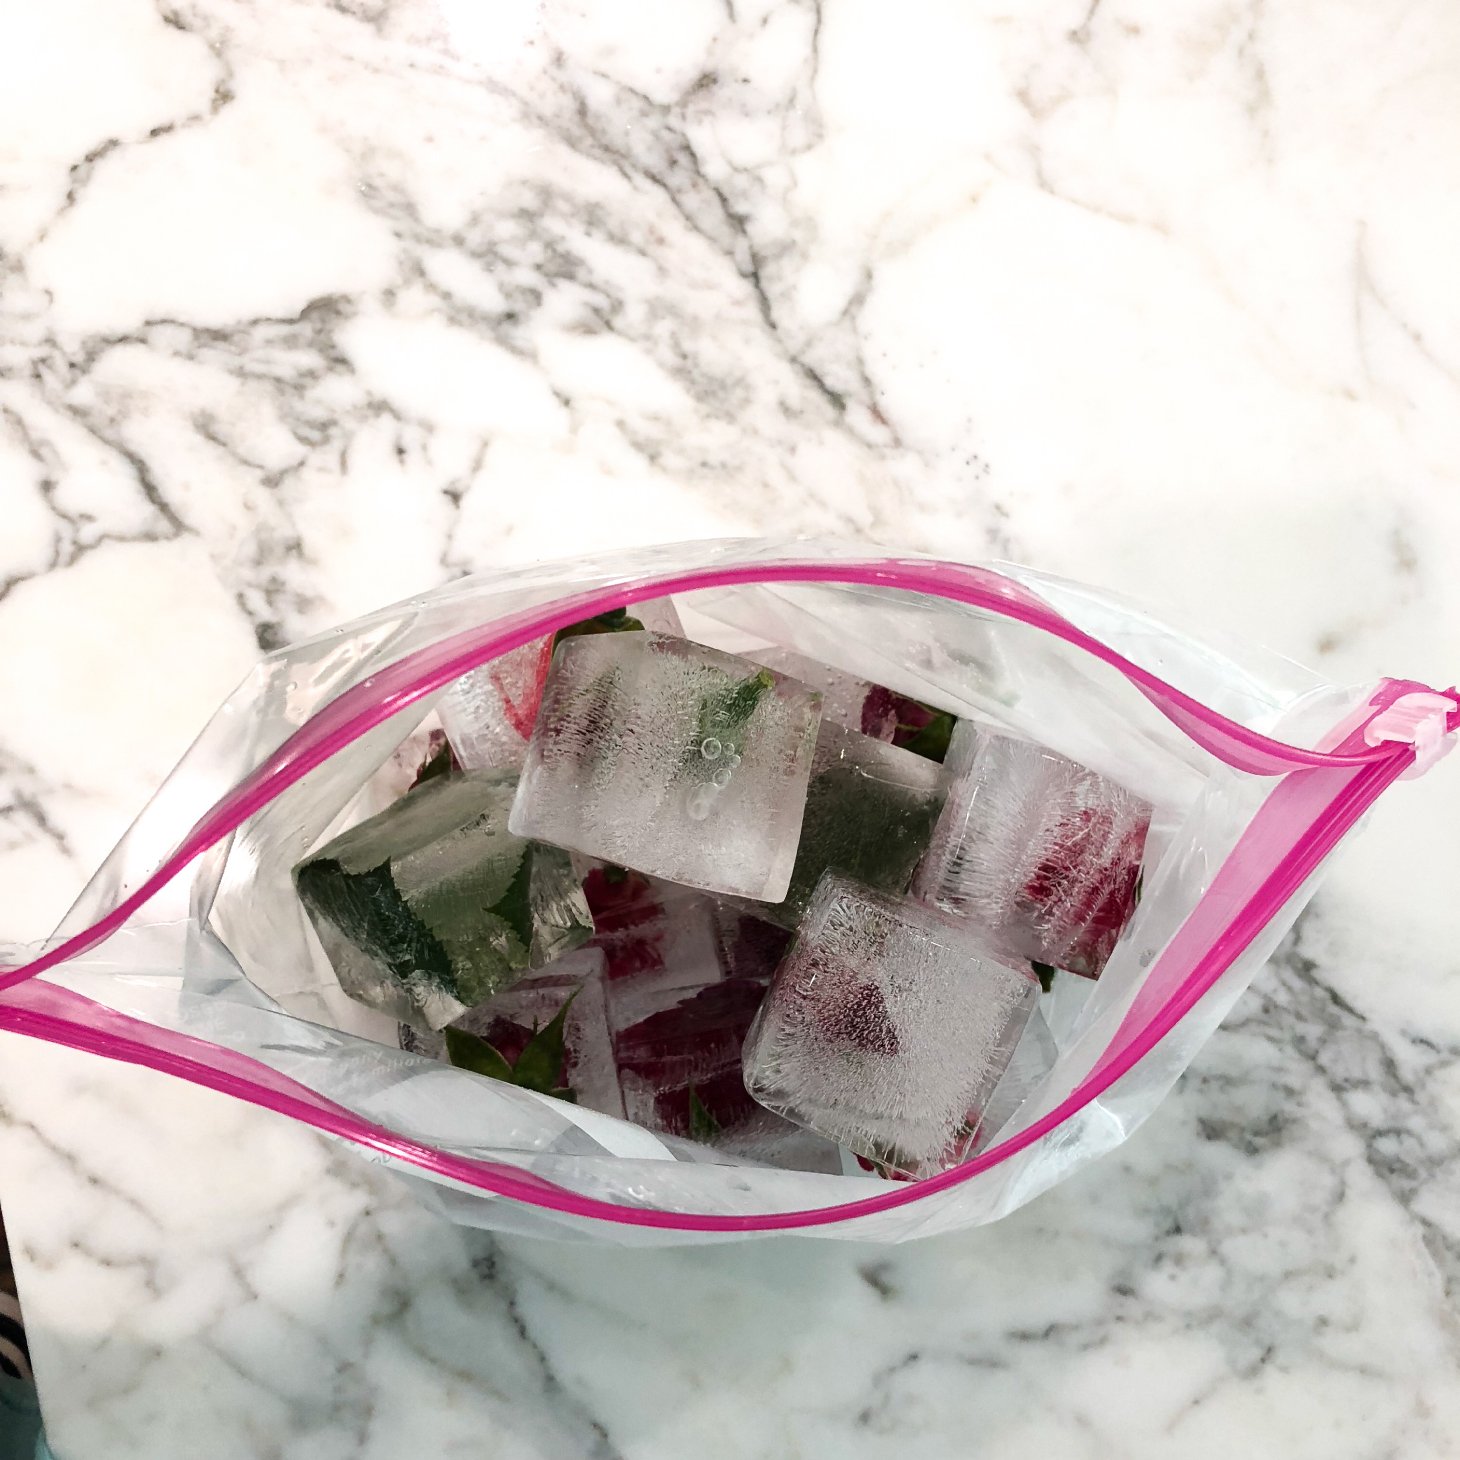
Once your cubes have completely set, remove them from the molds and place in a gallon-sized freezer bag and store in the freezer until you are ready to use!
STEP 7
Repeat steps 1-6 until you have enough ice cubes for your specific beverage display tub.
STEP 8
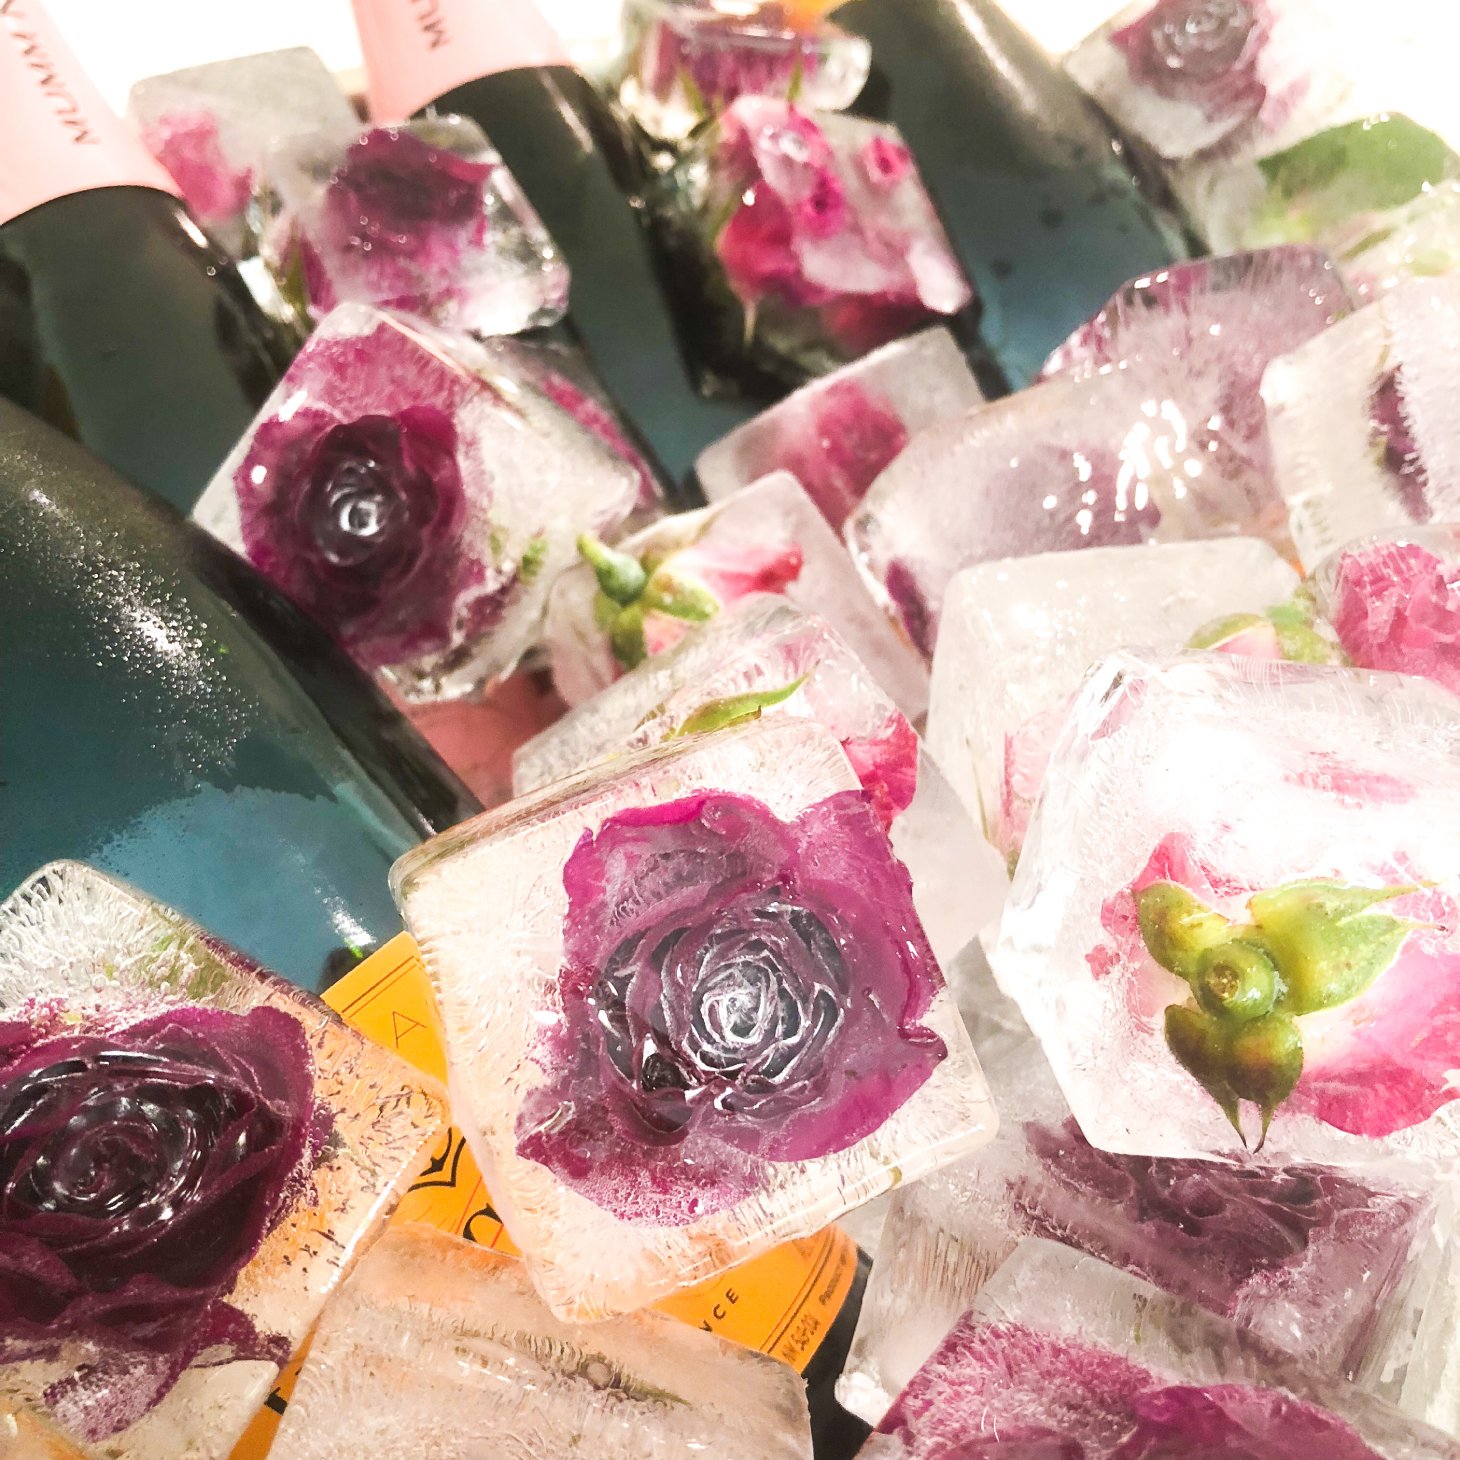
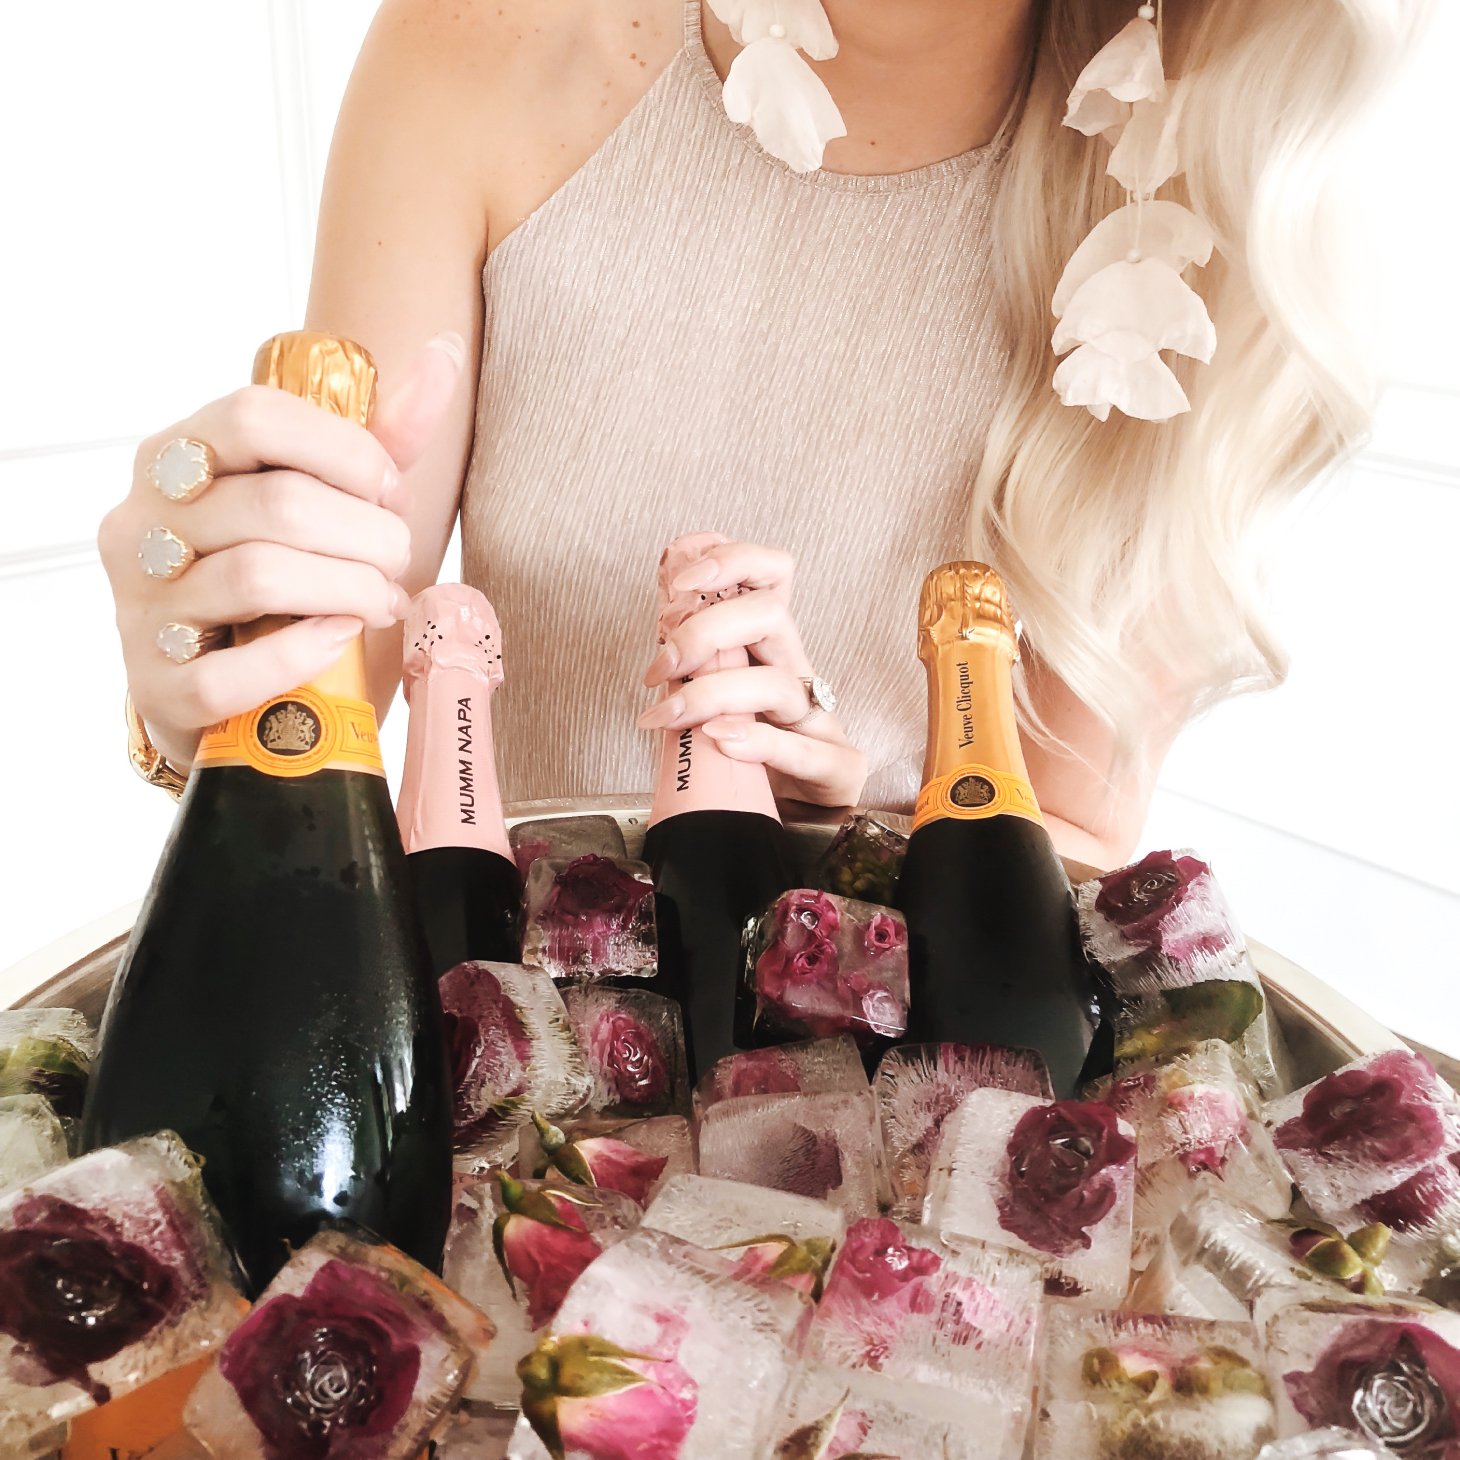
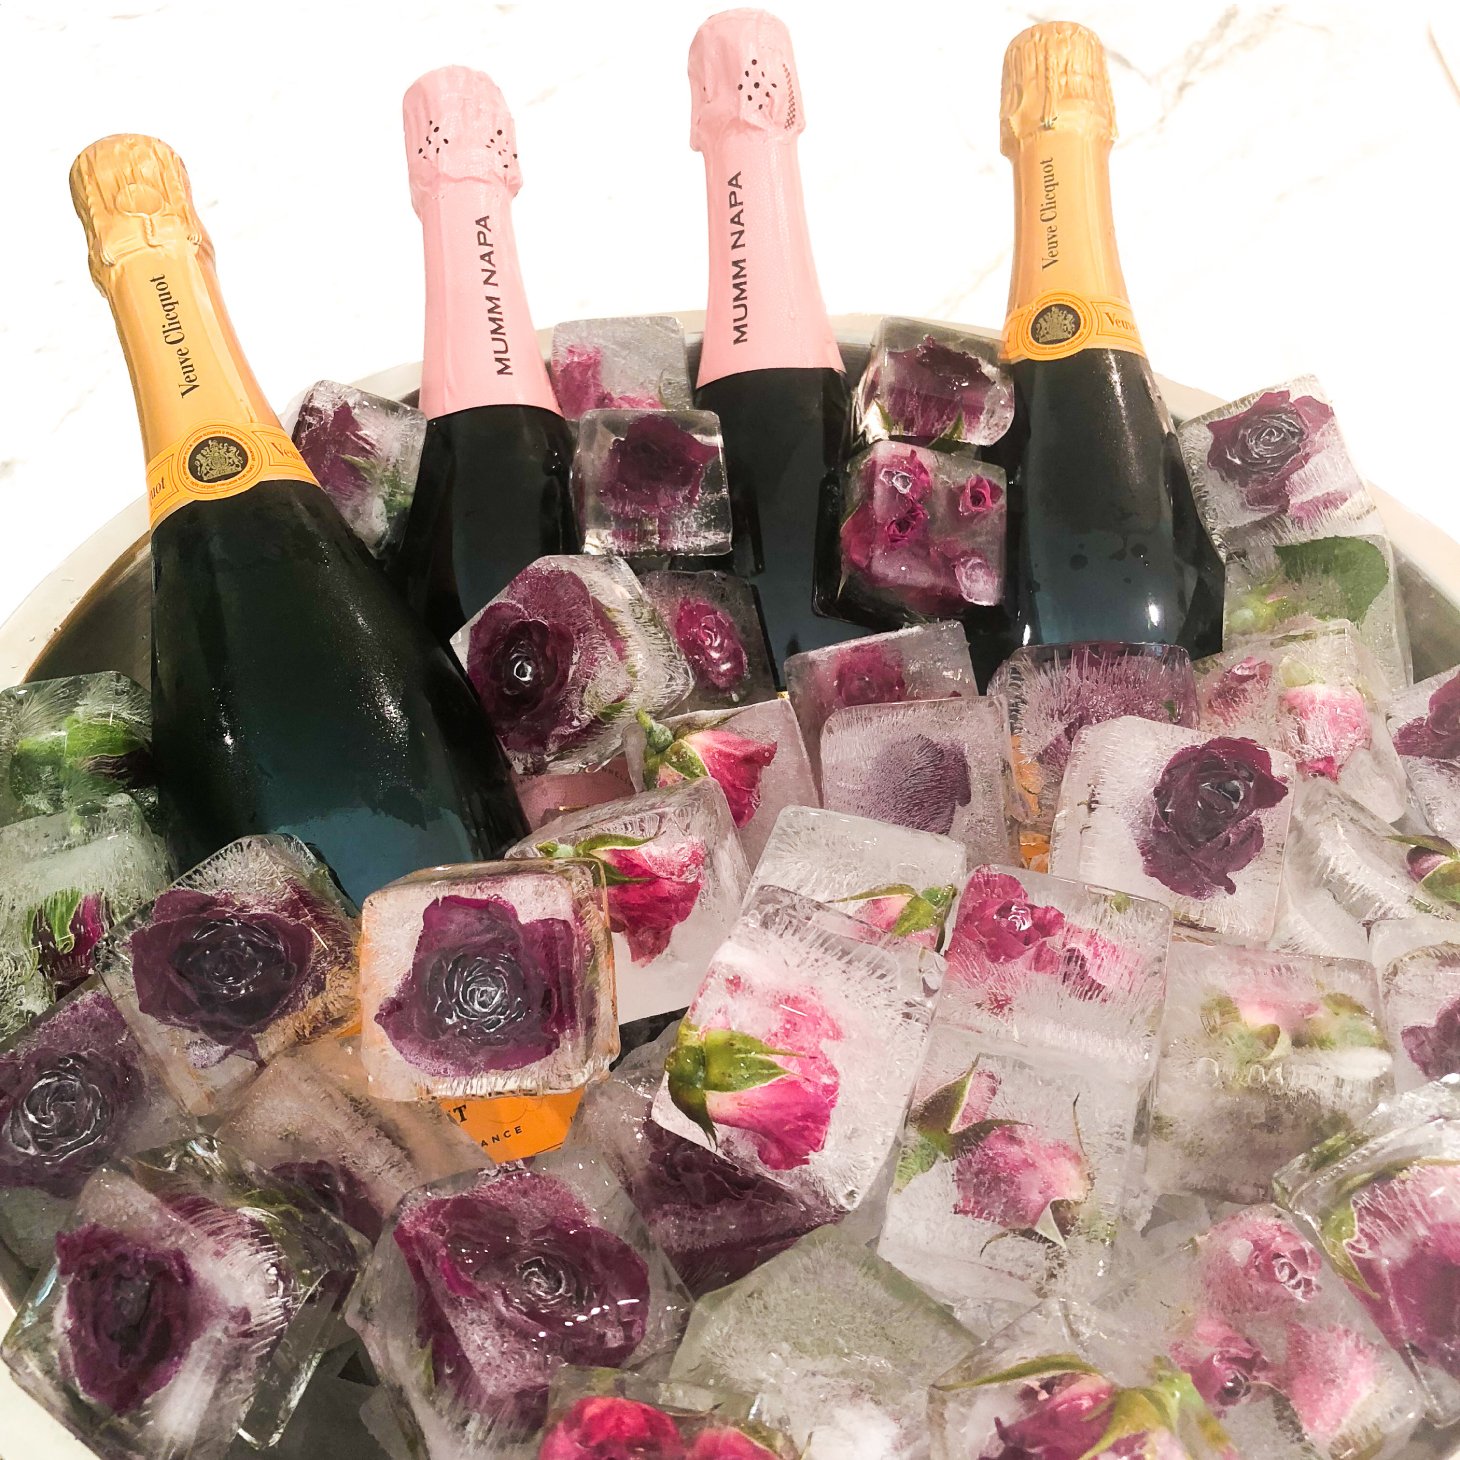
When you are ready to display your cubes, fill your display tub with regular ice and place your beverages in the ice. Place your floral cubes on top and arrange them so that they cover the ice underneath. Display and enjoy!


TIPS AND TRICKS
Choosing flowers: I tried several different types of flowers when I first made these cubes and I find that spray roses work best. The buds are the perfect size for my ice cube molds and the roses are sturdy enough to stand up to the freezing process without wilting.
How to get the clearest cubes: Your choice of water is important here. If you use regular tap water your cubes will turn out cloudy and it will be more difficult to see your flowers. I always start with distilled water AND I boil it before using it. This will yield the clearest cubes possible, but it is important to note that your cubes are not going to be crystal clear, and that is okay! Note: you should allow the boiled water to fully cool before using it for your ice cubes.
For Step 2 above, it is important that you allow your anchor layer to set enough to hold the flower head in place while you add more water, but you should not let it freeze entirely because then there will be a clearly defined line in your final cube where the two water layers meet.
For Step 4 above, I like to keep the water in my refrigerator so that it’s already cold when I pour it on top of the anchor layer. This allows you a slightly longer time frame to fill each mold with water and return them to the freezer before the anchor layer melts and dislodges.
Just remember that your cubes are not going to be perfect and each one is going to be different and unique! When I was initially doing this I was so stressed about each cube being exactly perfect and was upset if I had one where the flower had fallen over or floated to the top. The final display is going to look amazing no matter what and no one will notice the imperfect ones when they are all grouped together!
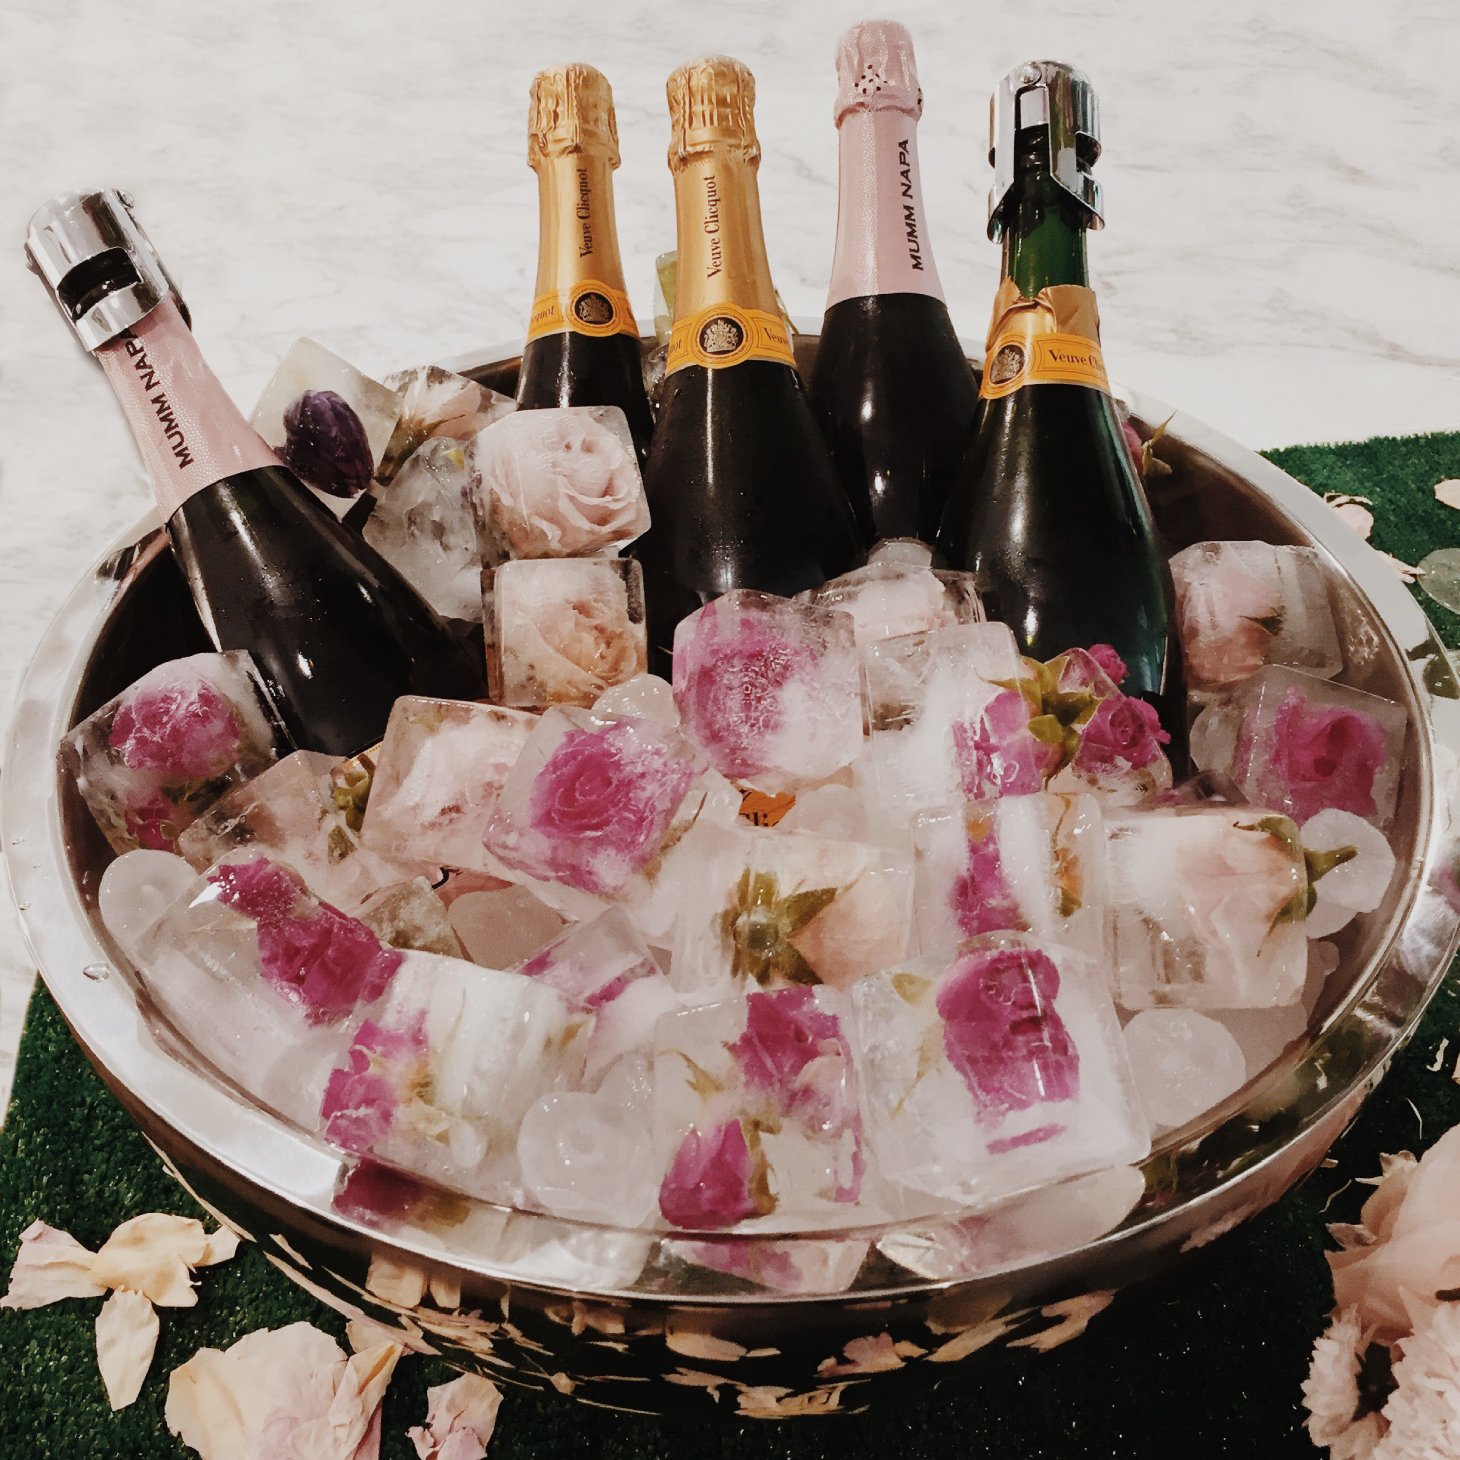
Photo from my bridal shower
If you try out this tutorial, please share your photos, I would love to see them! If you like this DIY, check out another fun project from my bridal shower in this post! As always, thank you for reading! XOXO
If you liked this post, save it to Pinterest!