My Fall Décor

Hi friends! I am so excited to finally be able to share my fall décor with you guys! This is by far the latest I have ever finalized my fall décor, but the weather has been so hot in Georgia that it just didn’t feel right to start decorating with pumpkins when it was still 90+ degrees out!
This is also my first time really decorating in this house. Max and I custom-built this home and after a long two year process, it was finally finished in September of last year – less than a month before our wedding. Suffice to say we were just happy to have some furniture in the house for the holidays last year, much less any robust décor. However, I am back with a bang this year and I had so much fun decorating this space. It’s extra special for me to be able to share it with all of you!
Fireplace and Mantle

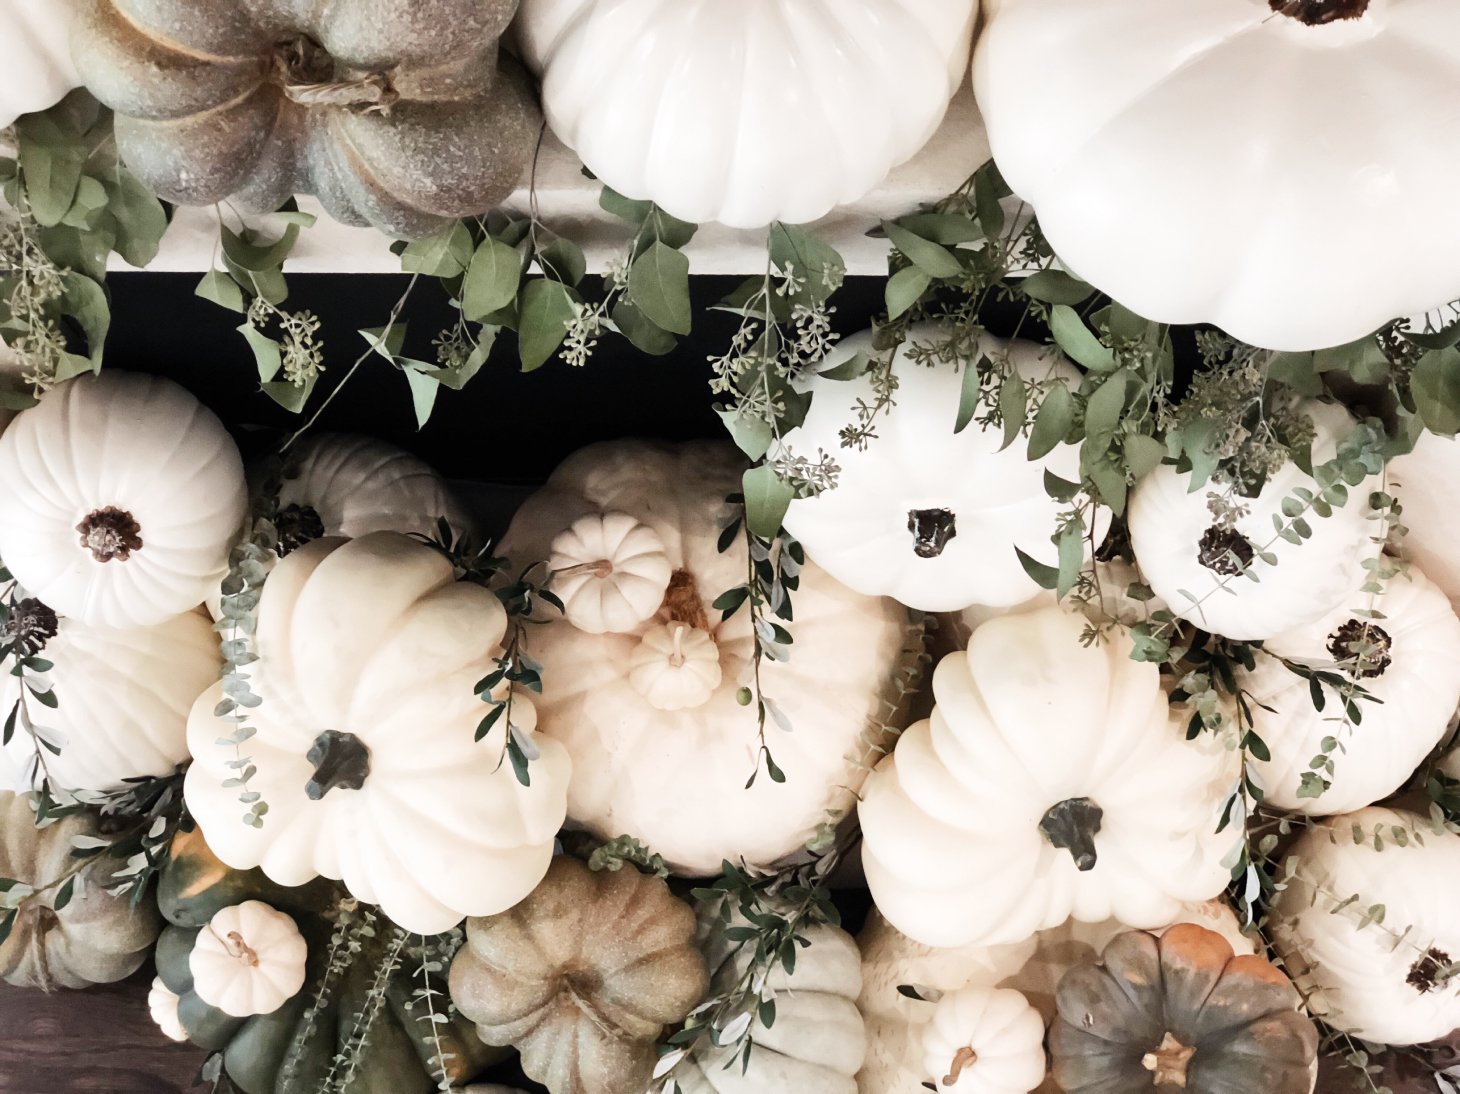
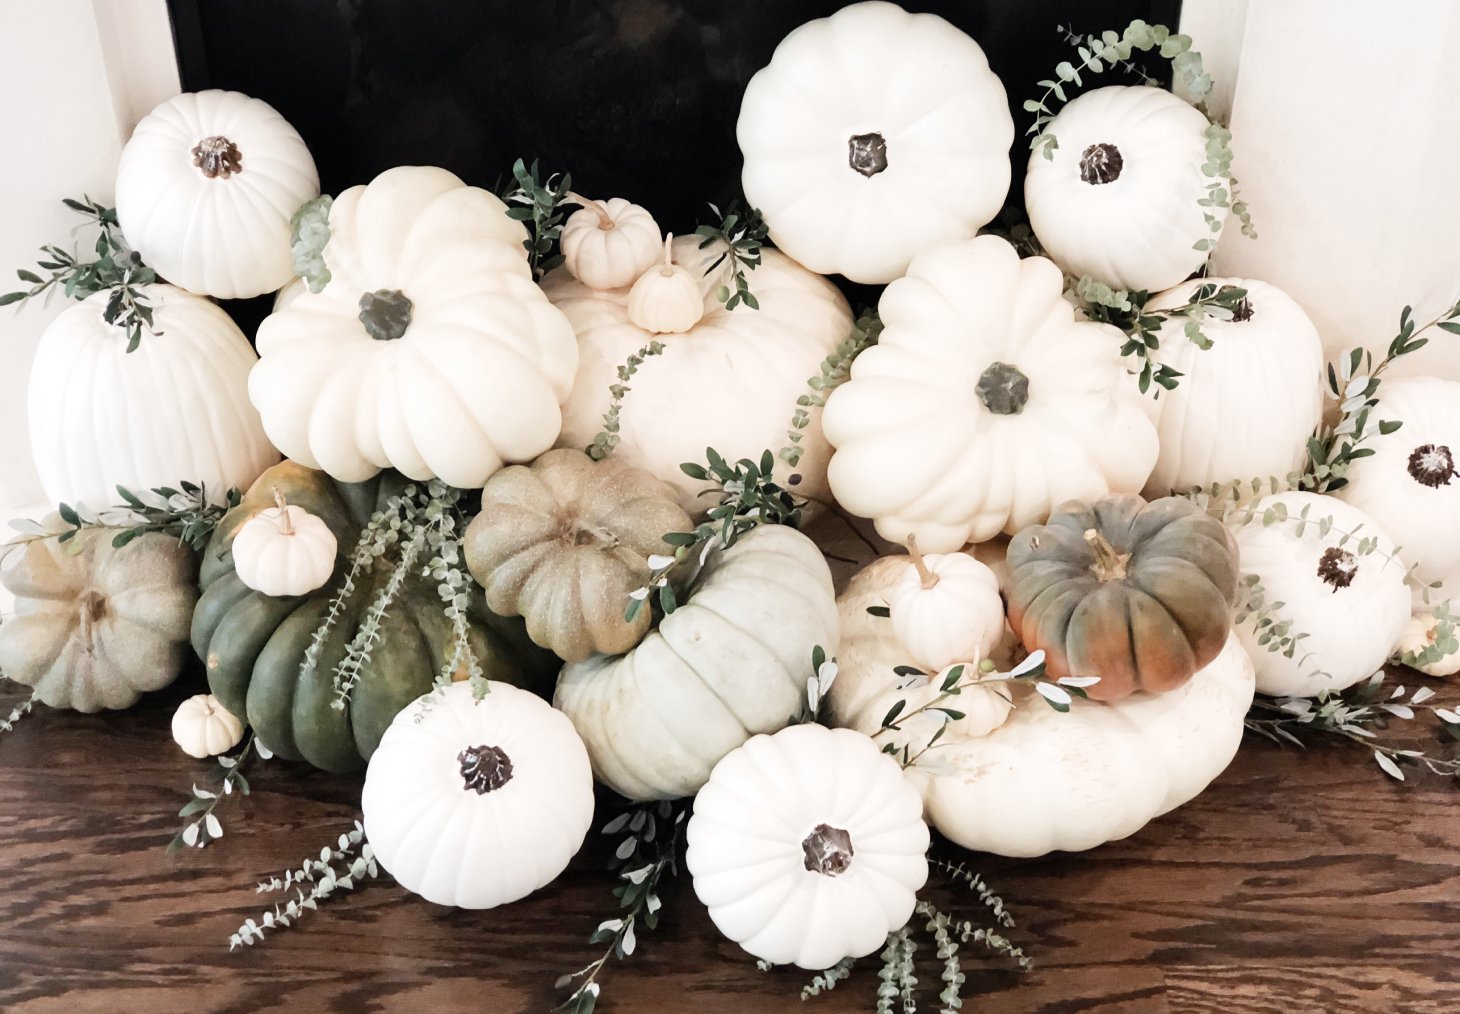
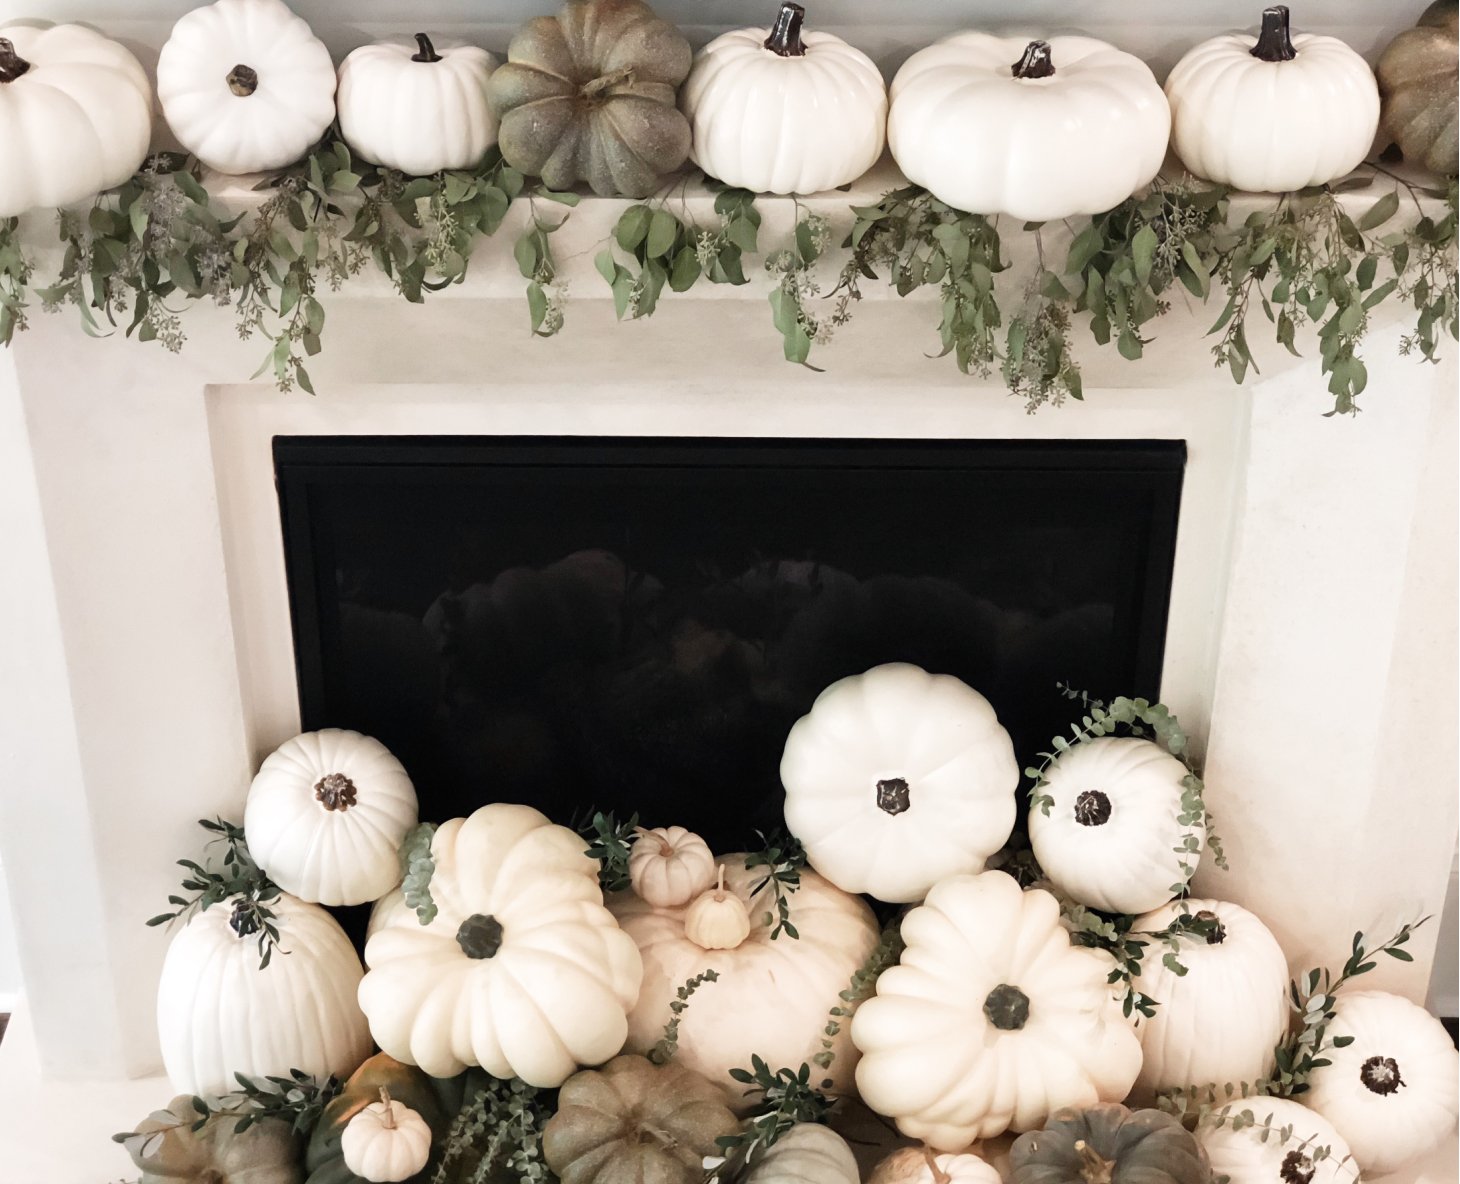
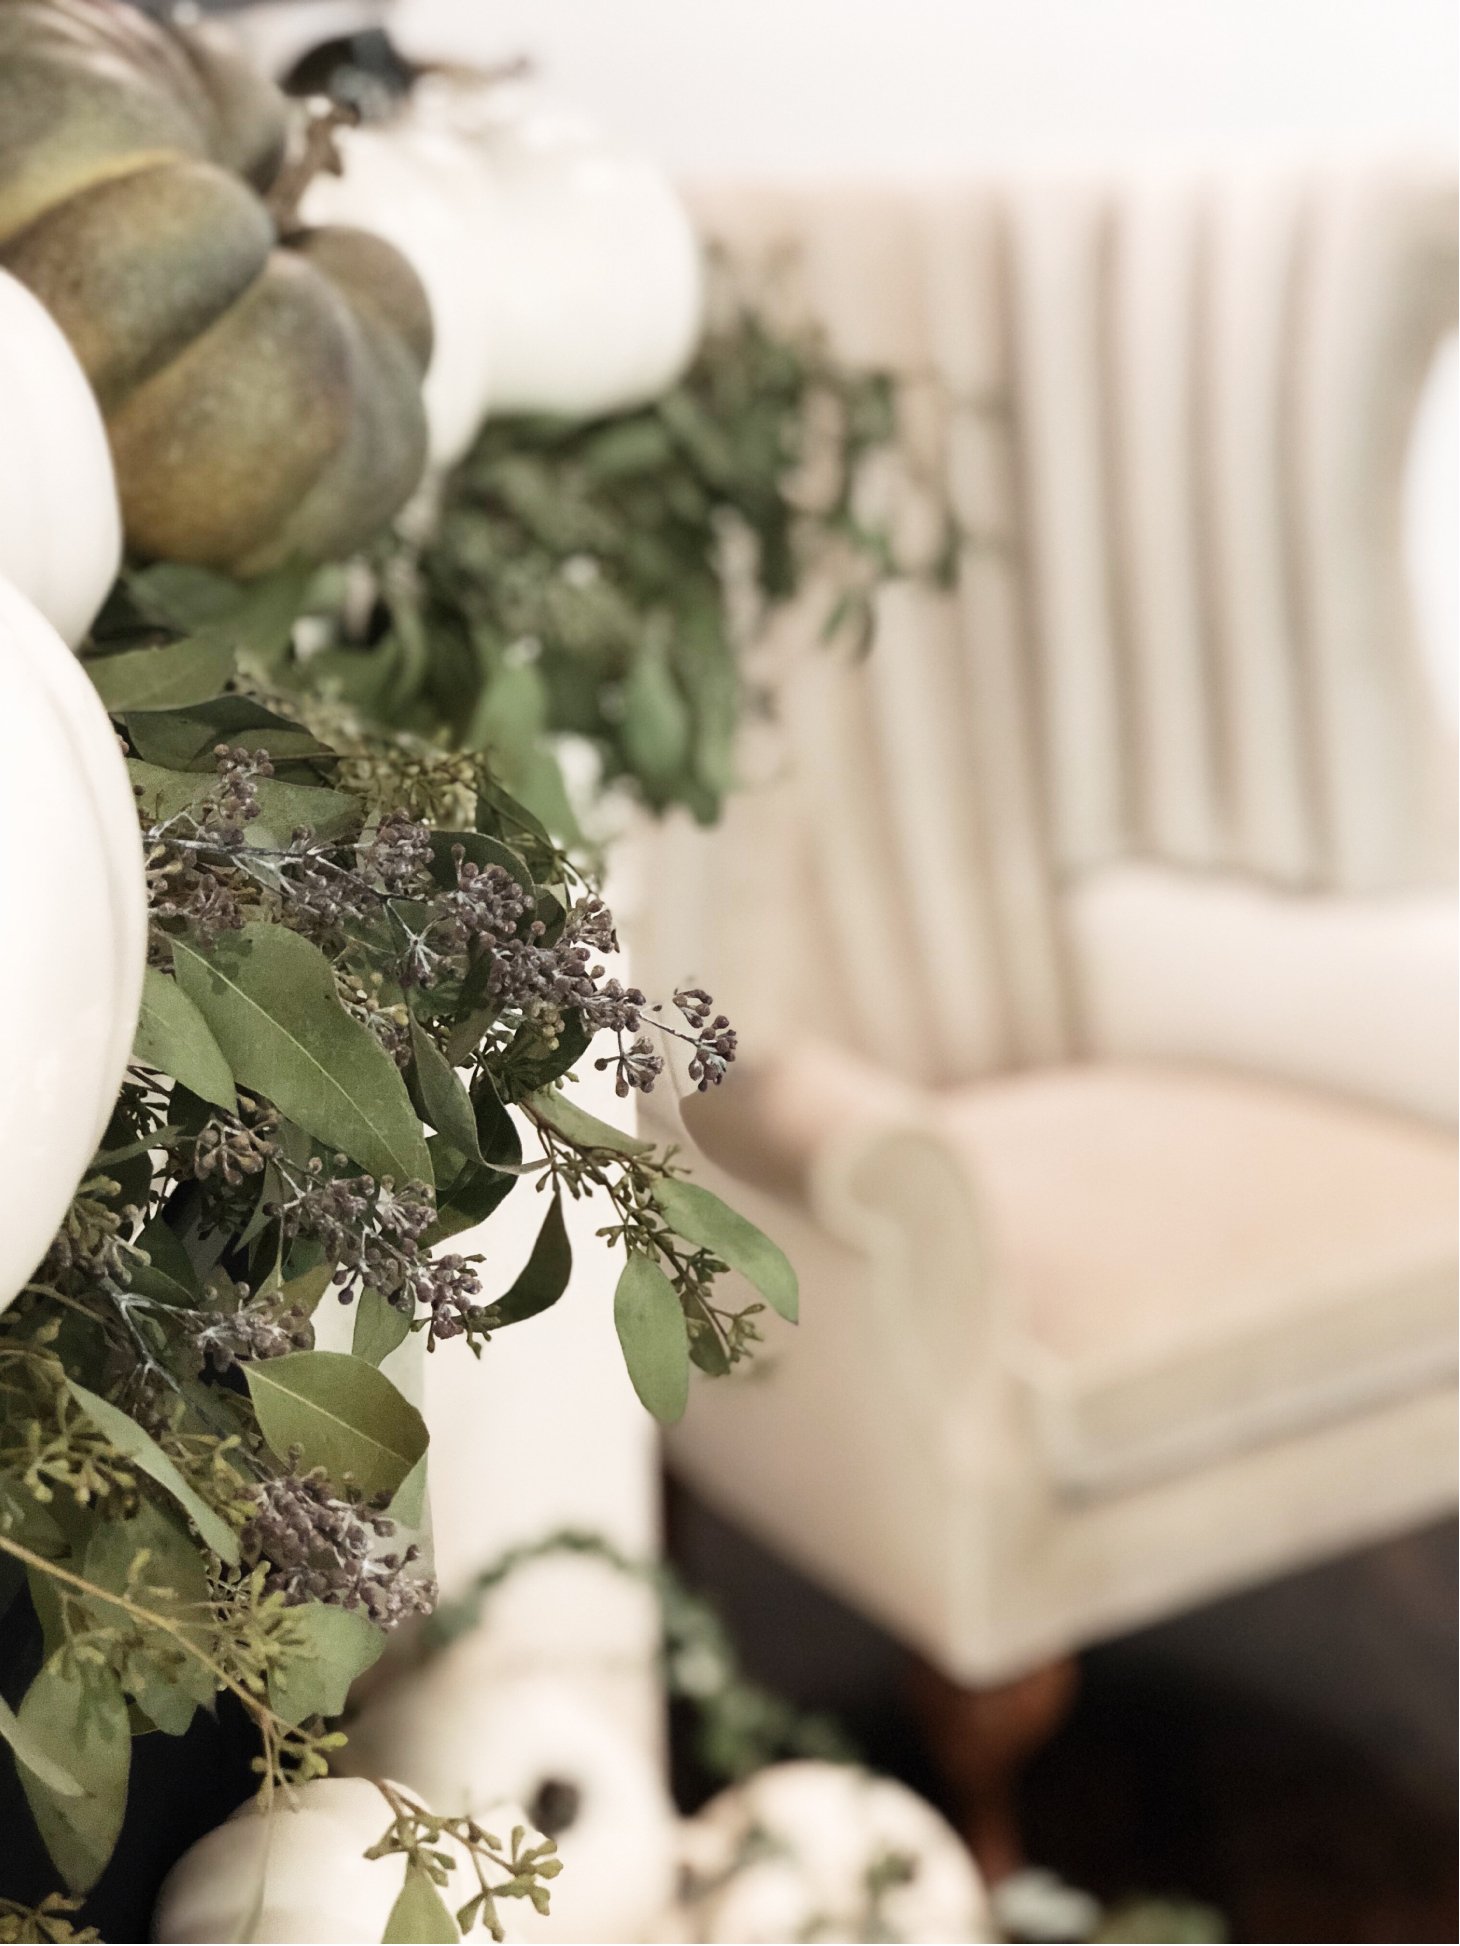
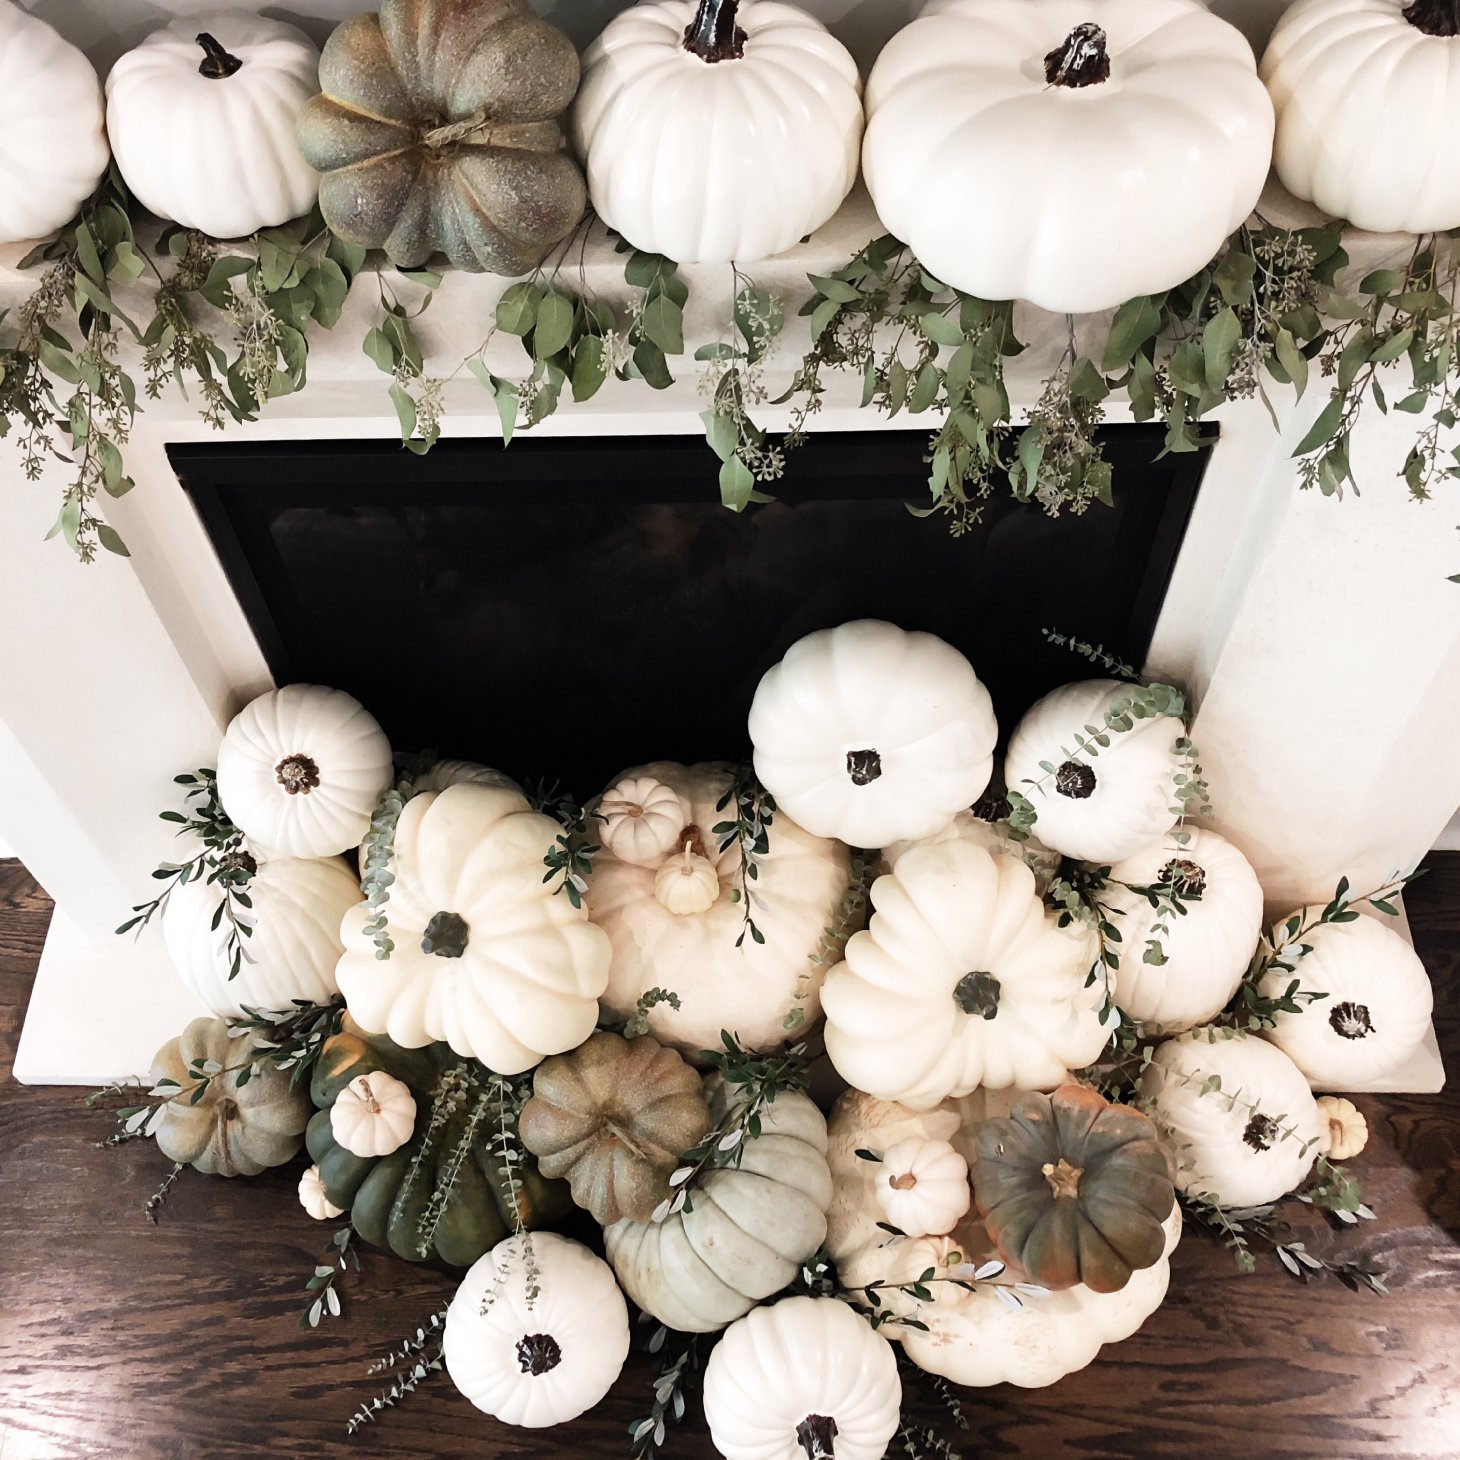
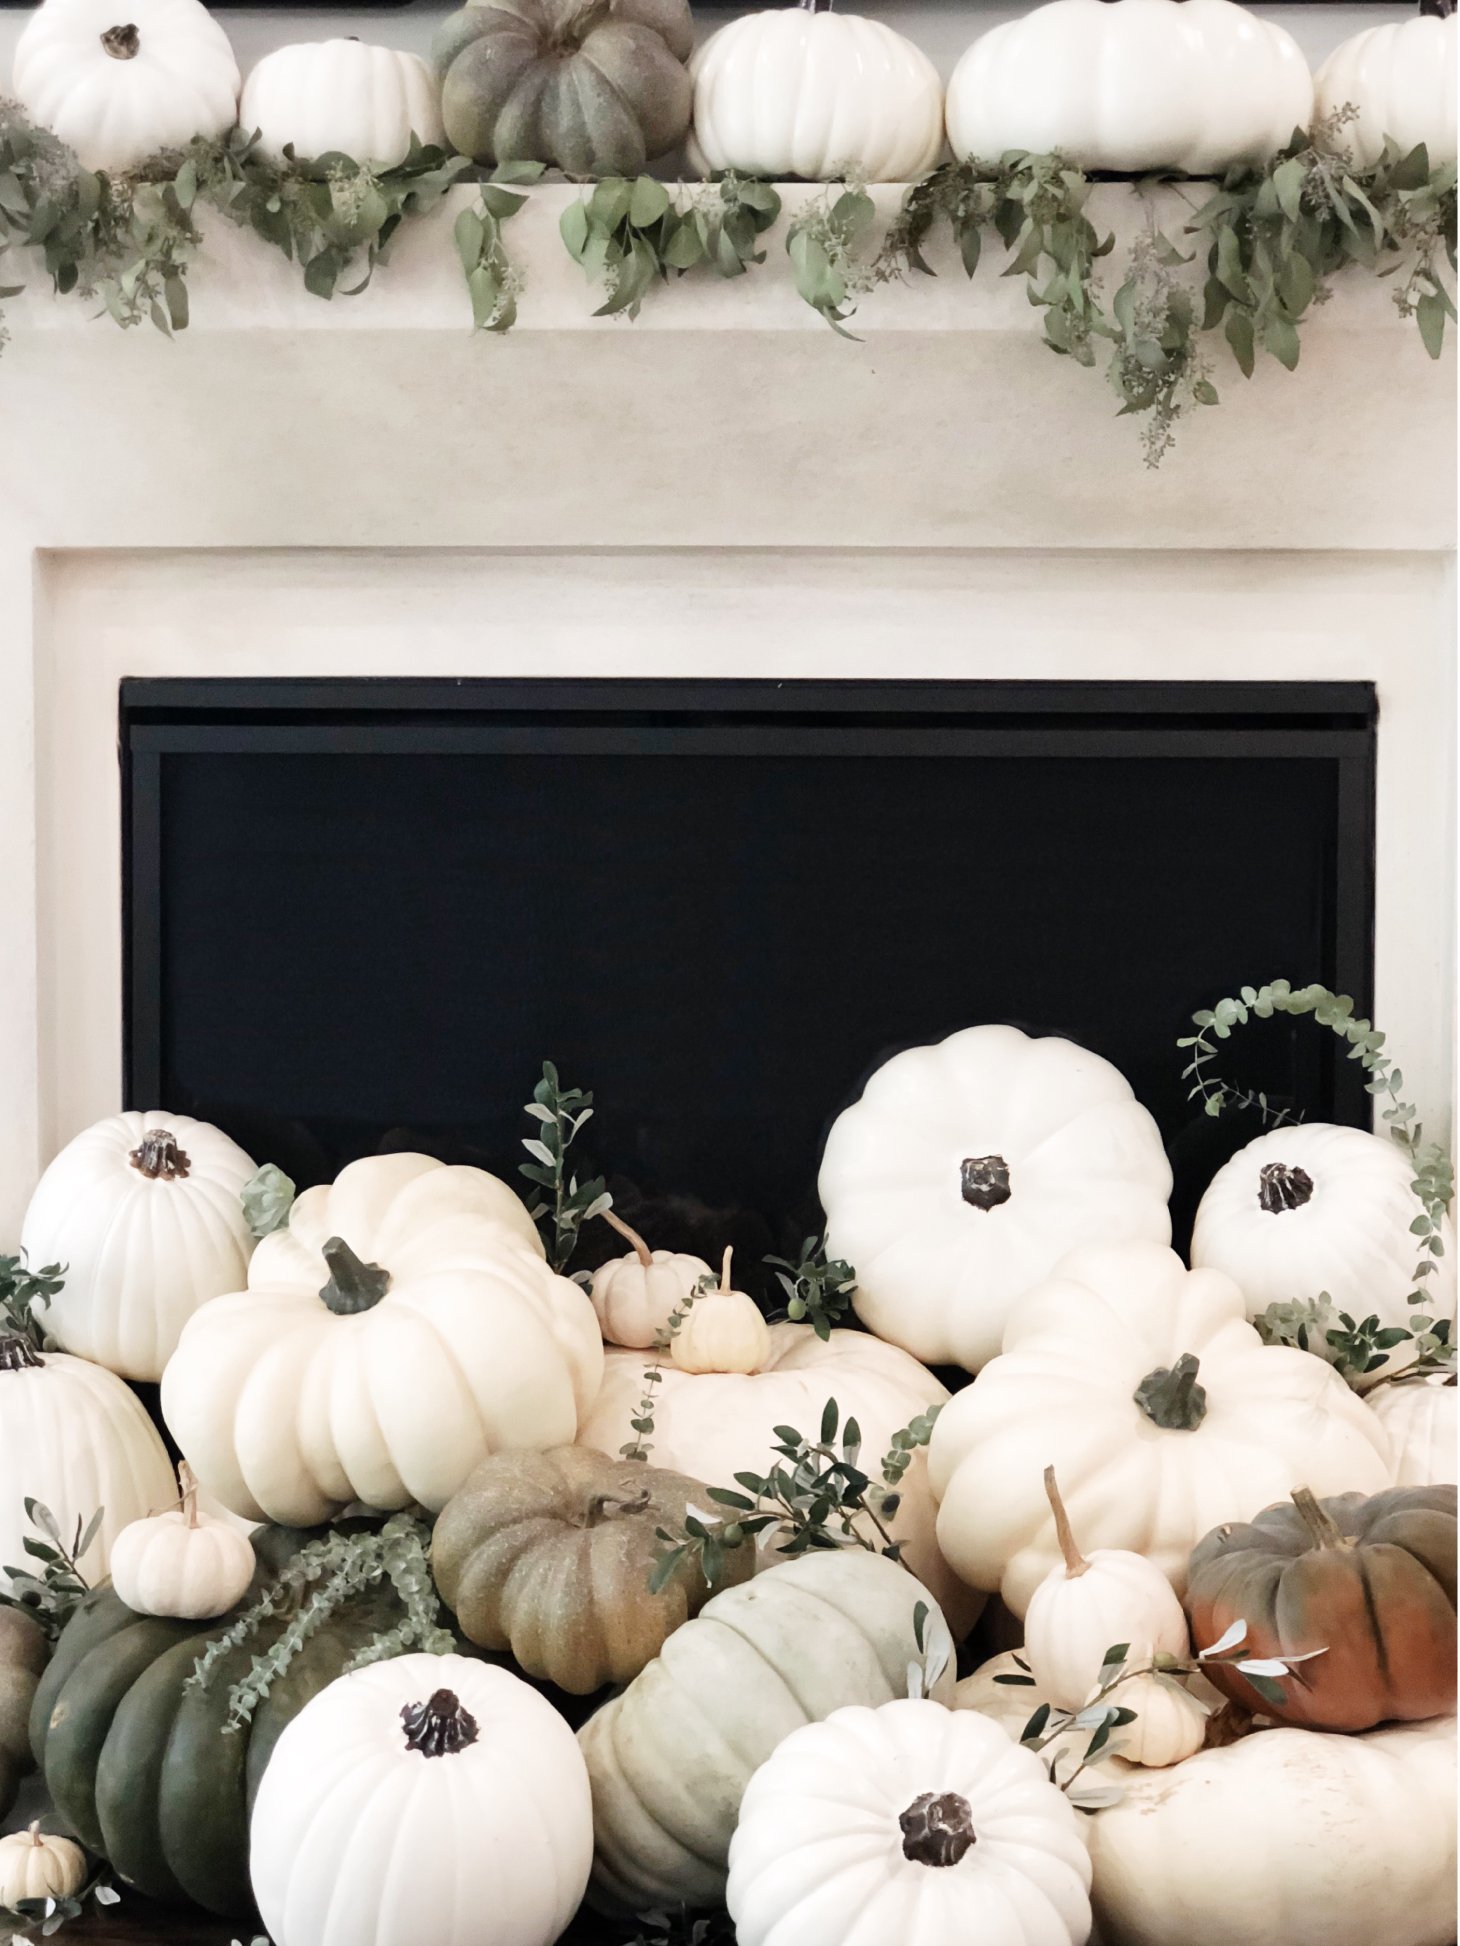
I started the process with my living room fireplace. I knew I wanted this to be the most robust of the décor because we’ve been entertaining so much recently and everyone spends the most time in the living room. We also have new couches coming this weekend which we’ve been waiting for for months and months, so I really wanted this space to feel lush and inviting.
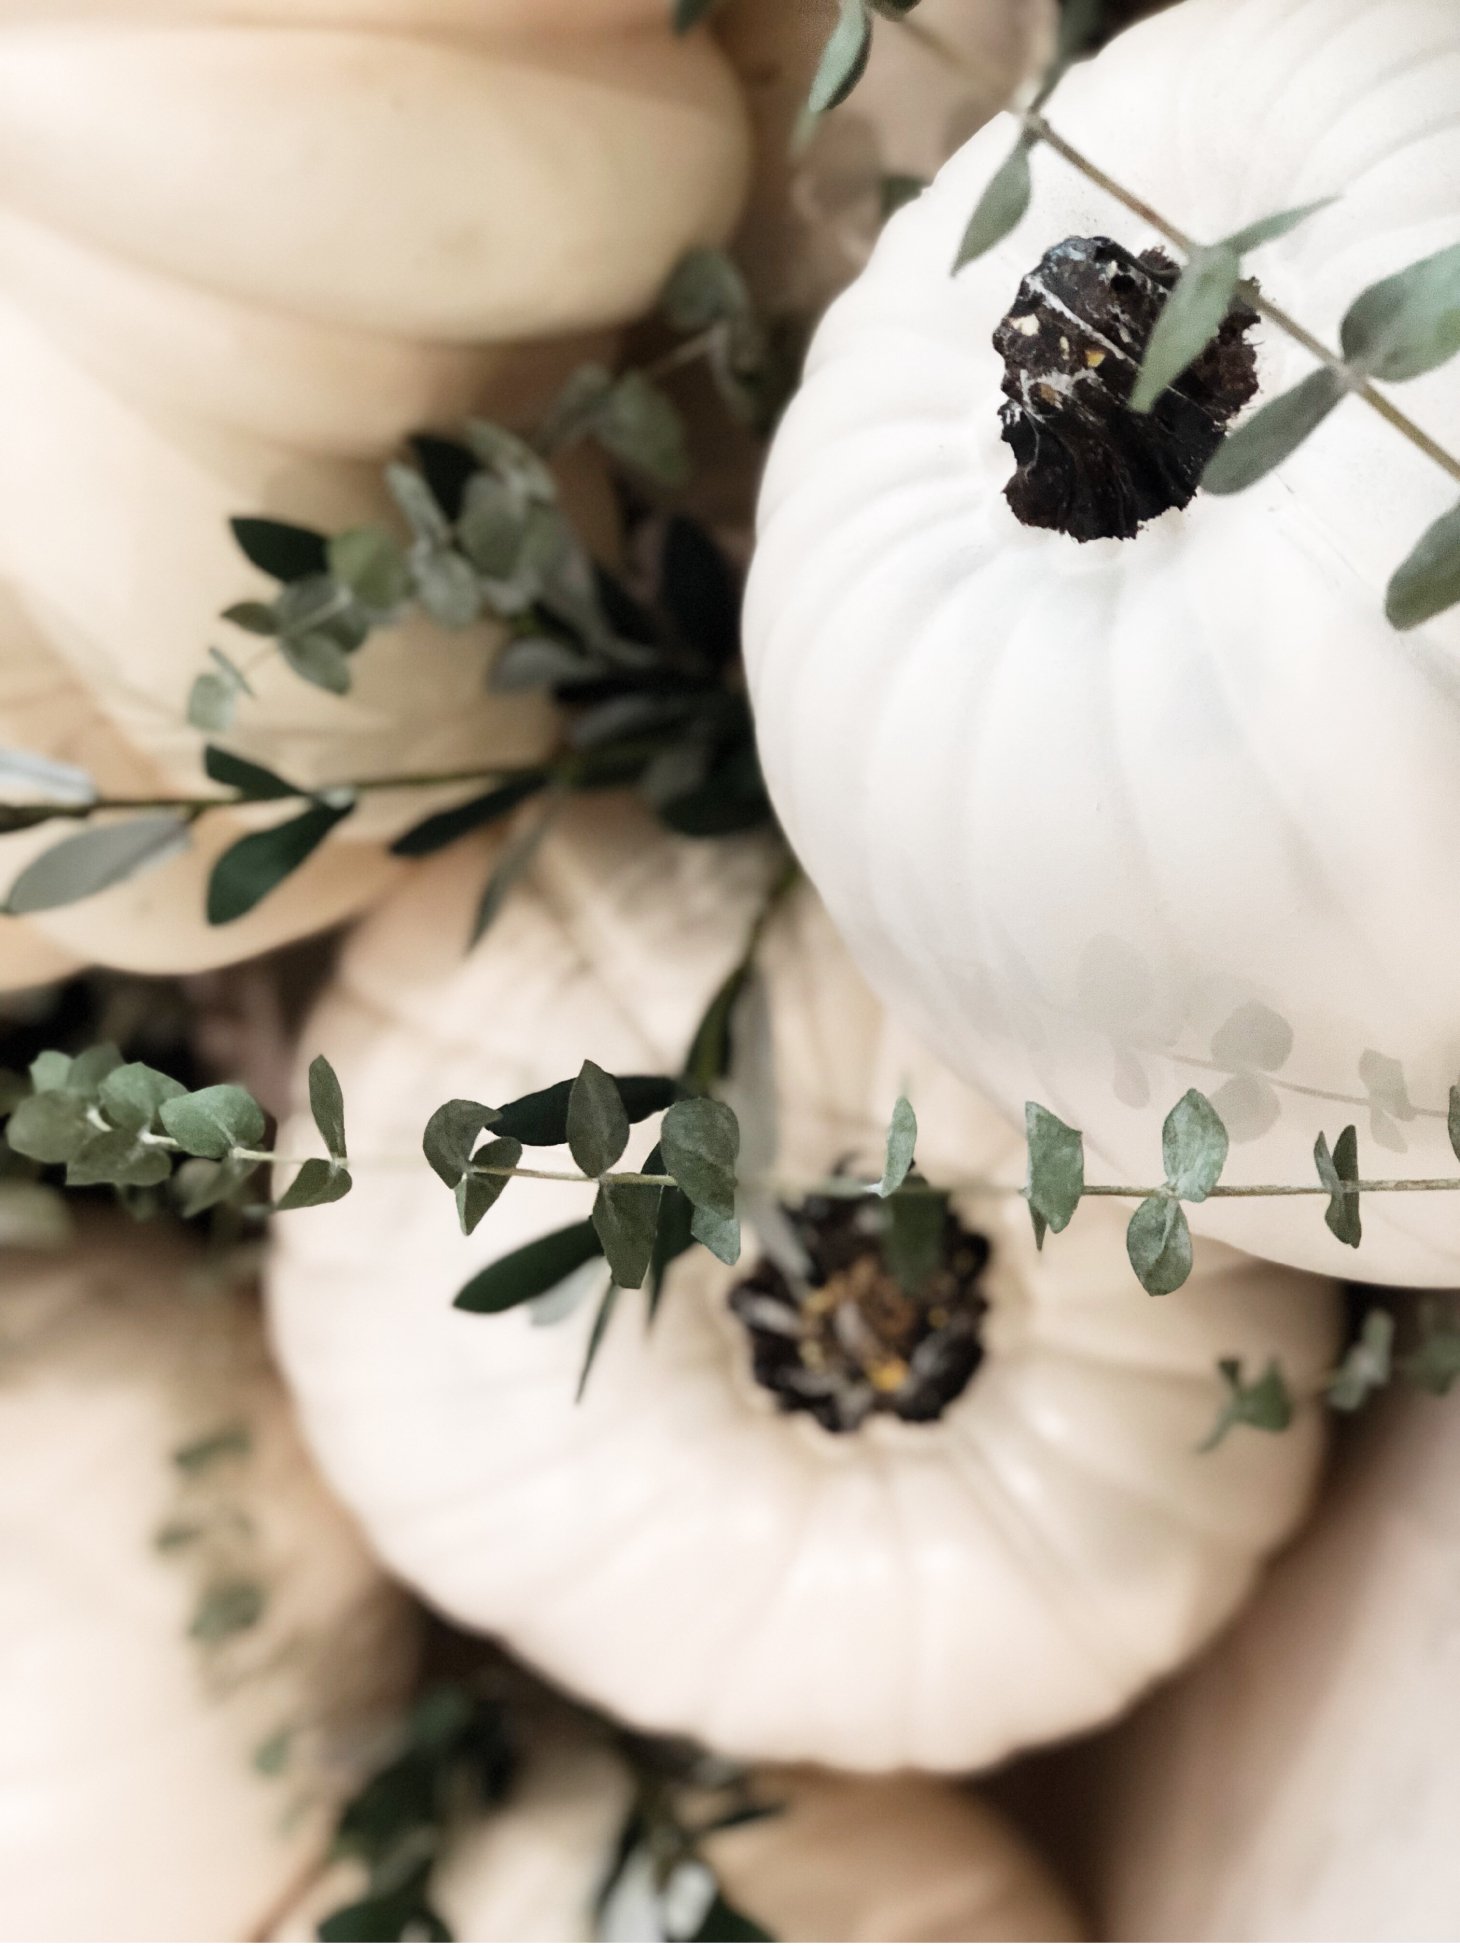
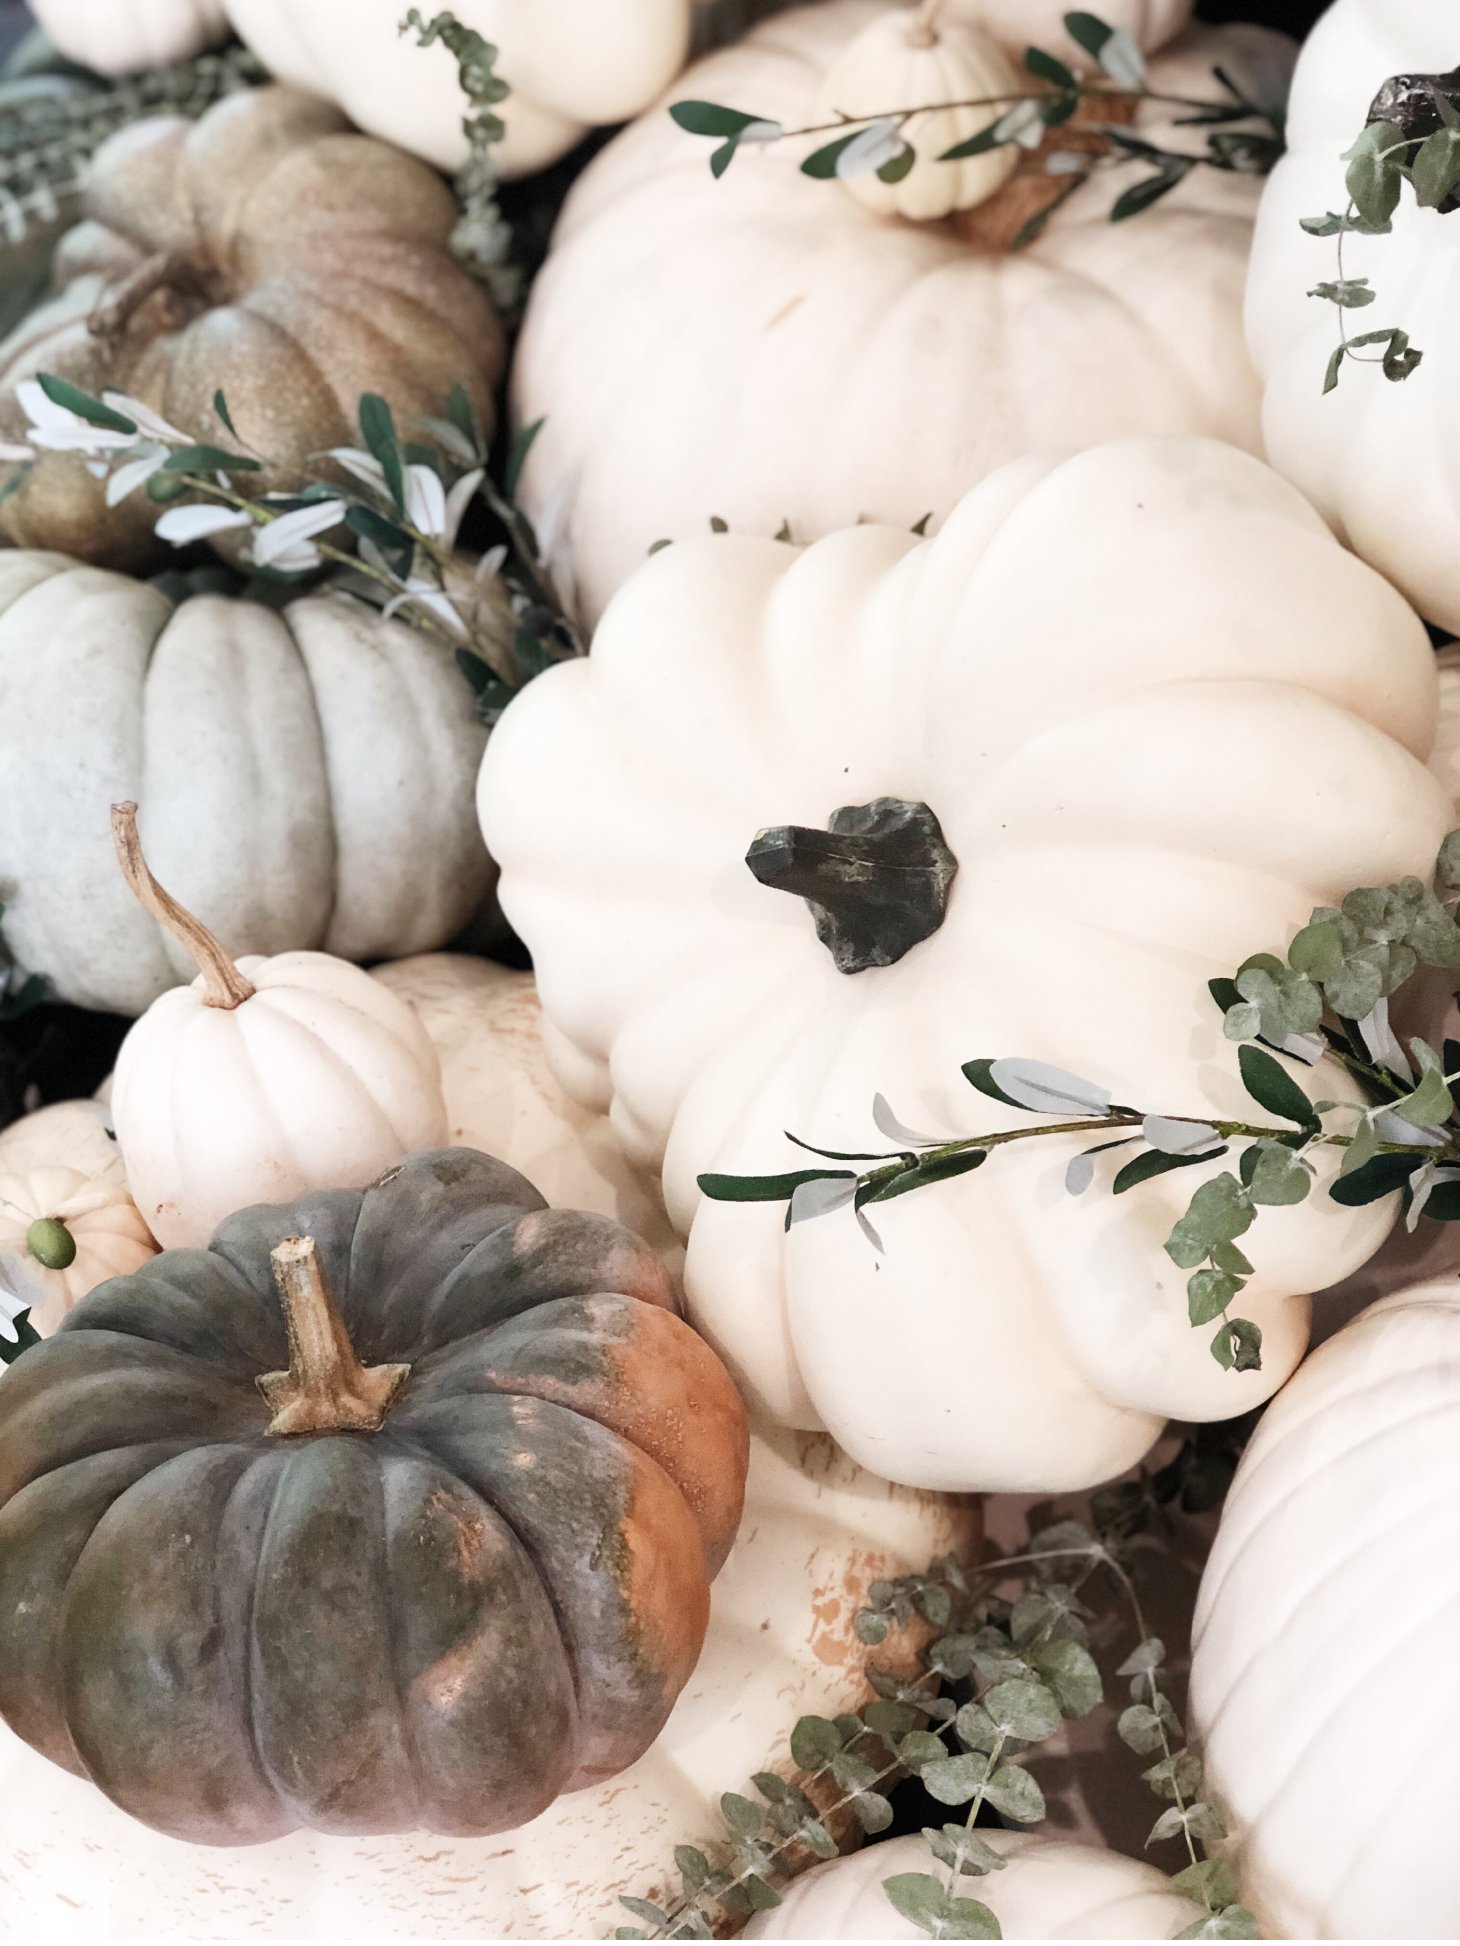
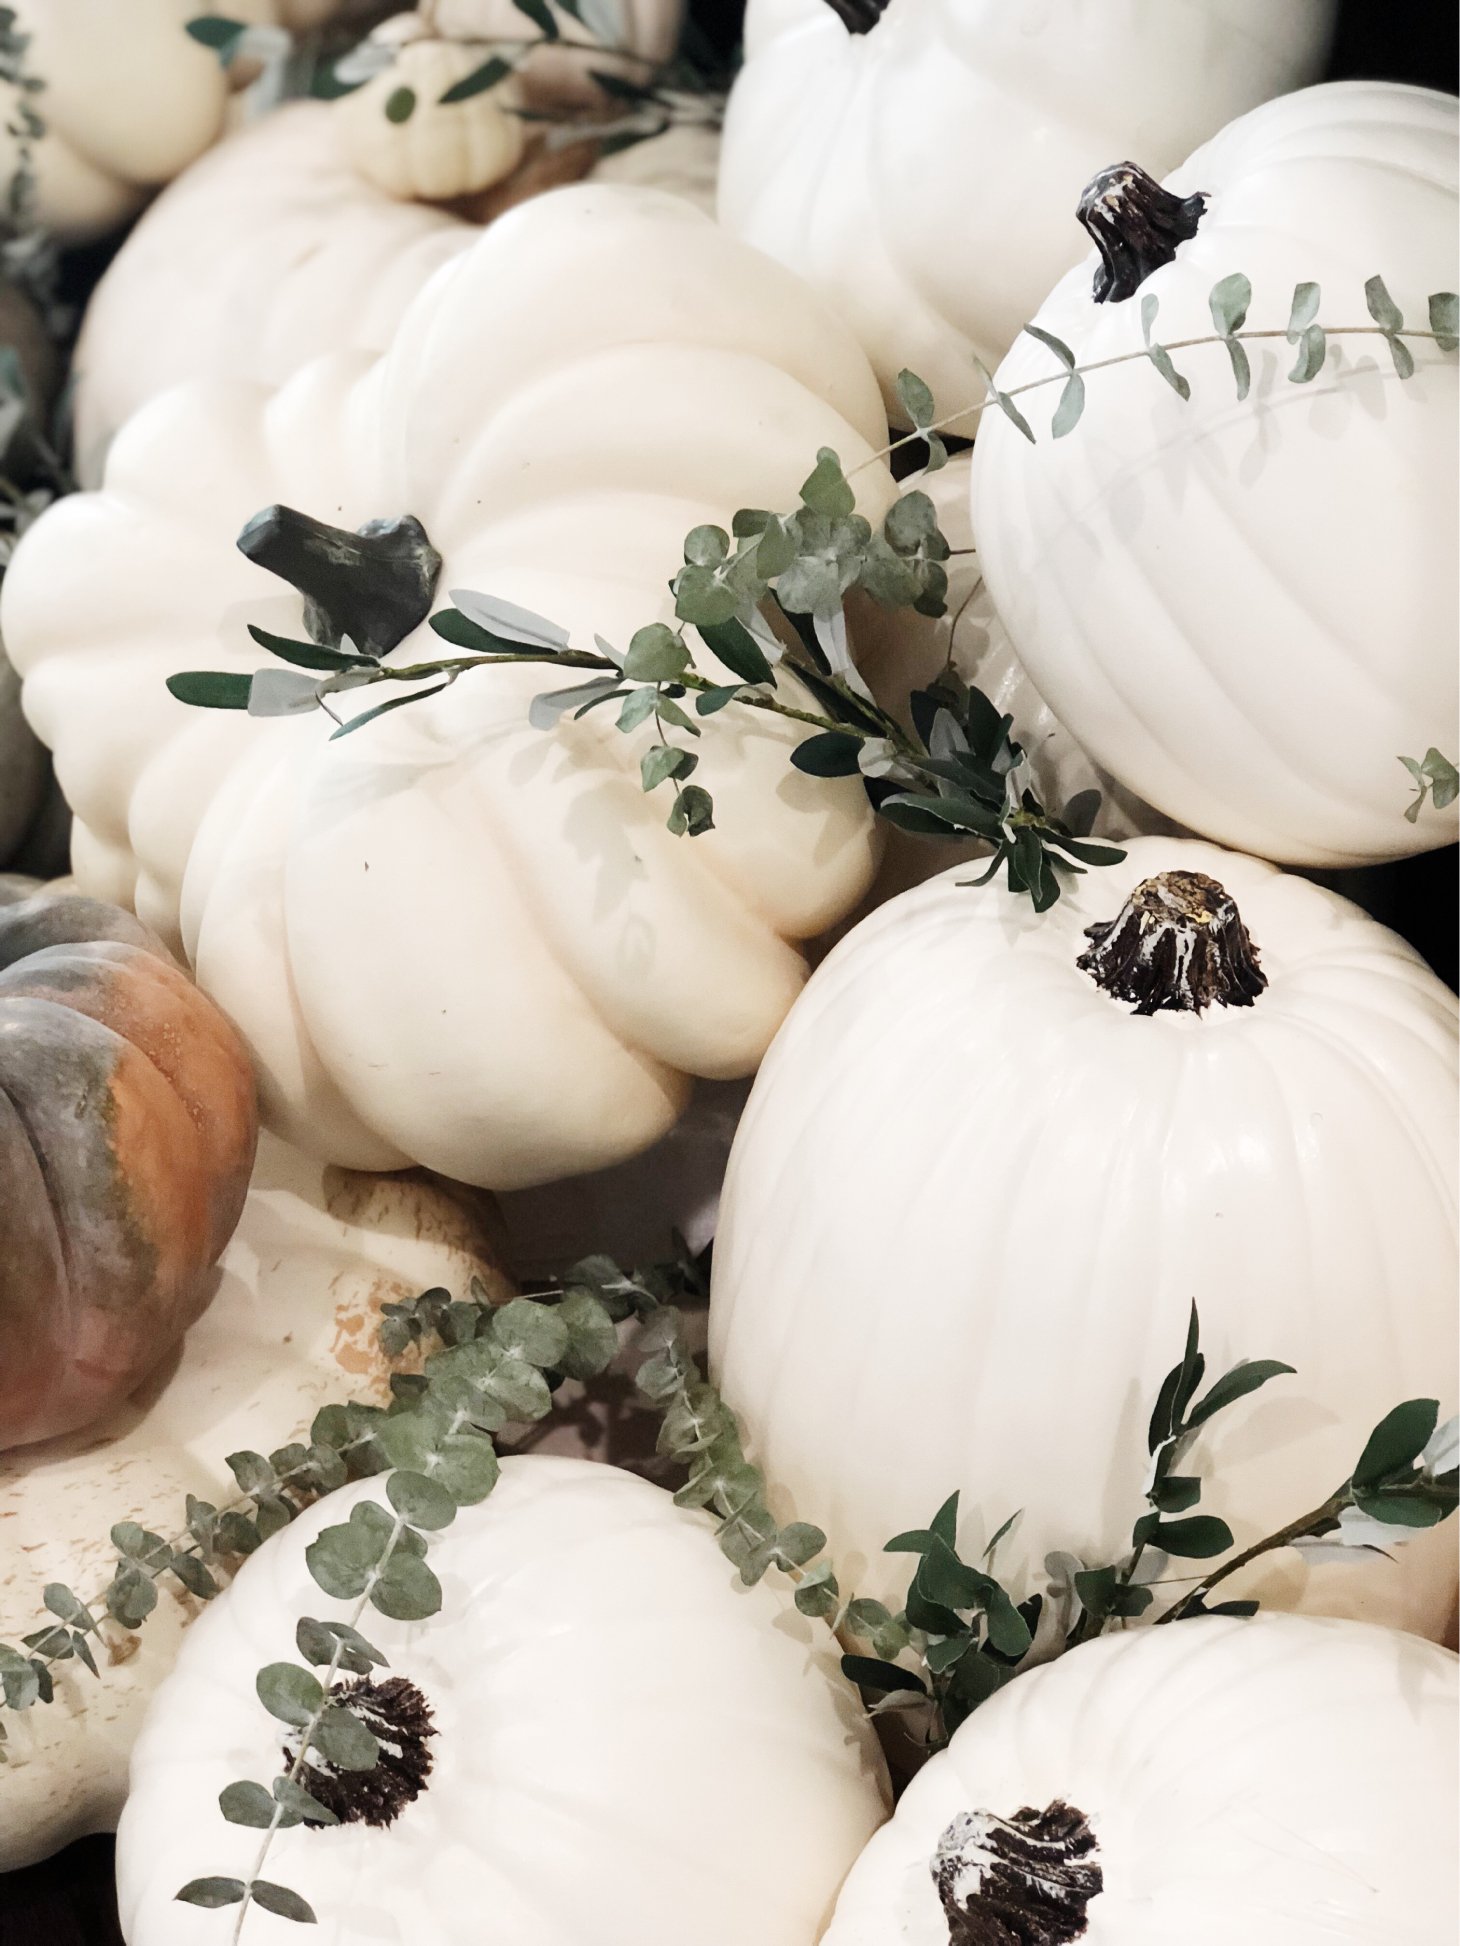
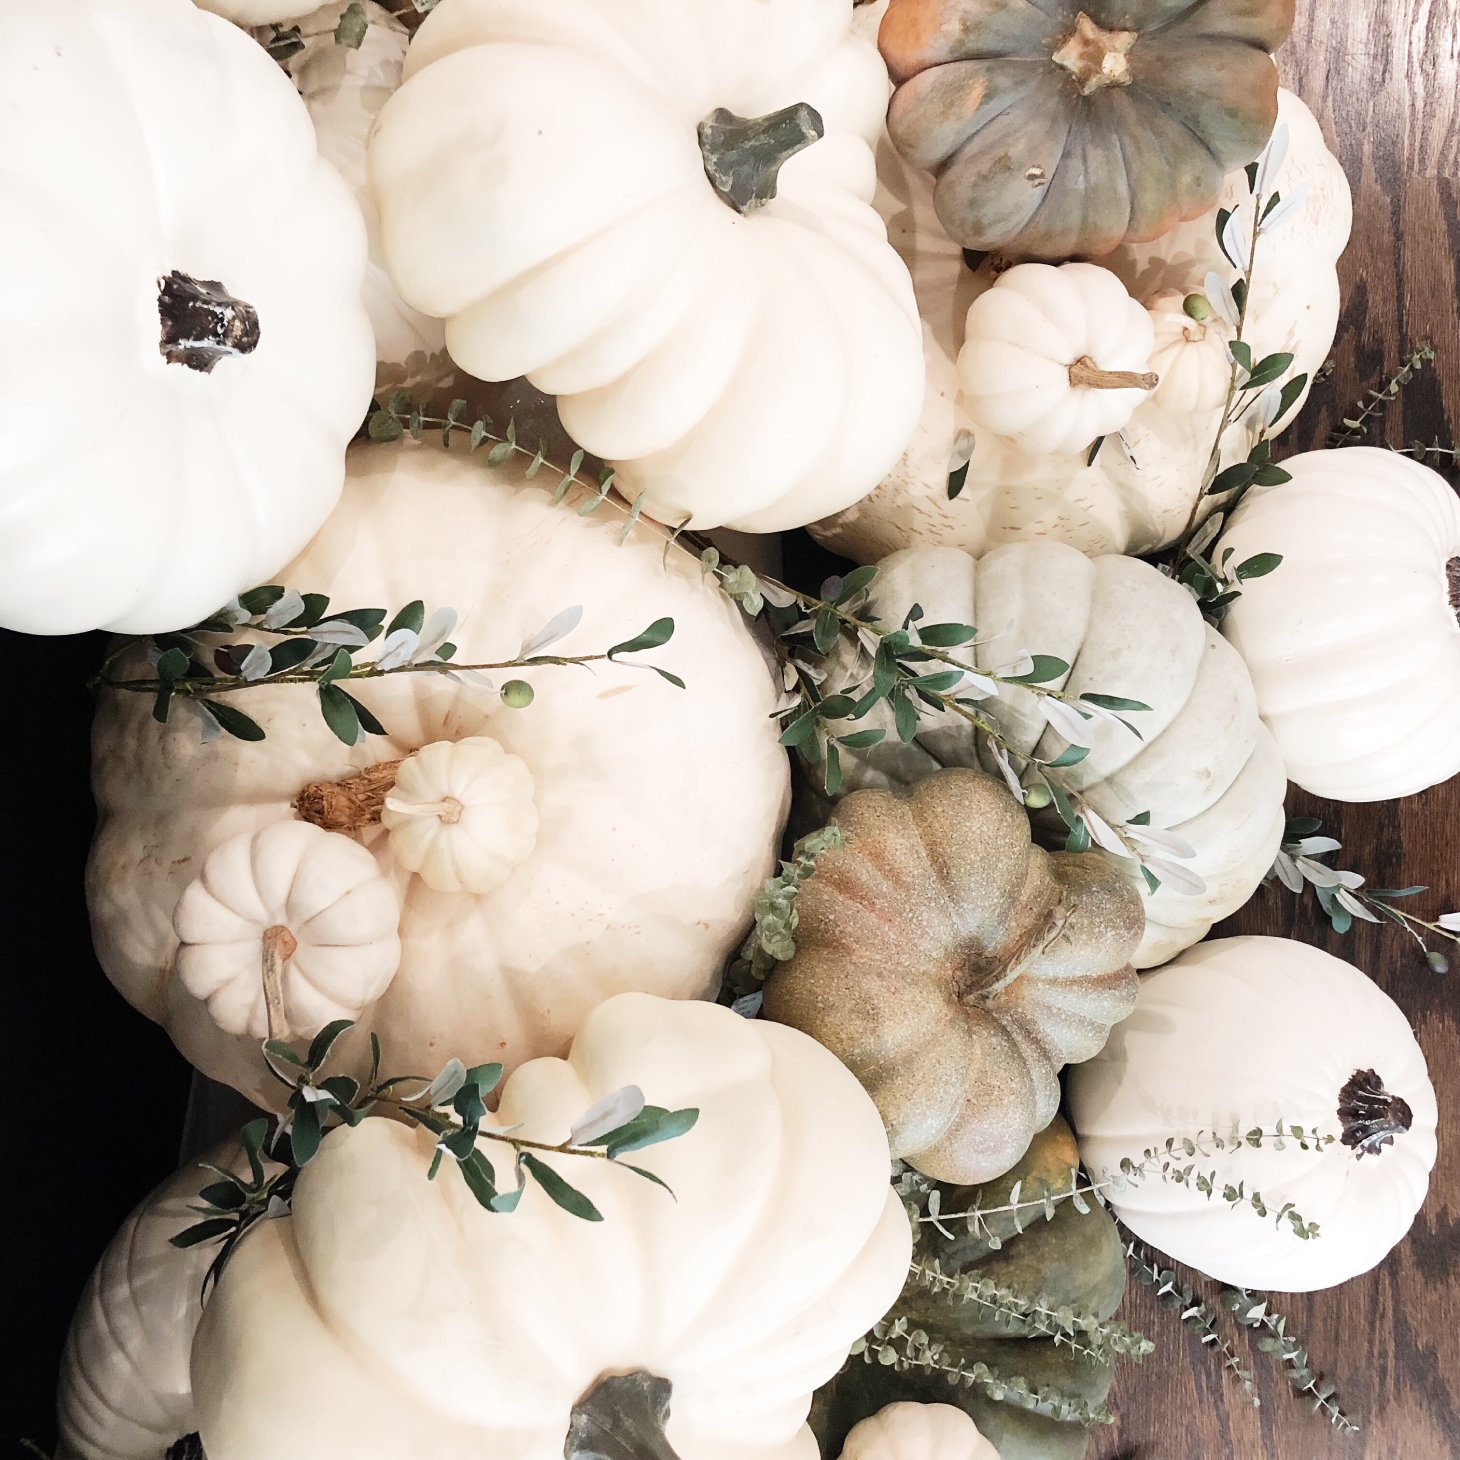
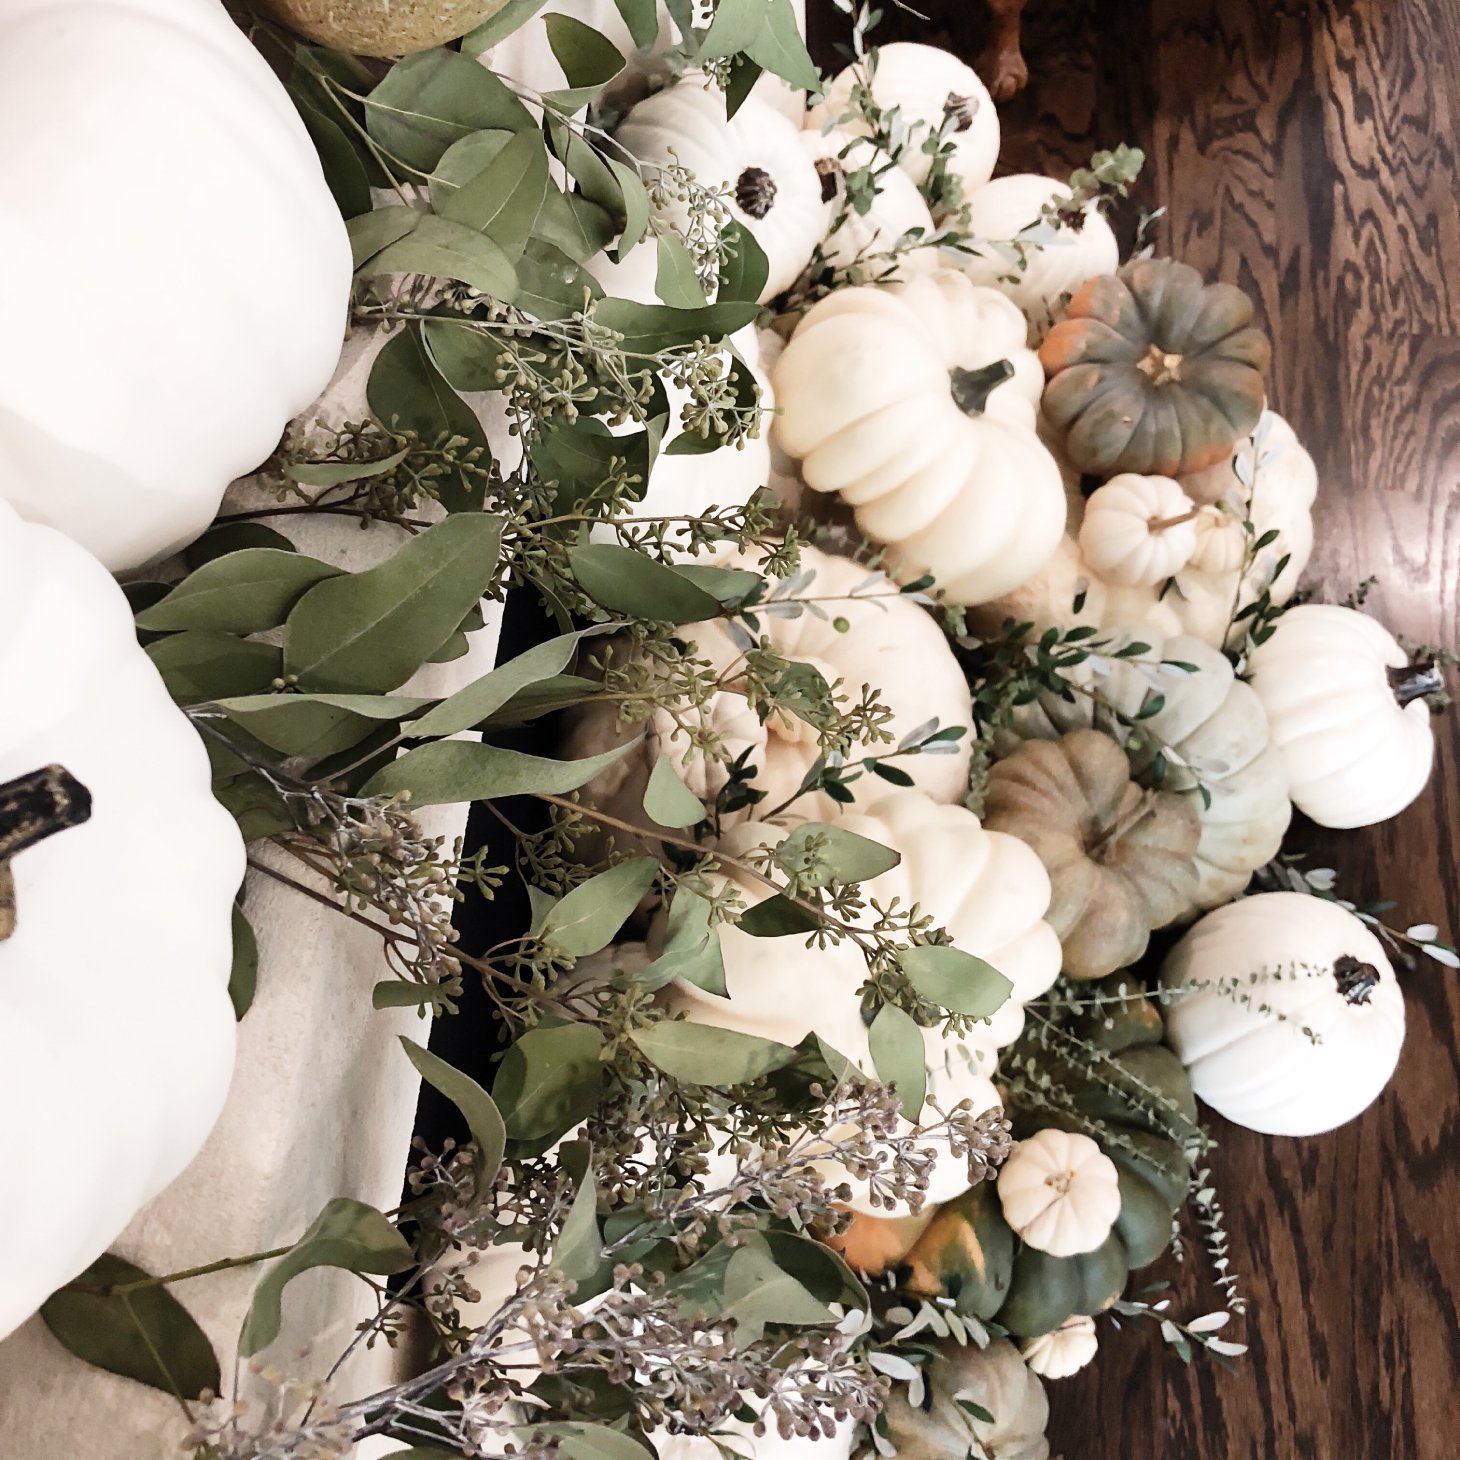
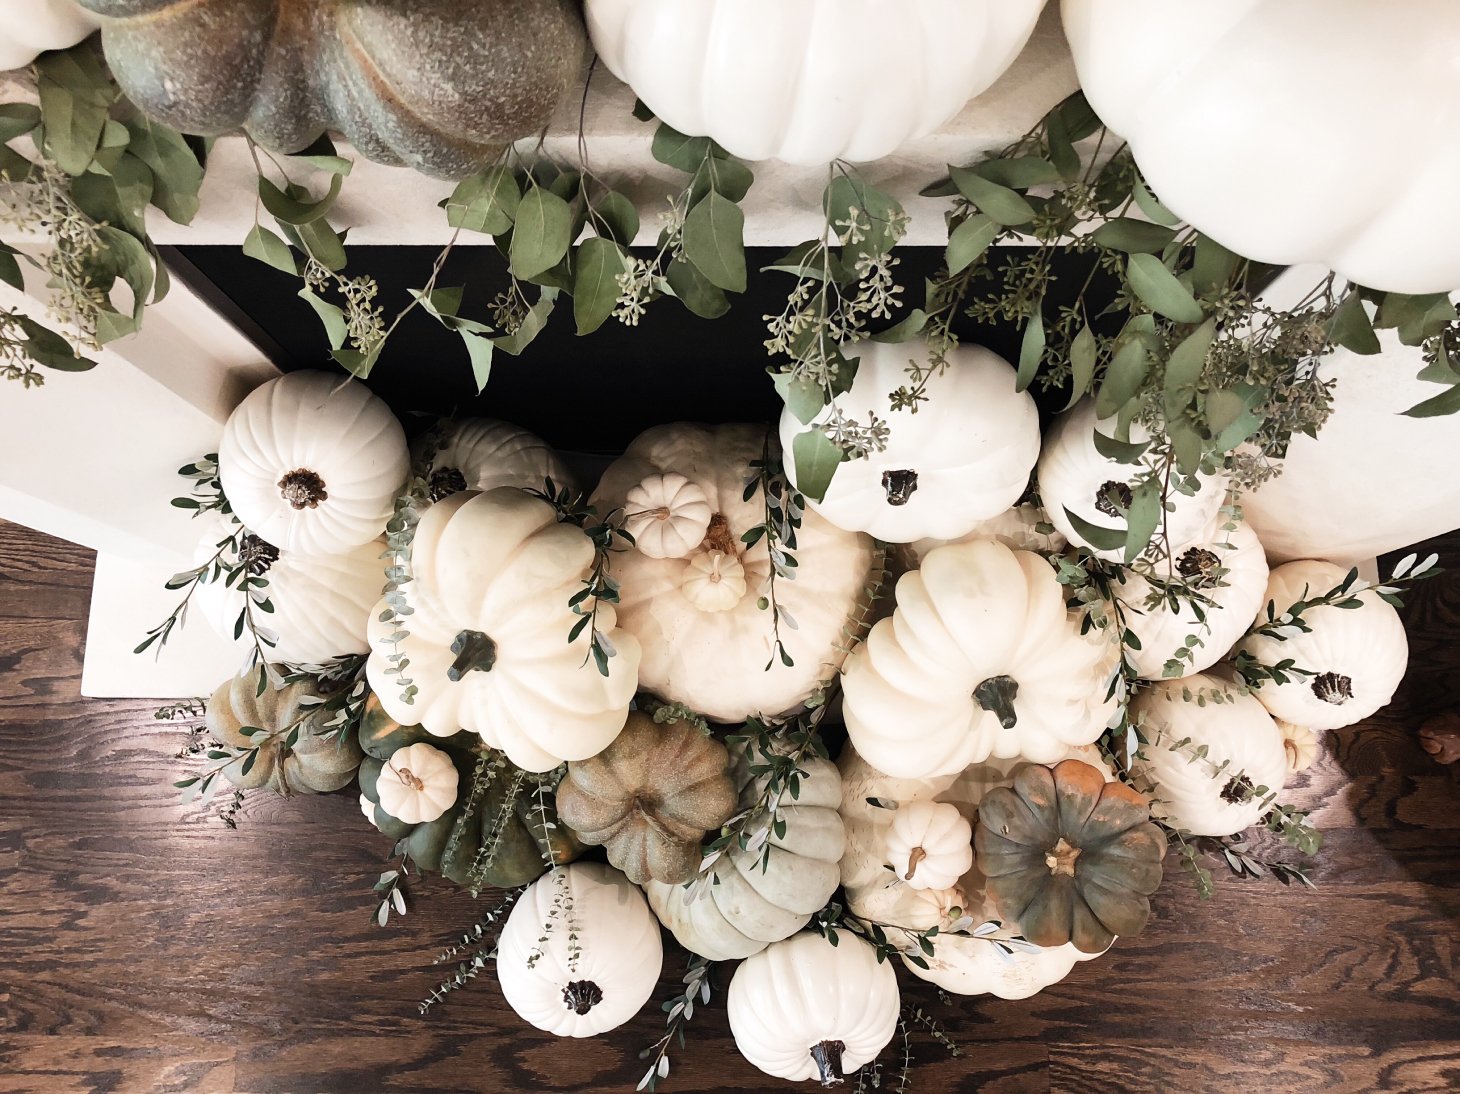
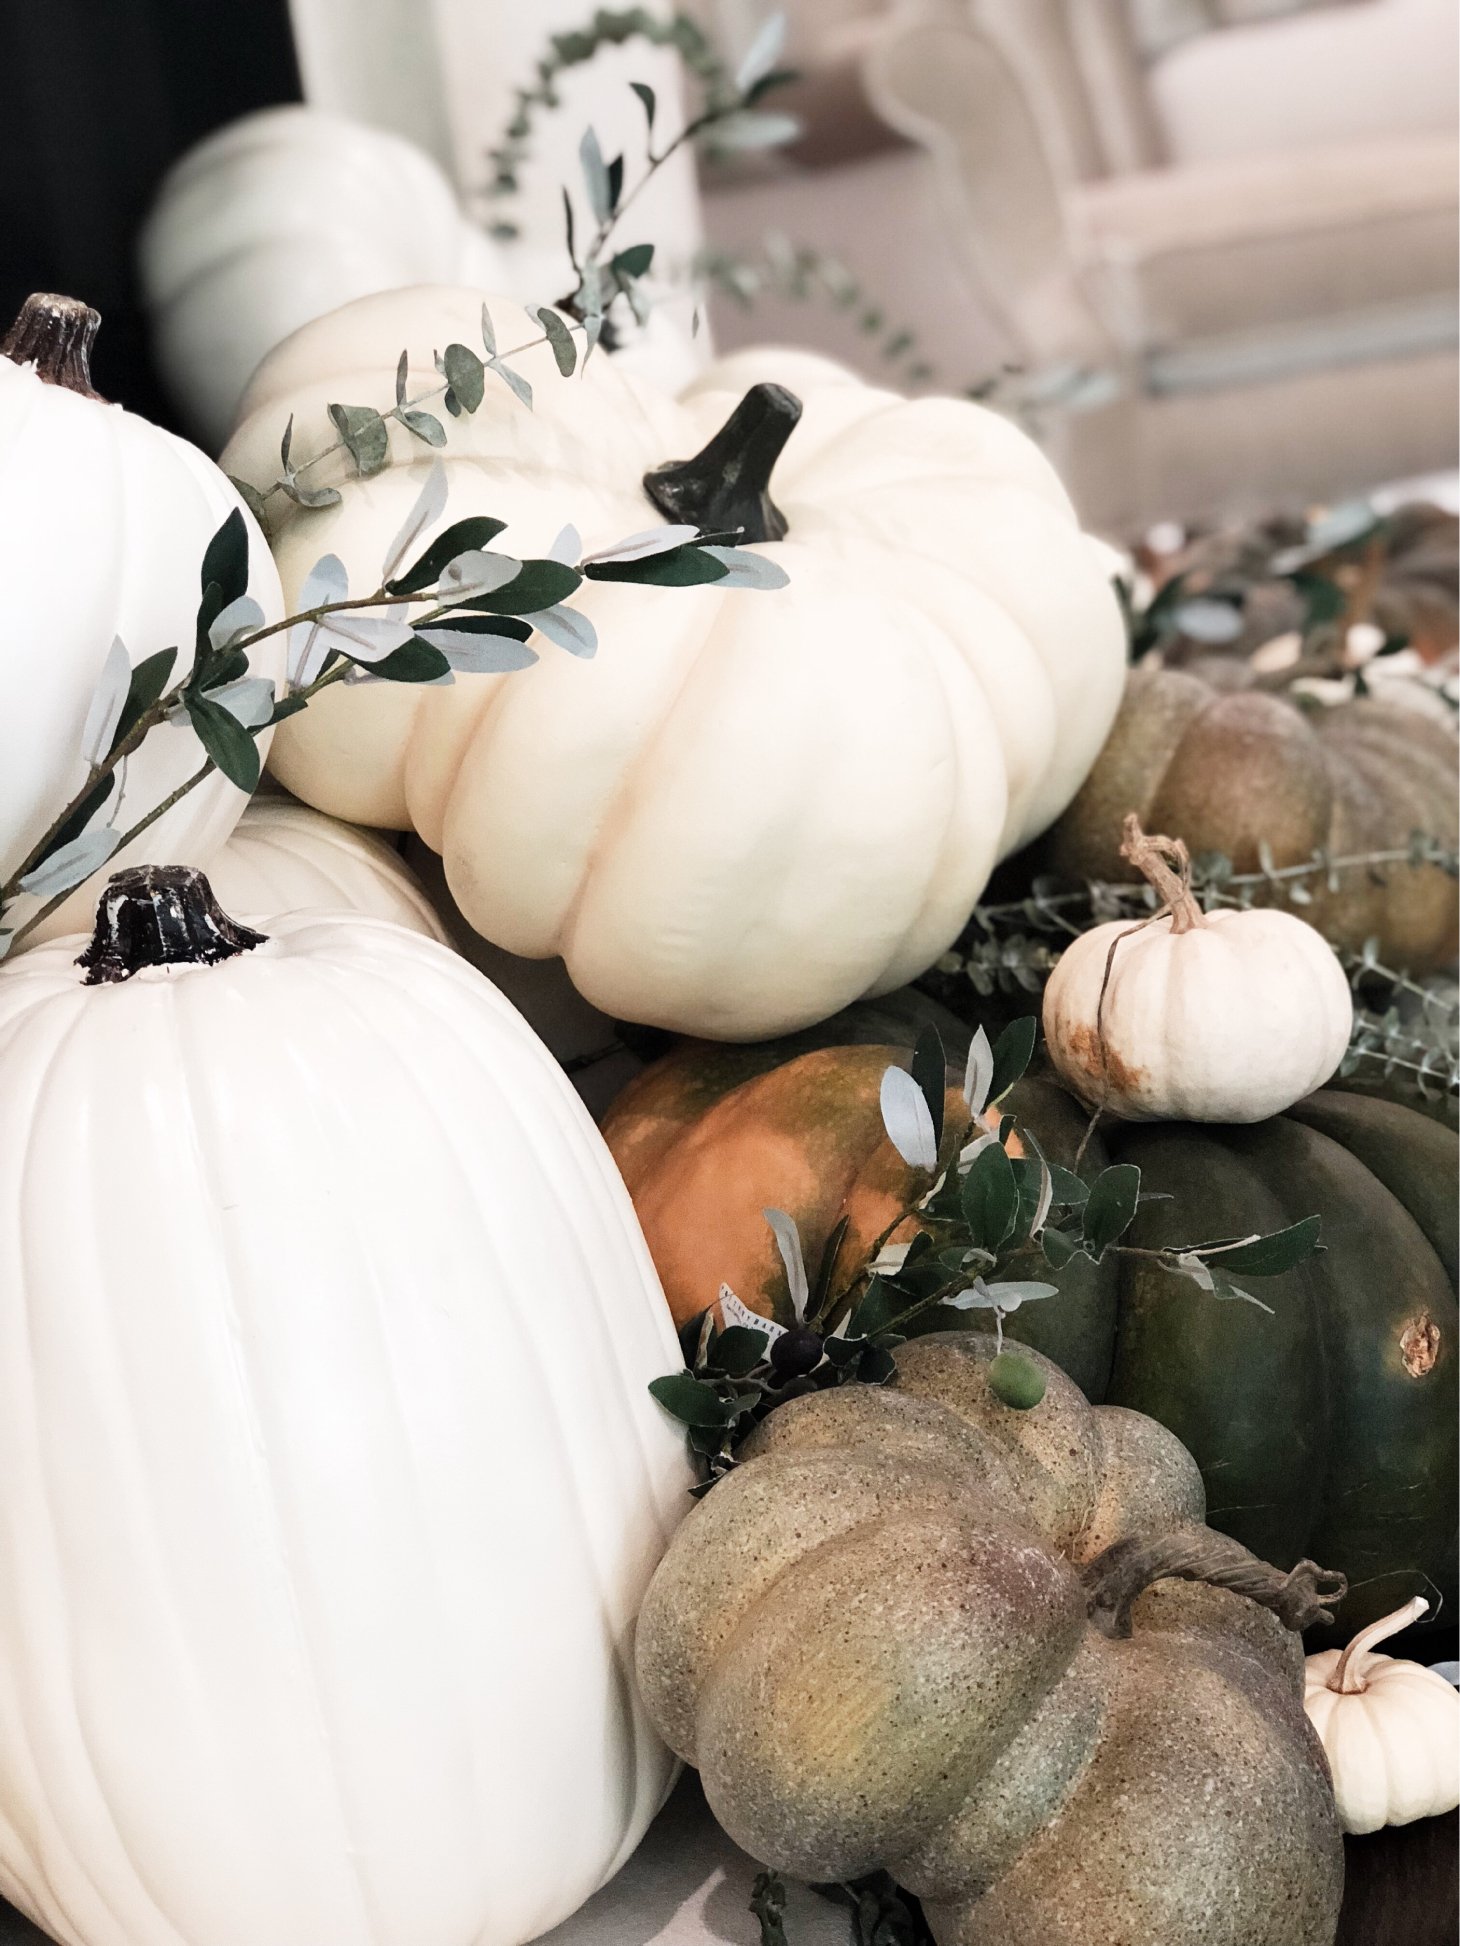
I started with real pumpkins from Pike Nursuries in Atlanta. They had bins upon bins of gorgeous white pumpkins and heirloom pumpkins, which are my favorite. After basically diving into these giant bins head-first in search of the perfect pumpkins, I eventually emerged (covered in dirt and sweat) with five beautiful pumpkins which I knew would anchor my fireplace scene. One of them was over 30 pounds and I had to ask two other people to help me get it out of the bin!
I always like to include real pumpkins in my décor because I think they make the other faux pumpkins I put around them look more real. Maybe that’s just me! However, I try not to overdo it because real pumpkins can get expensive and they eventually rot, of course. See my notes below on how to make your real pumpkins last through the season!
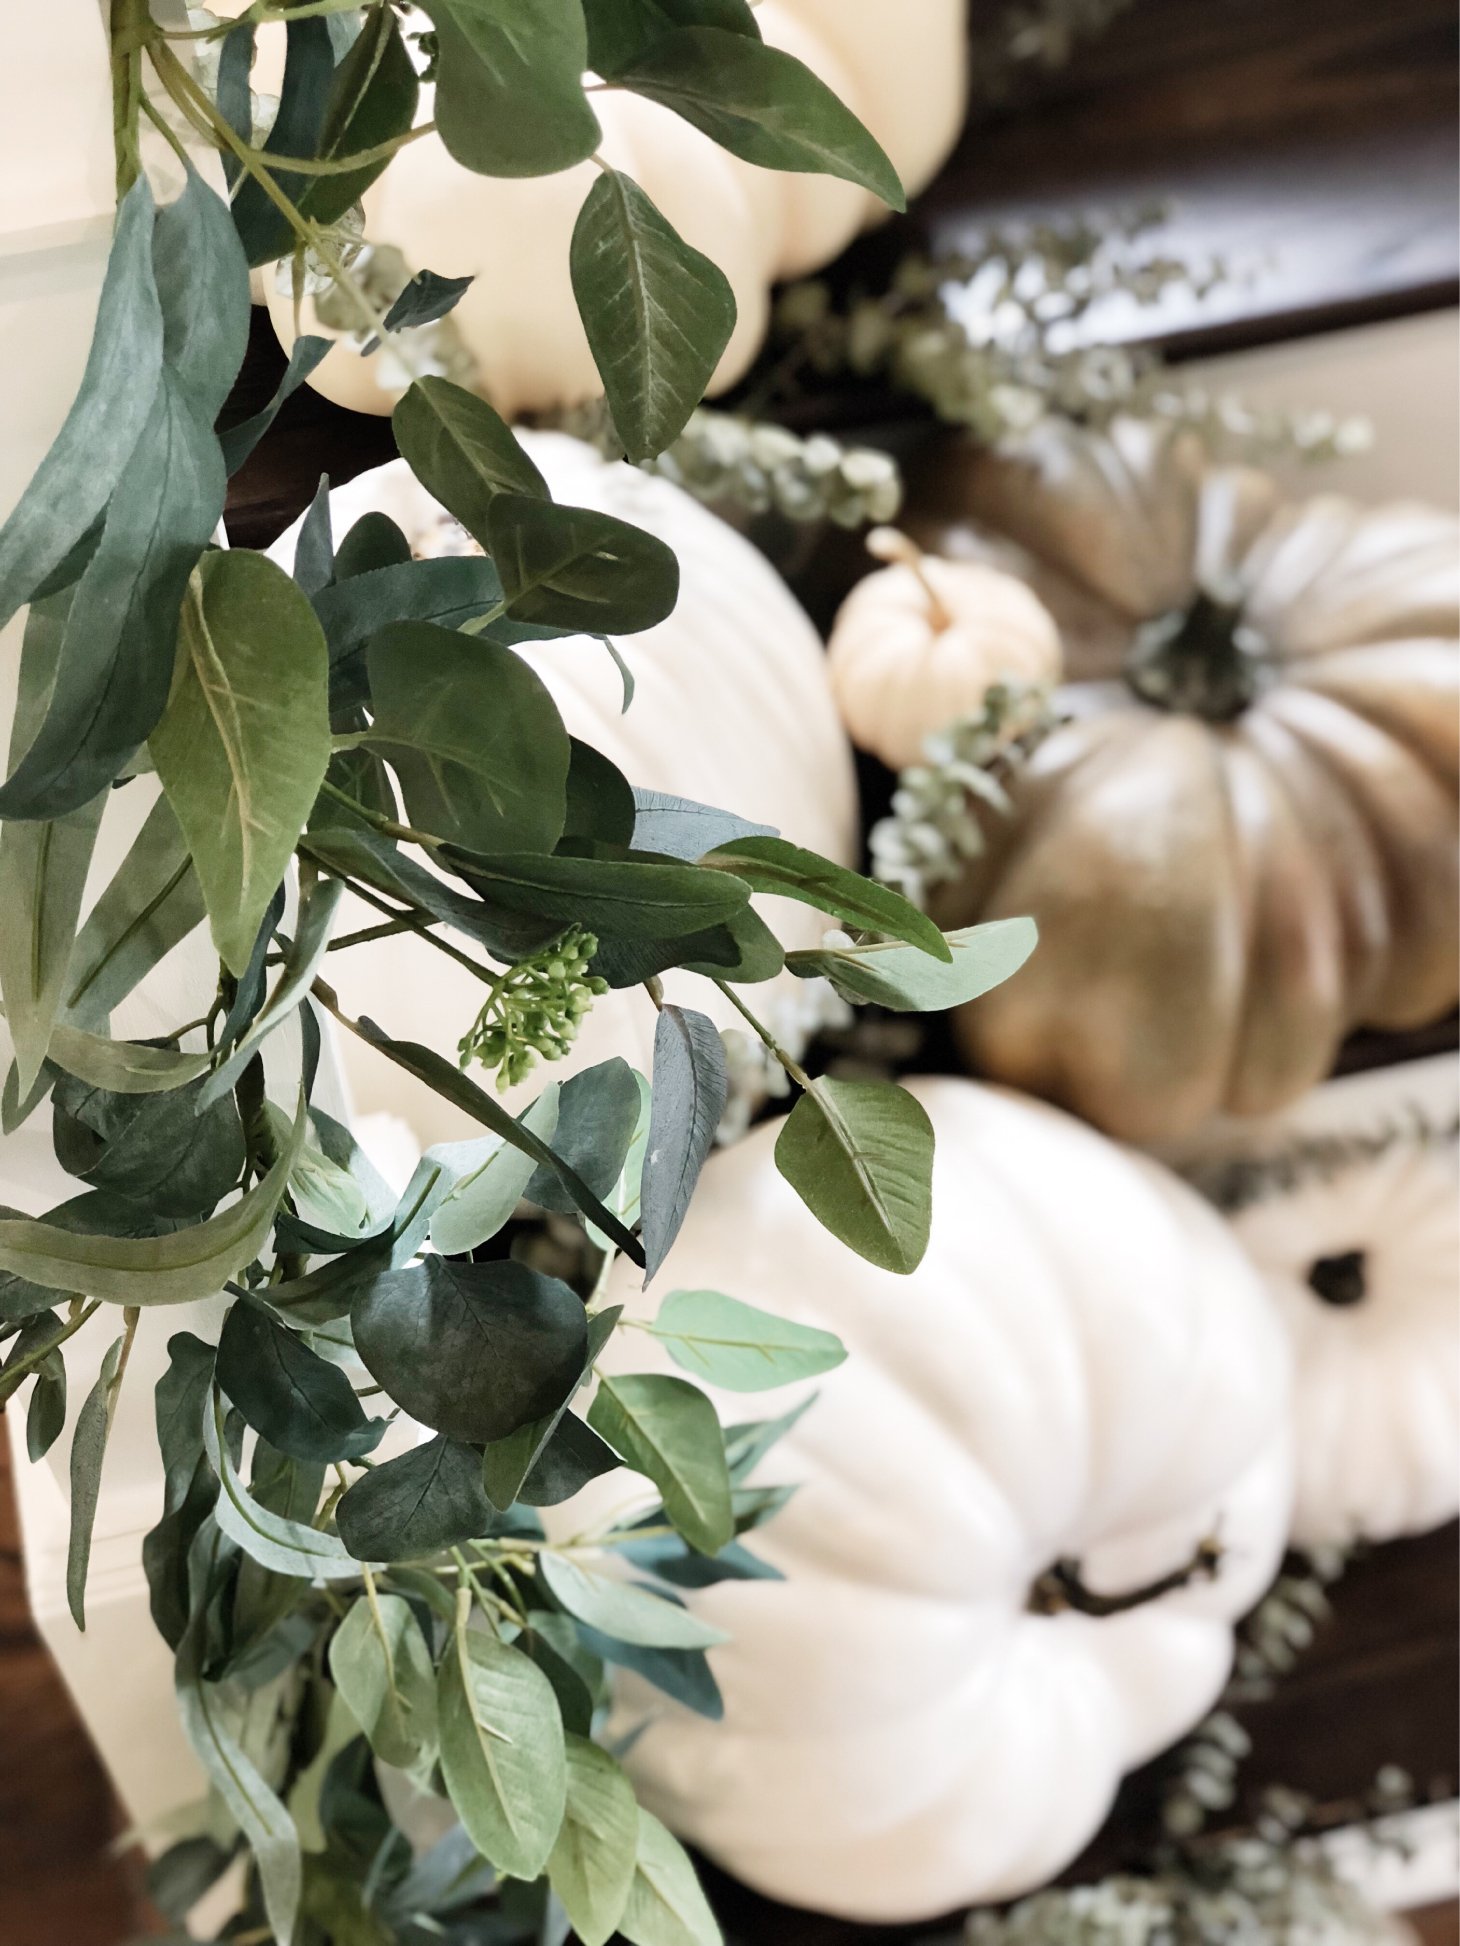
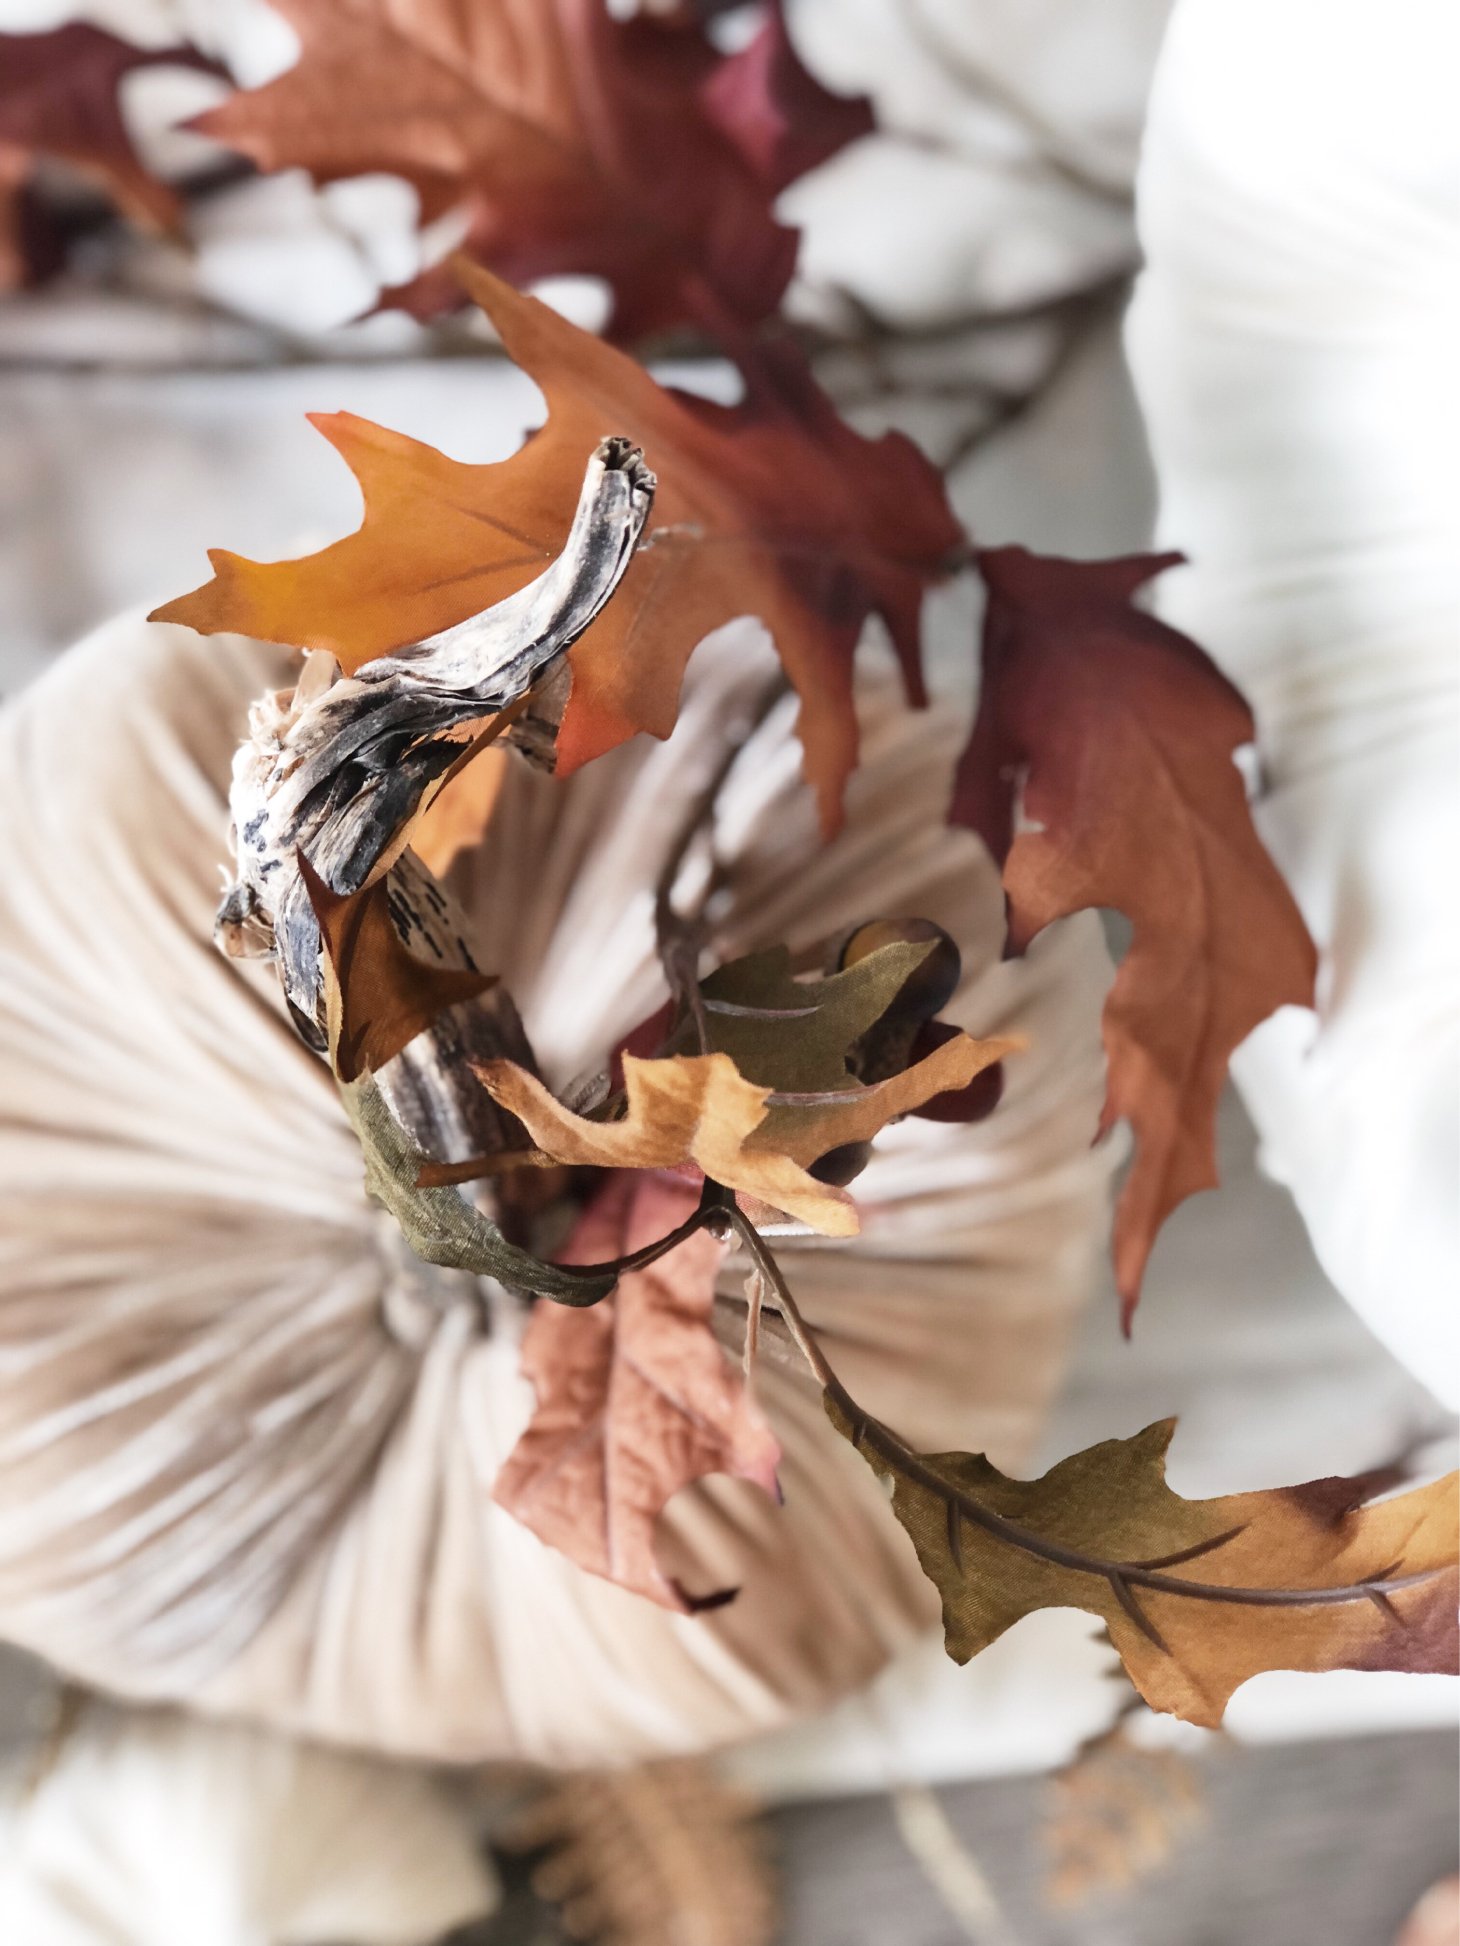
My faux pumpkins are from Target, Michael’s, Amazon, and Pottery Barn. I think it’s important to buy a variety of shapes, sizes, and styles of faux pumpkins to make them look more authentic. Once I’d piled them all up, I added some fresh eucalyptus stems for another natural touch. Eucalyptus can last without water for seemingly forever, it just dries out but doesn’t wilt. Plus, it smells heavenly AND is so inexpensive at Trader Joe’s! I also threw in some faux eucalyptus and olive branch stems from Pottery Barn for some added texture!
Scroll for product links!


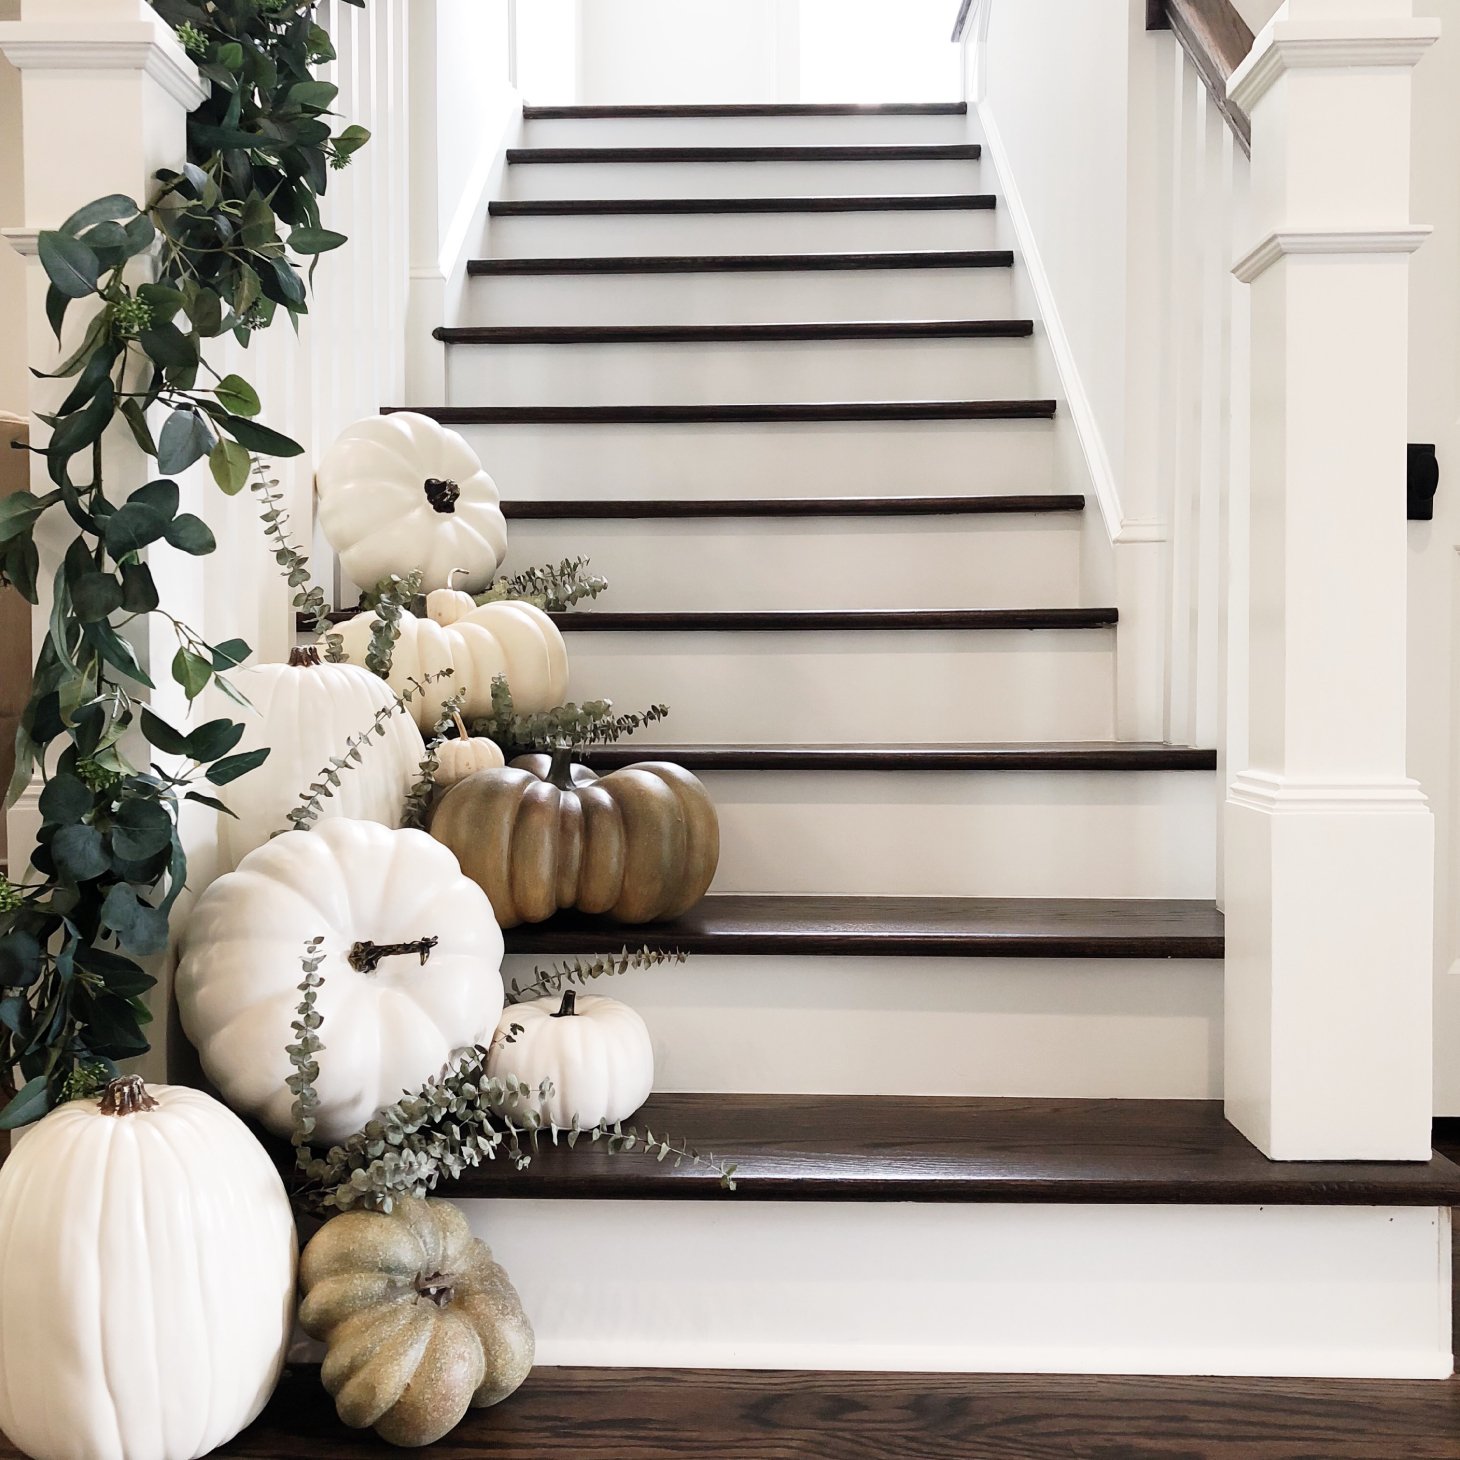
Staircase

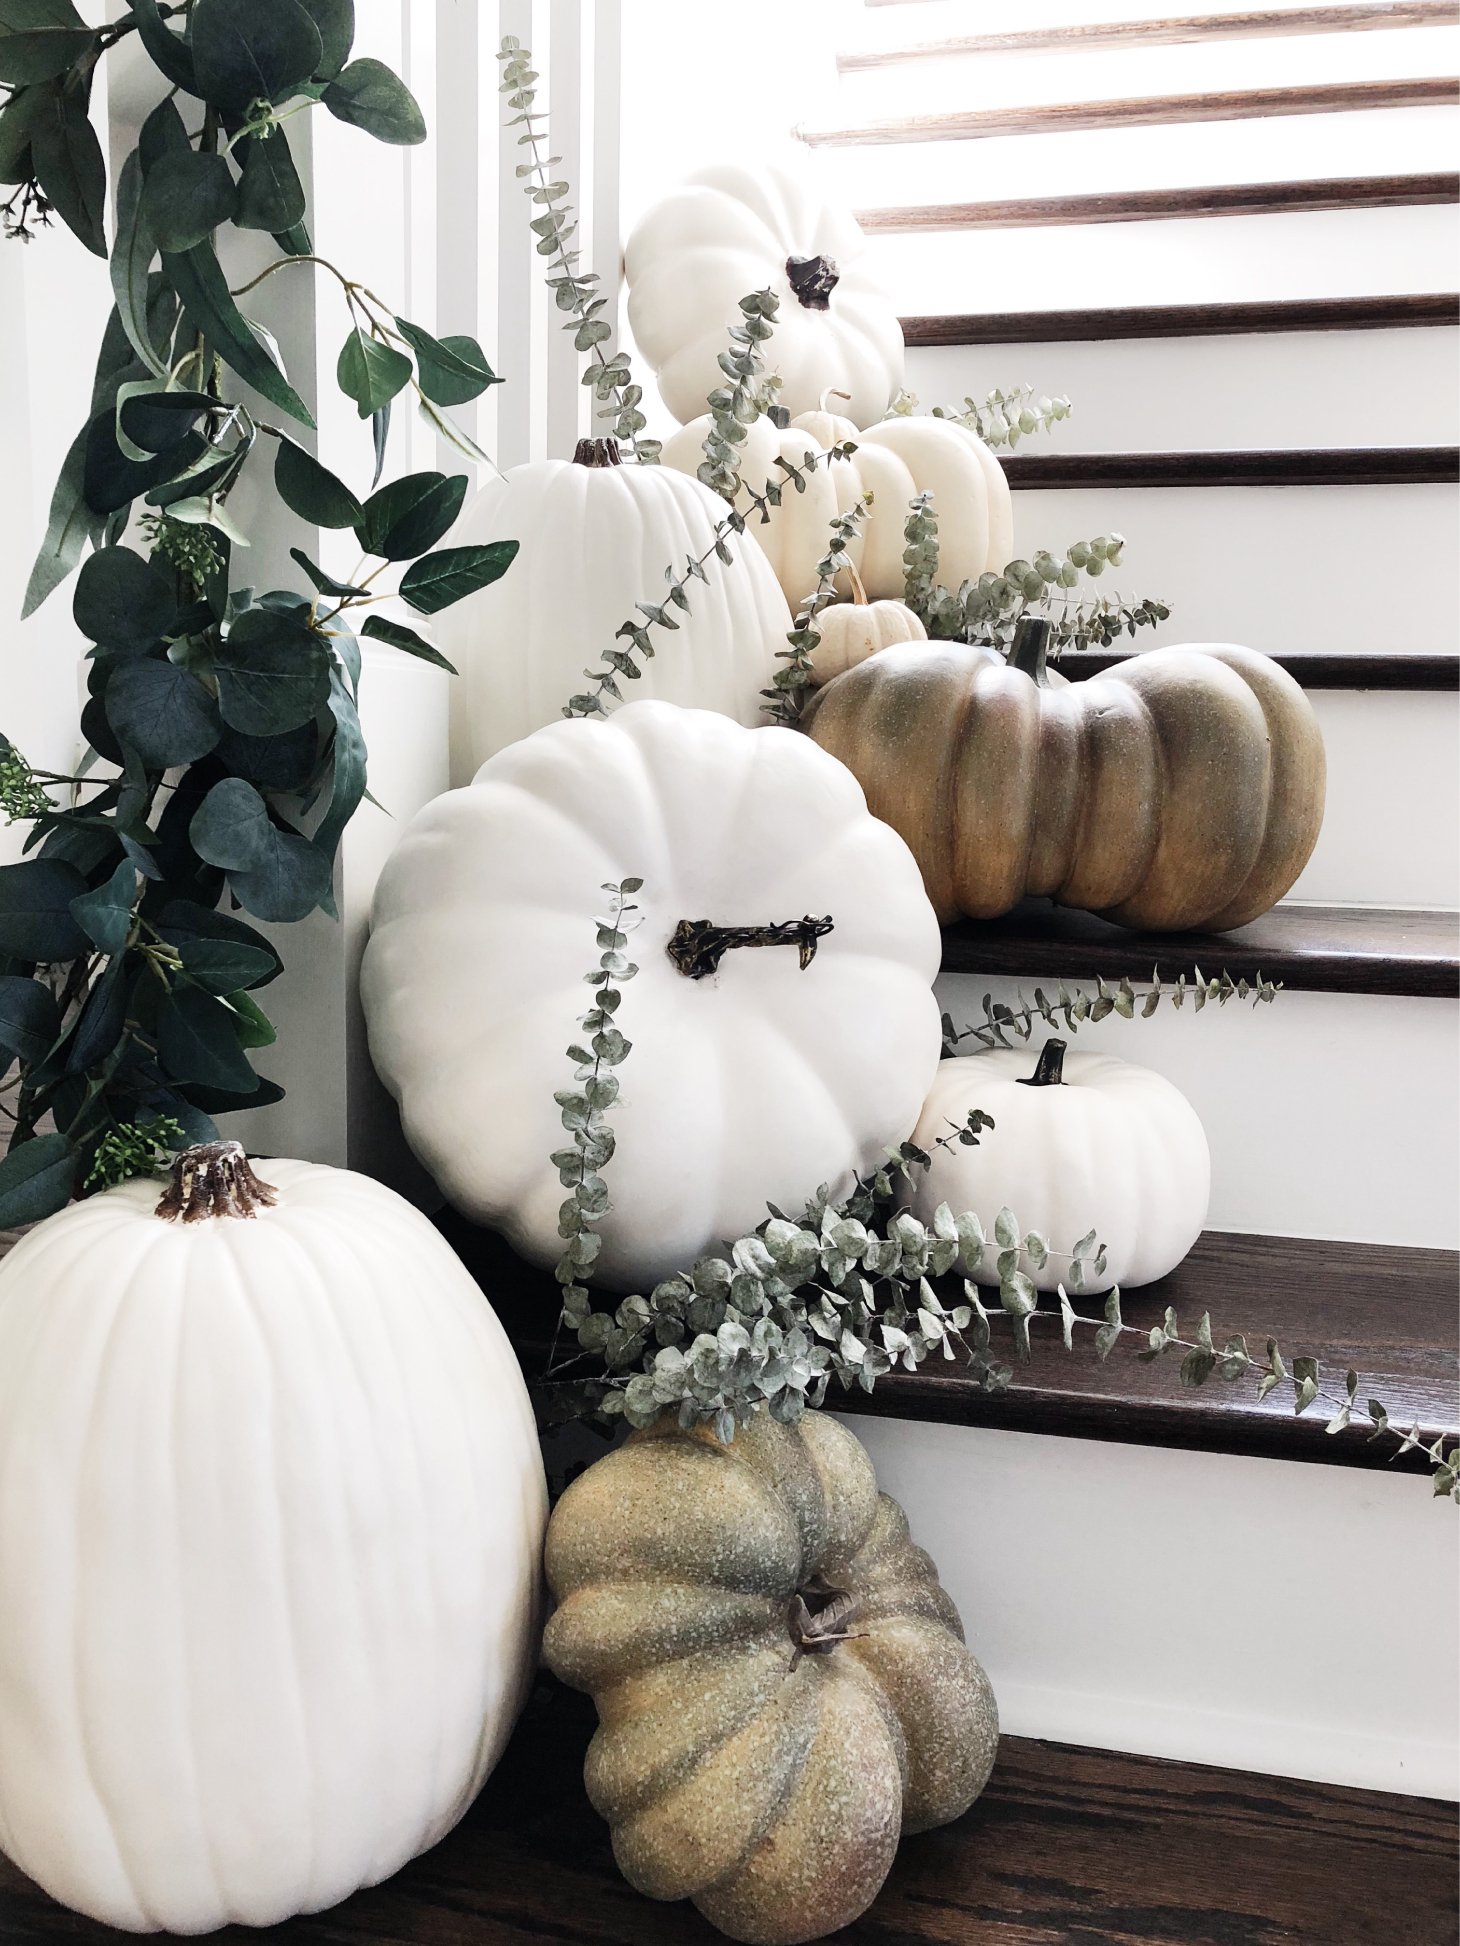
Decorating the staircase was super easy because I just used whatever leftover pumpkins I had from the fireplace scene. Here, I used all faux pumpkins but all fresh eucalyptus. The only thing missing was something on the banister. I didn’t want anything too expensive, but I wanted it to continue the natural vibe of the décor. Target had the perfect solution! I used two of these faux eucalyptus garlands and secured them with black zip-ties. The quality is super impressive given how inexpensive they are! Here’s hoping they get a cypress version for my Christmas décor!
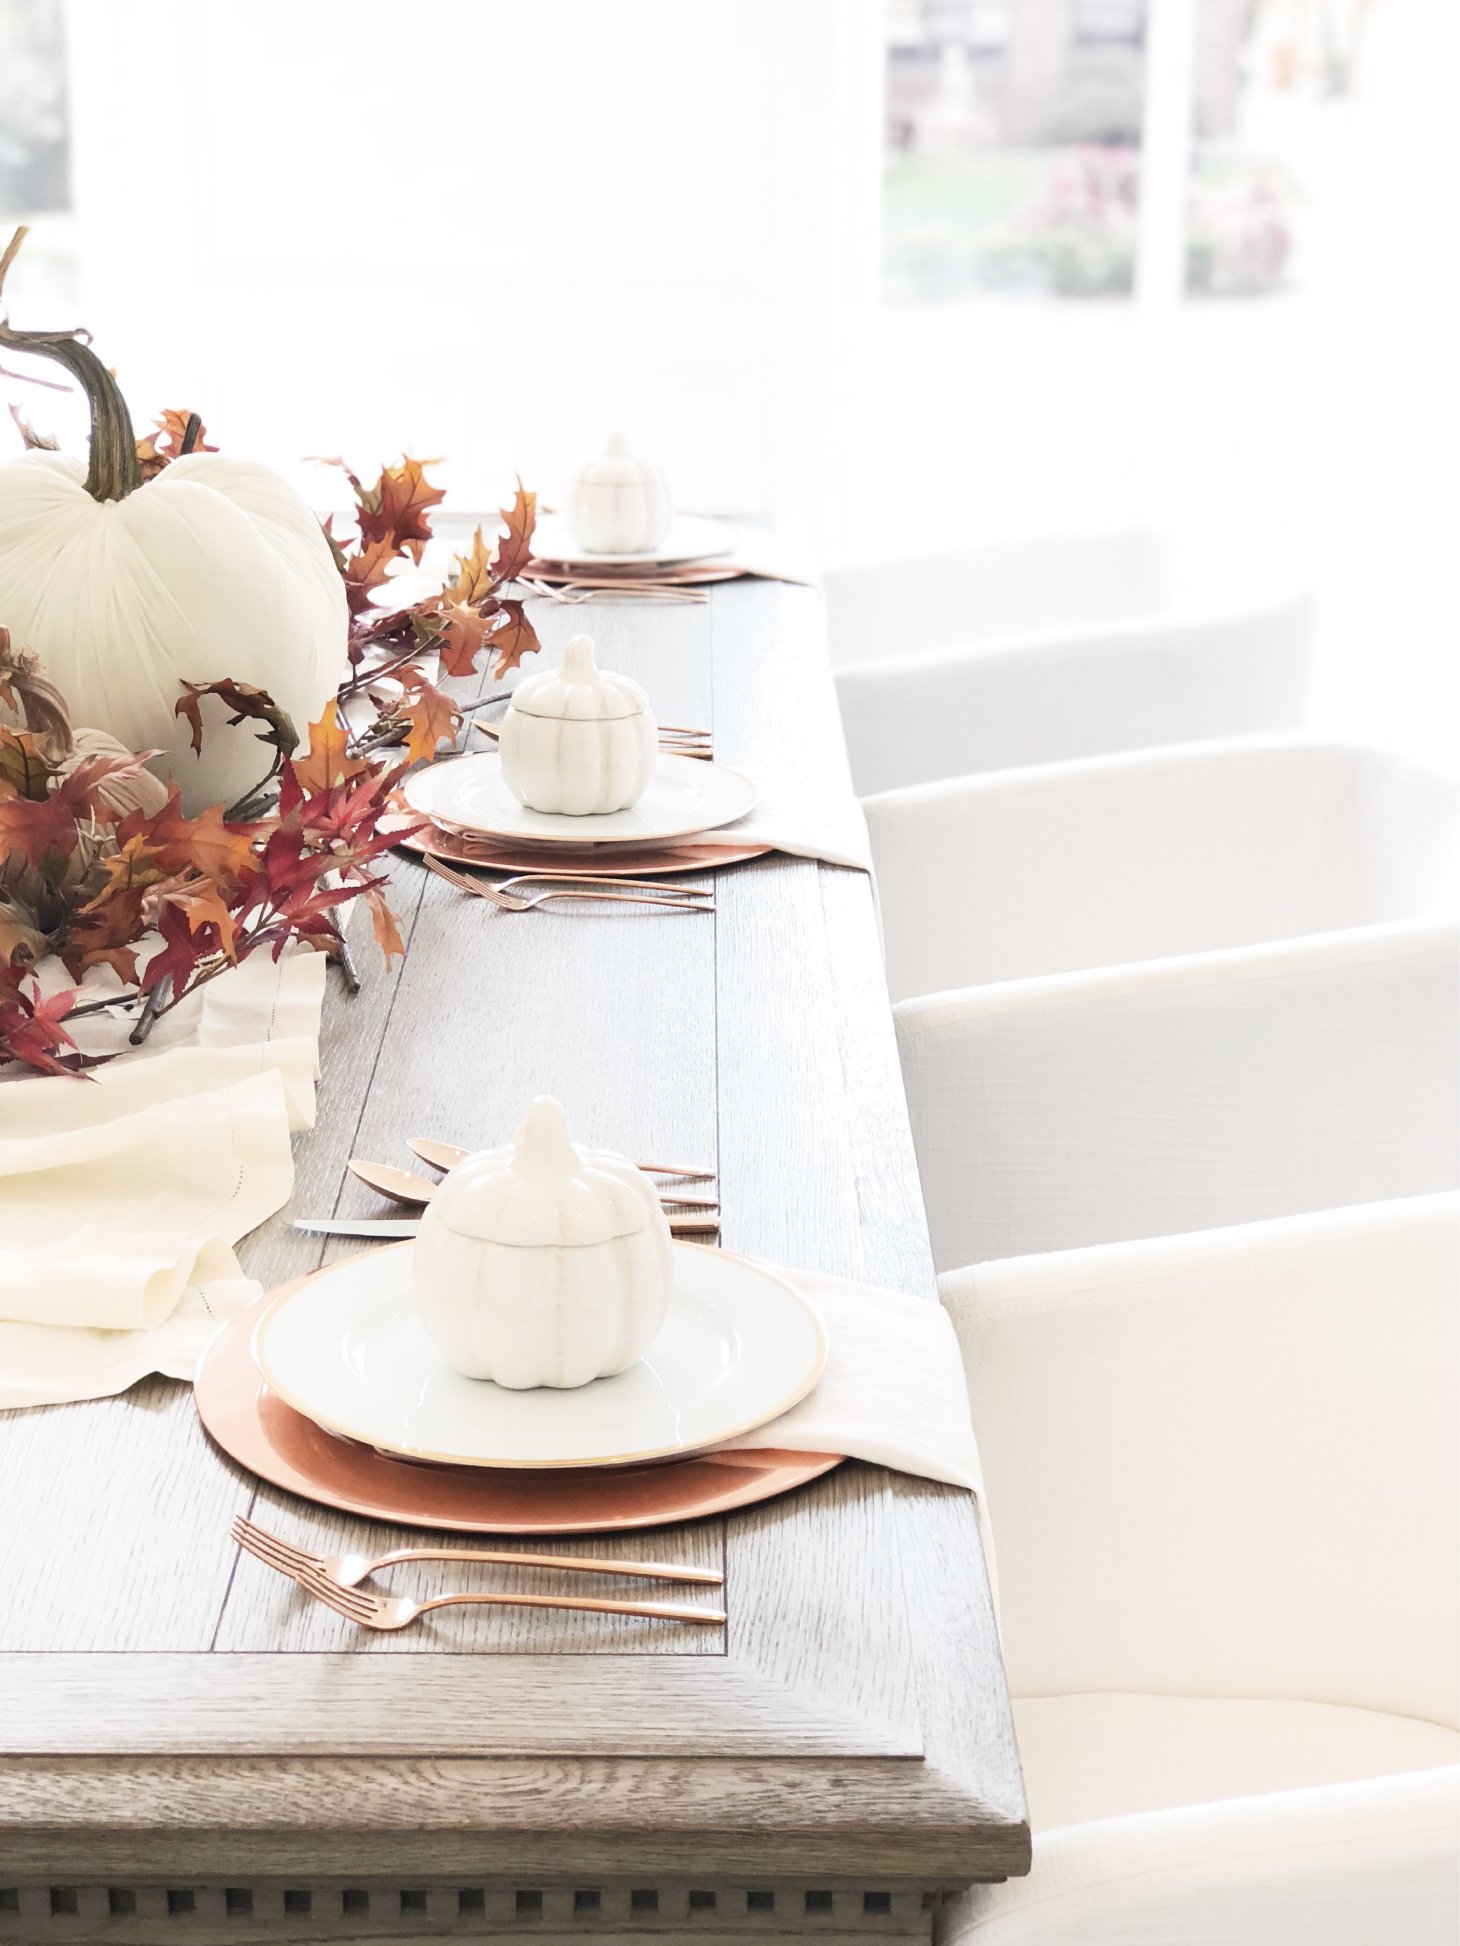
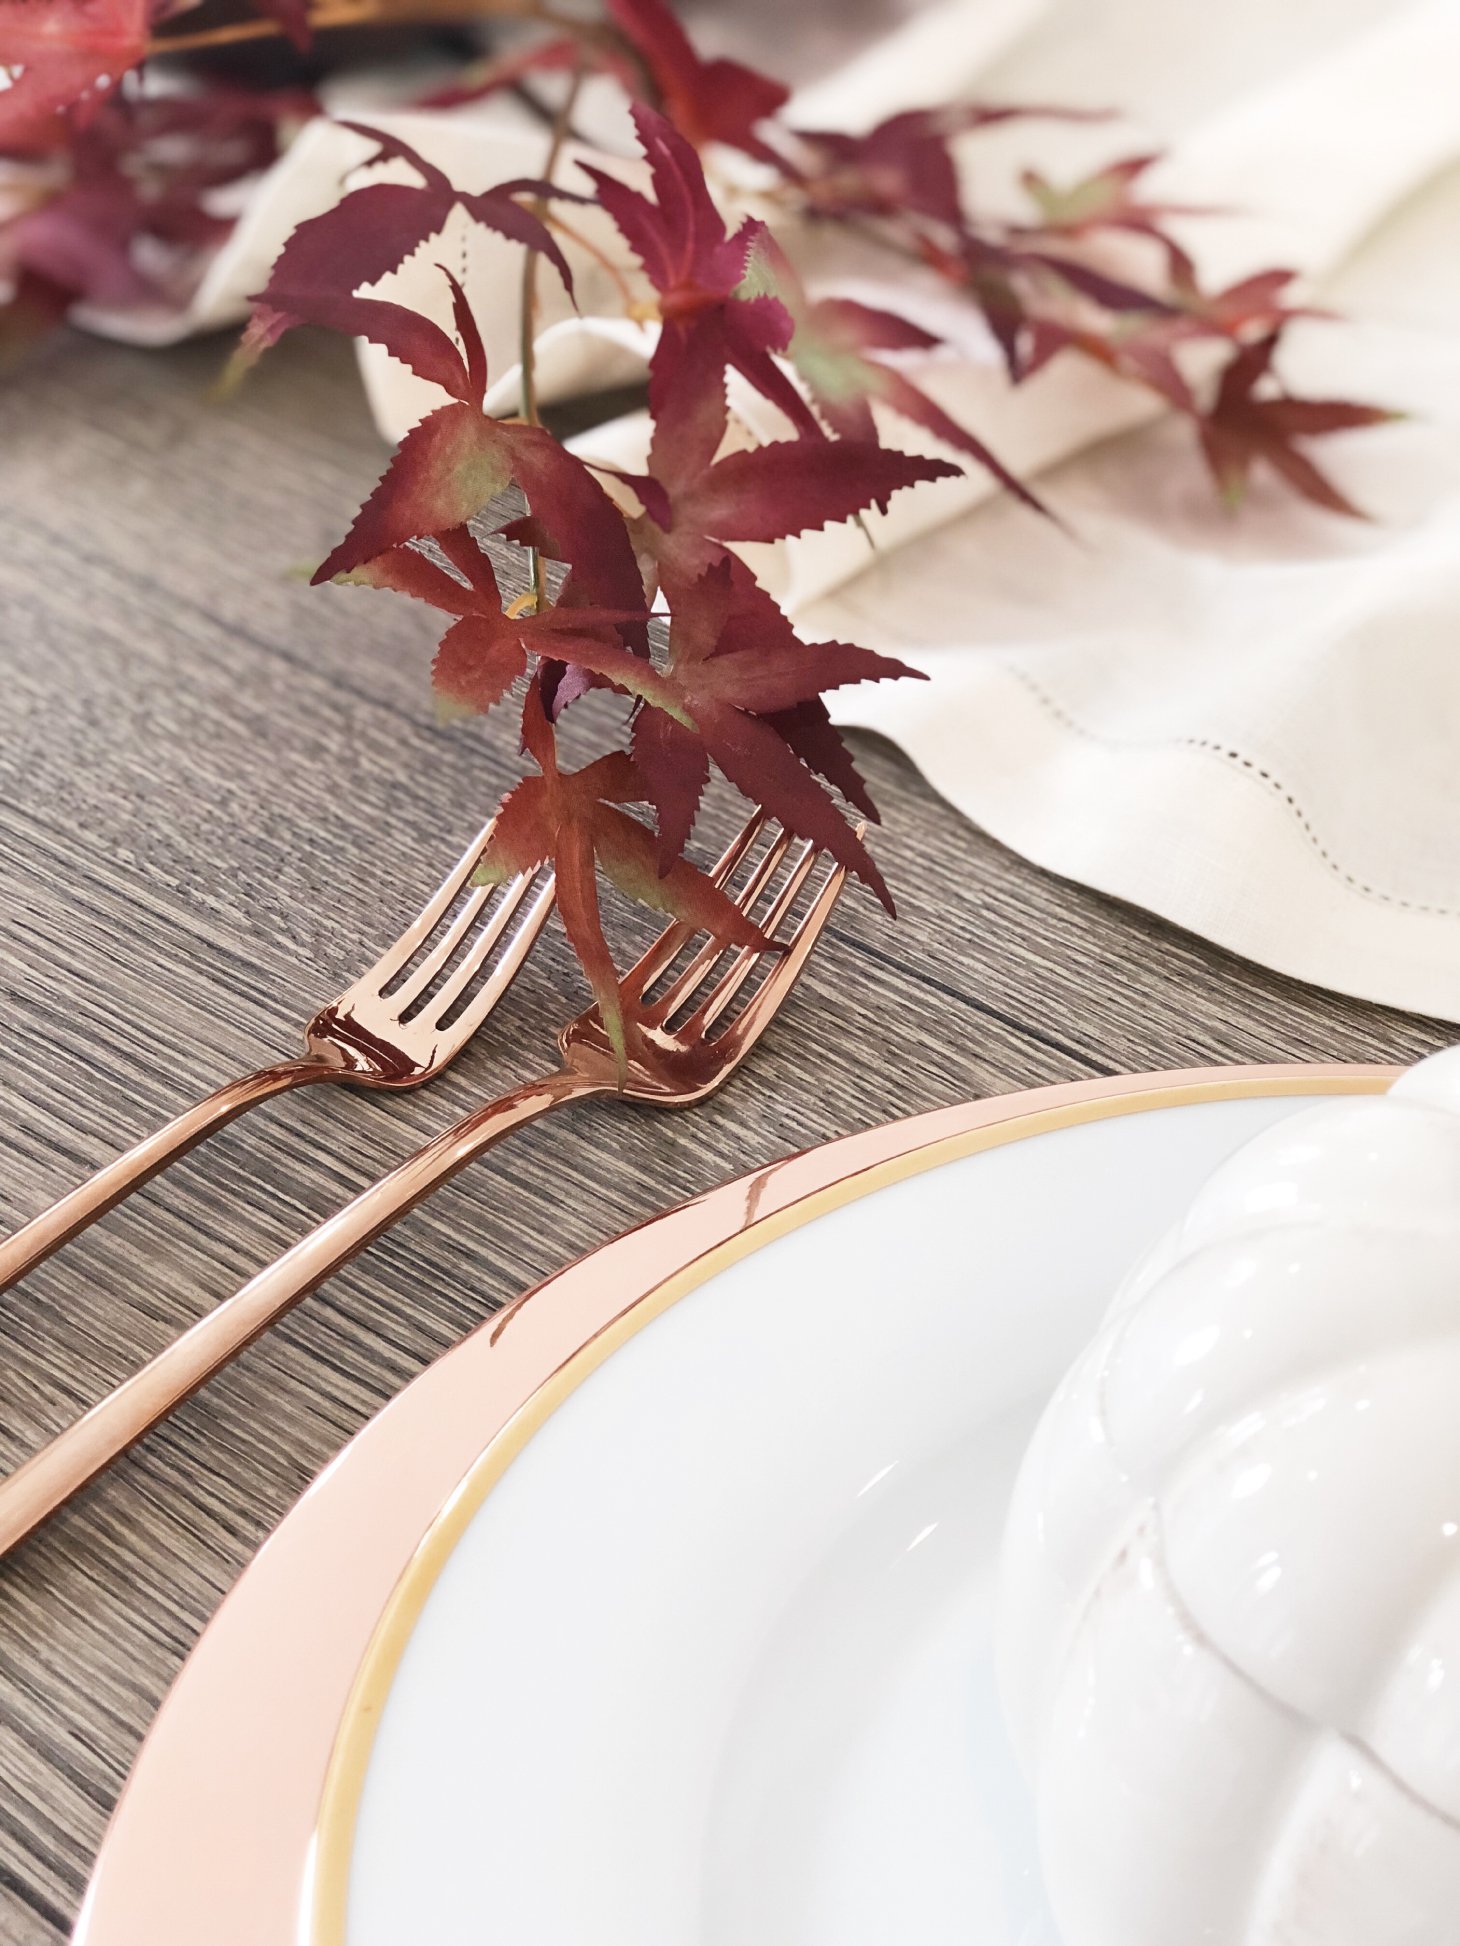
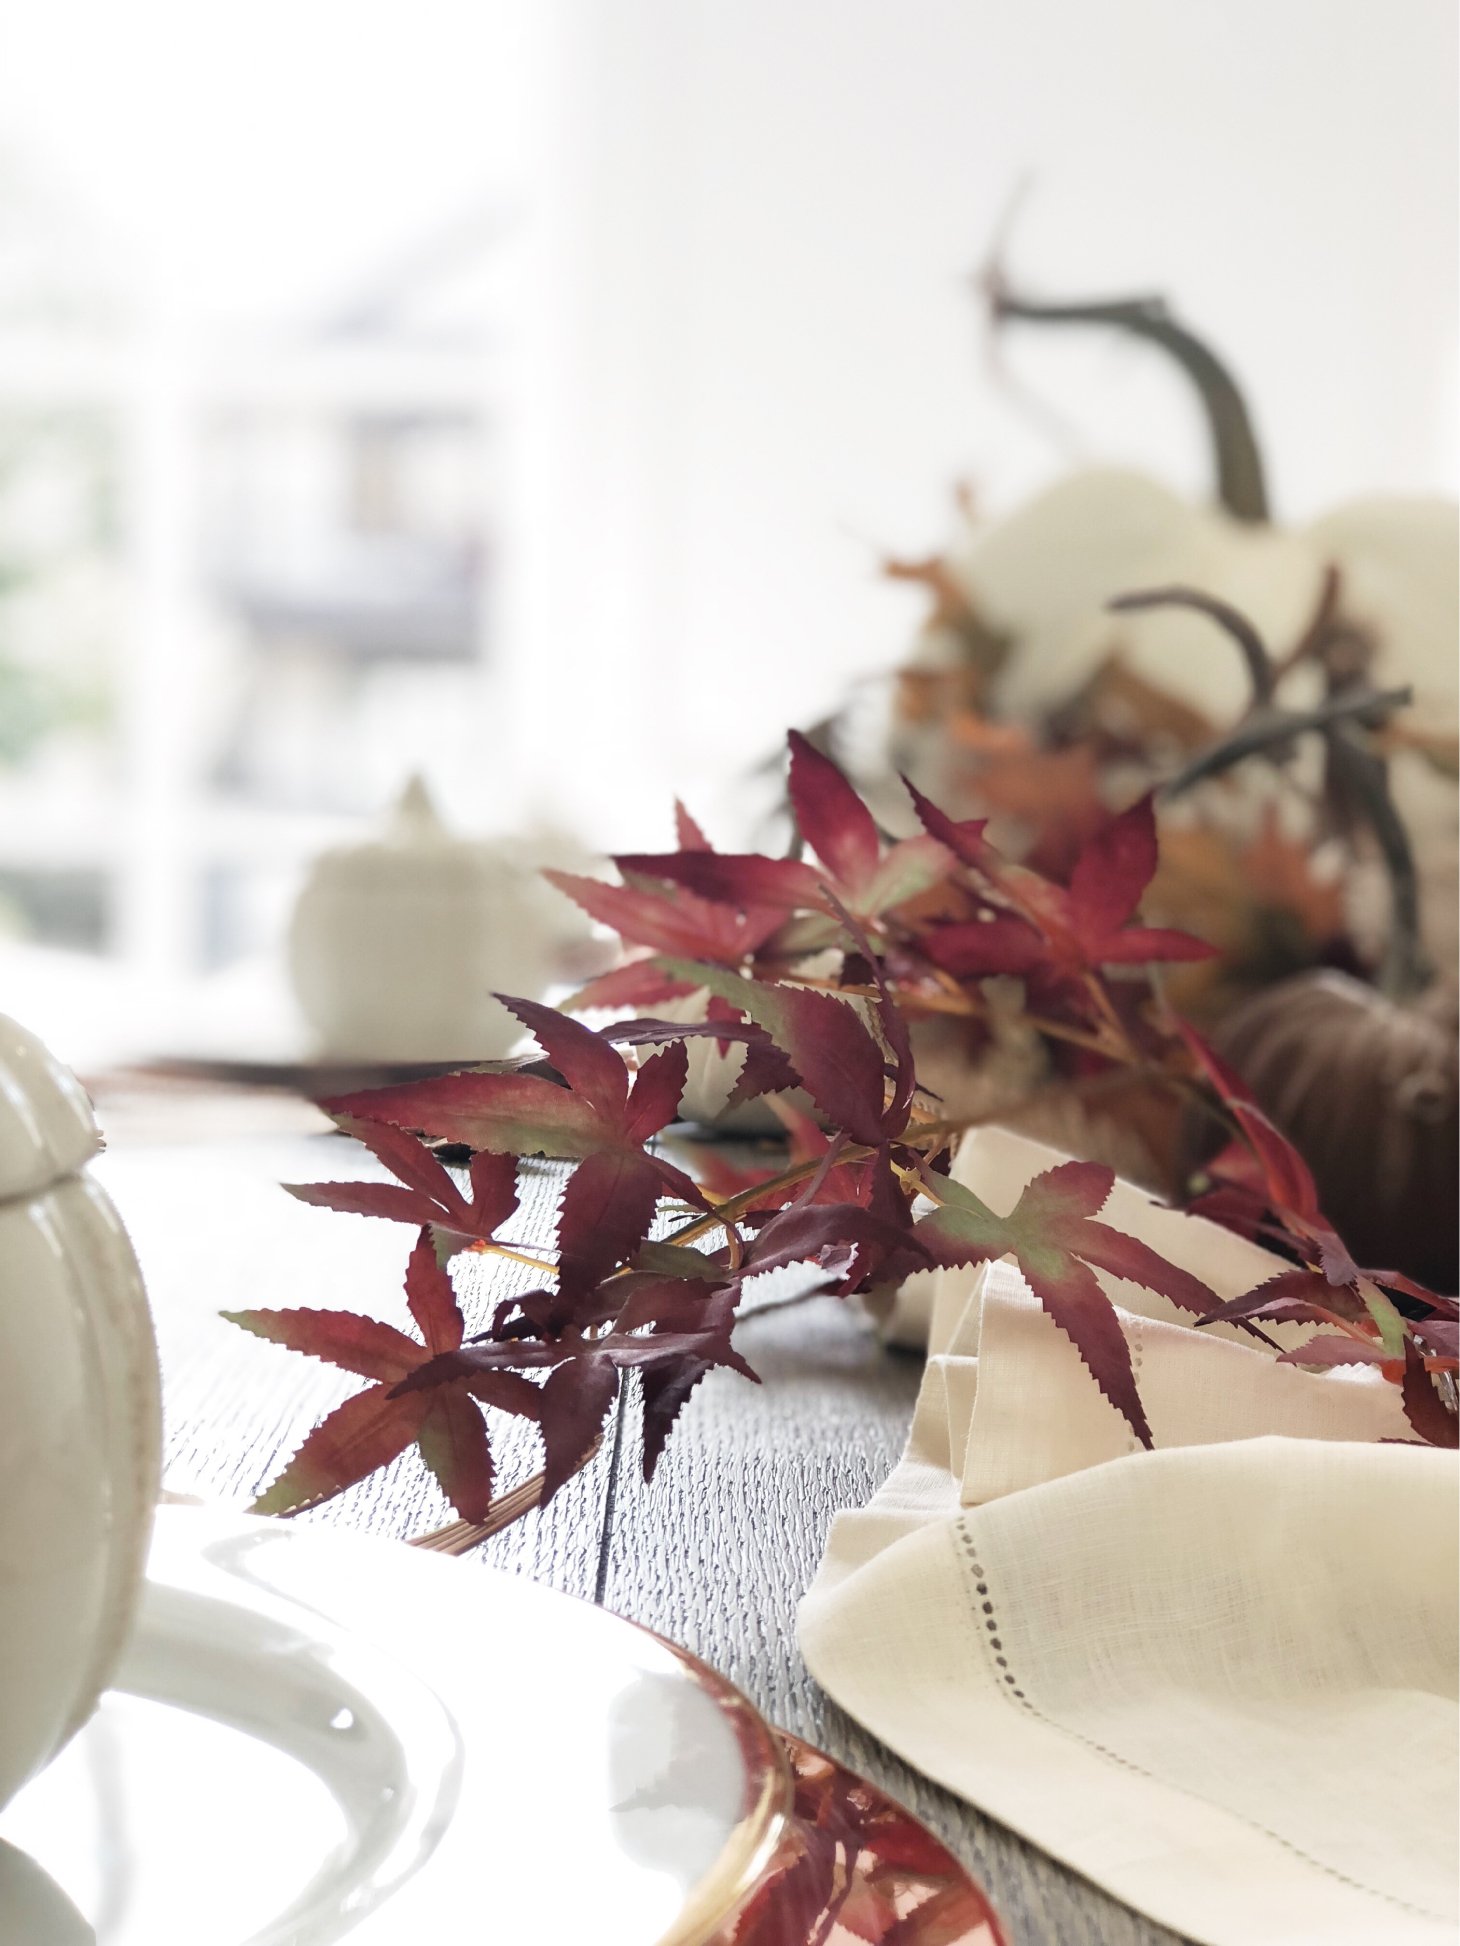
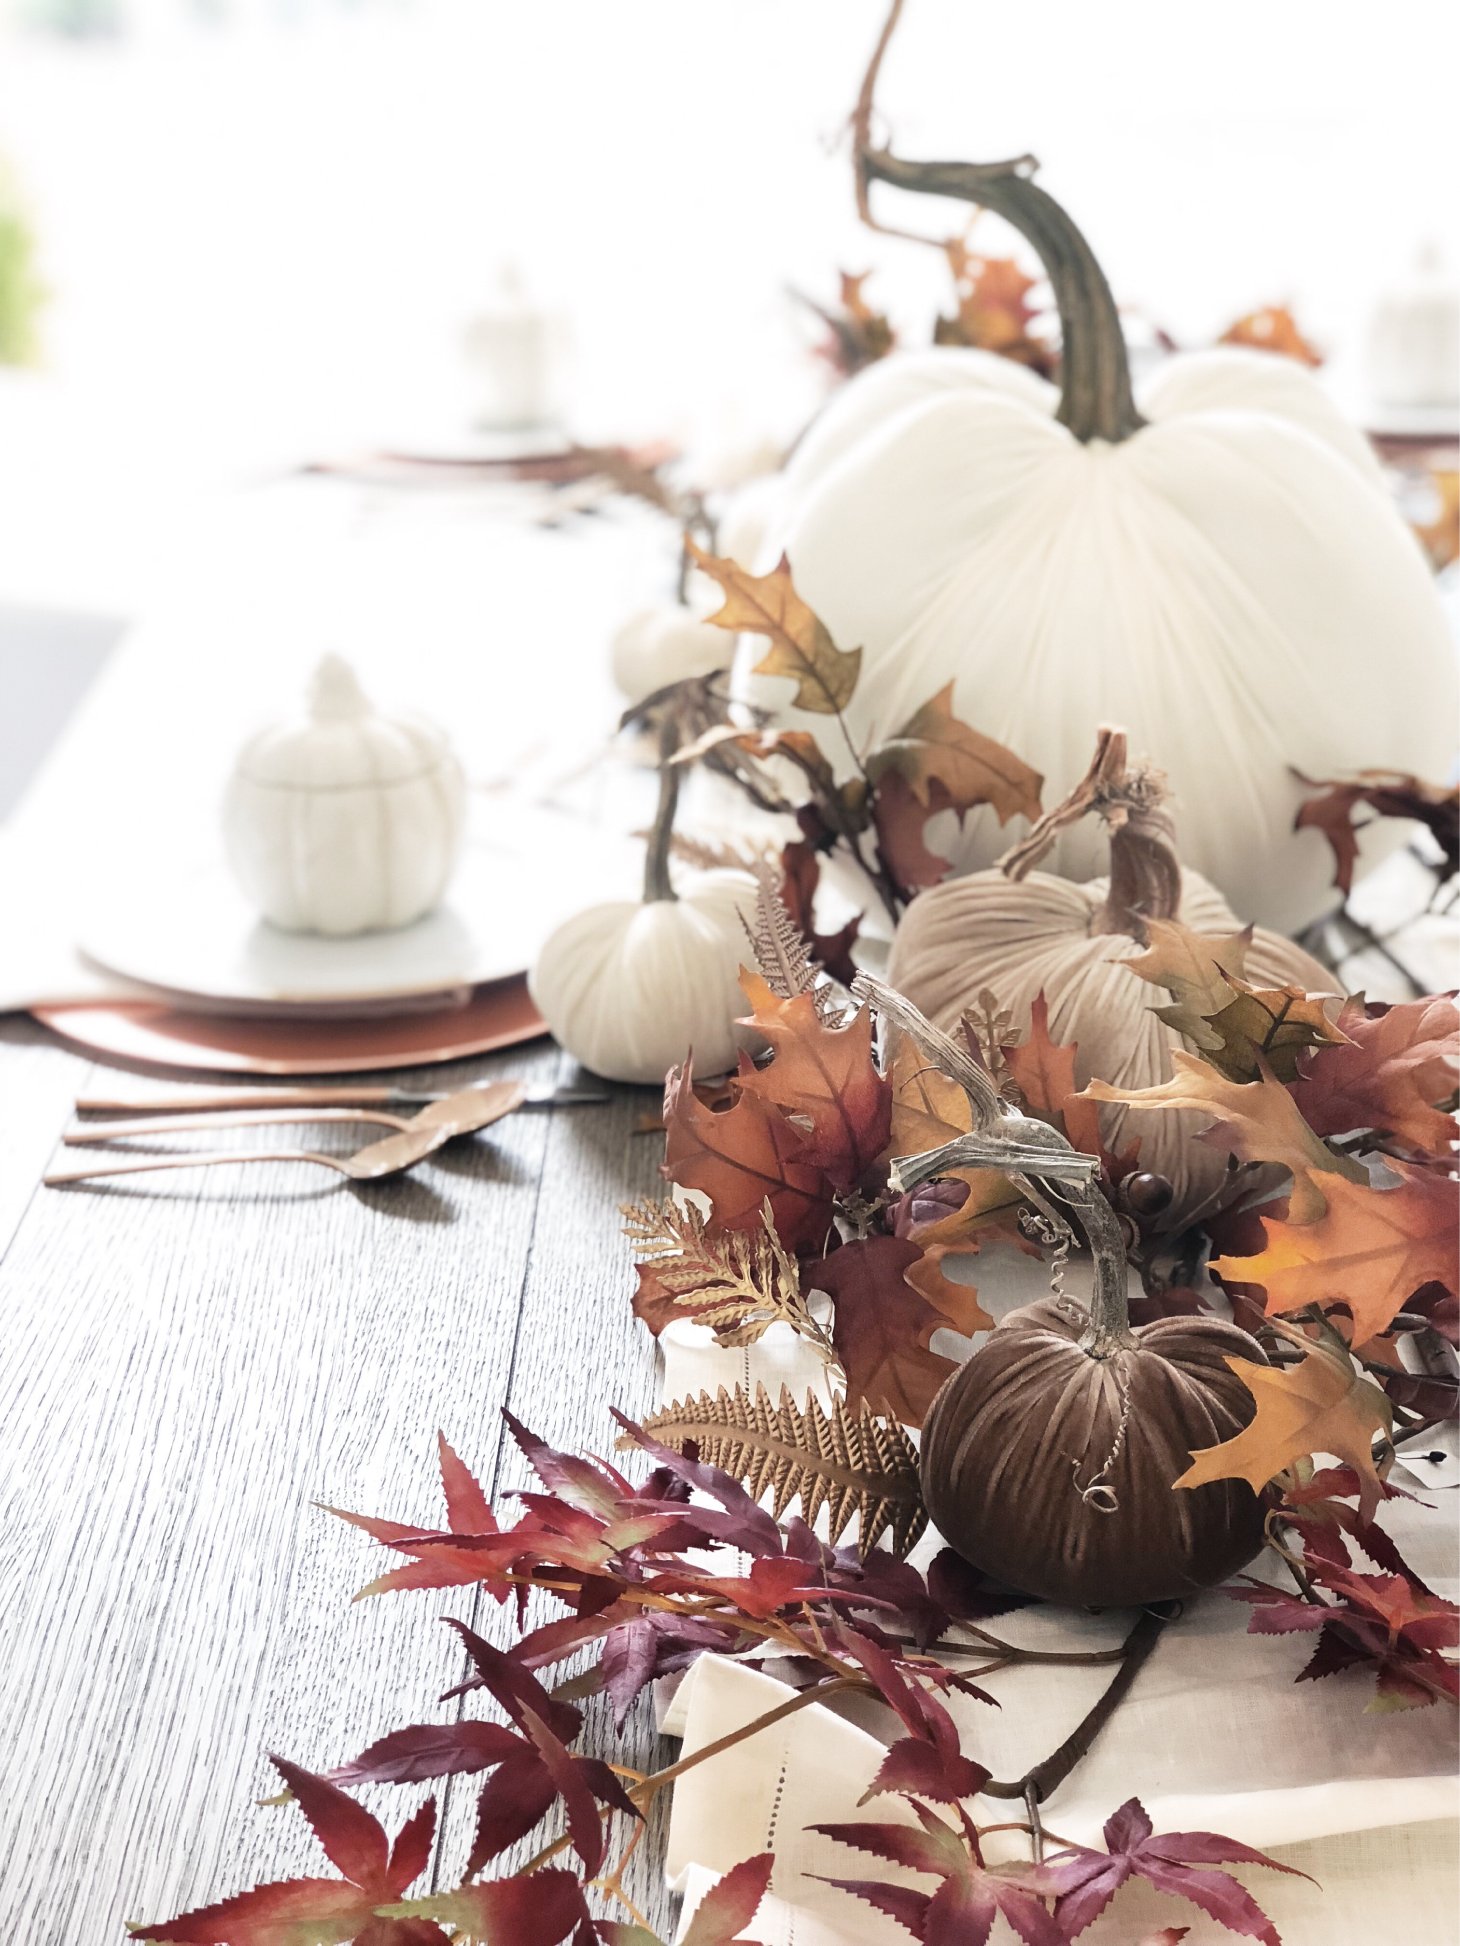
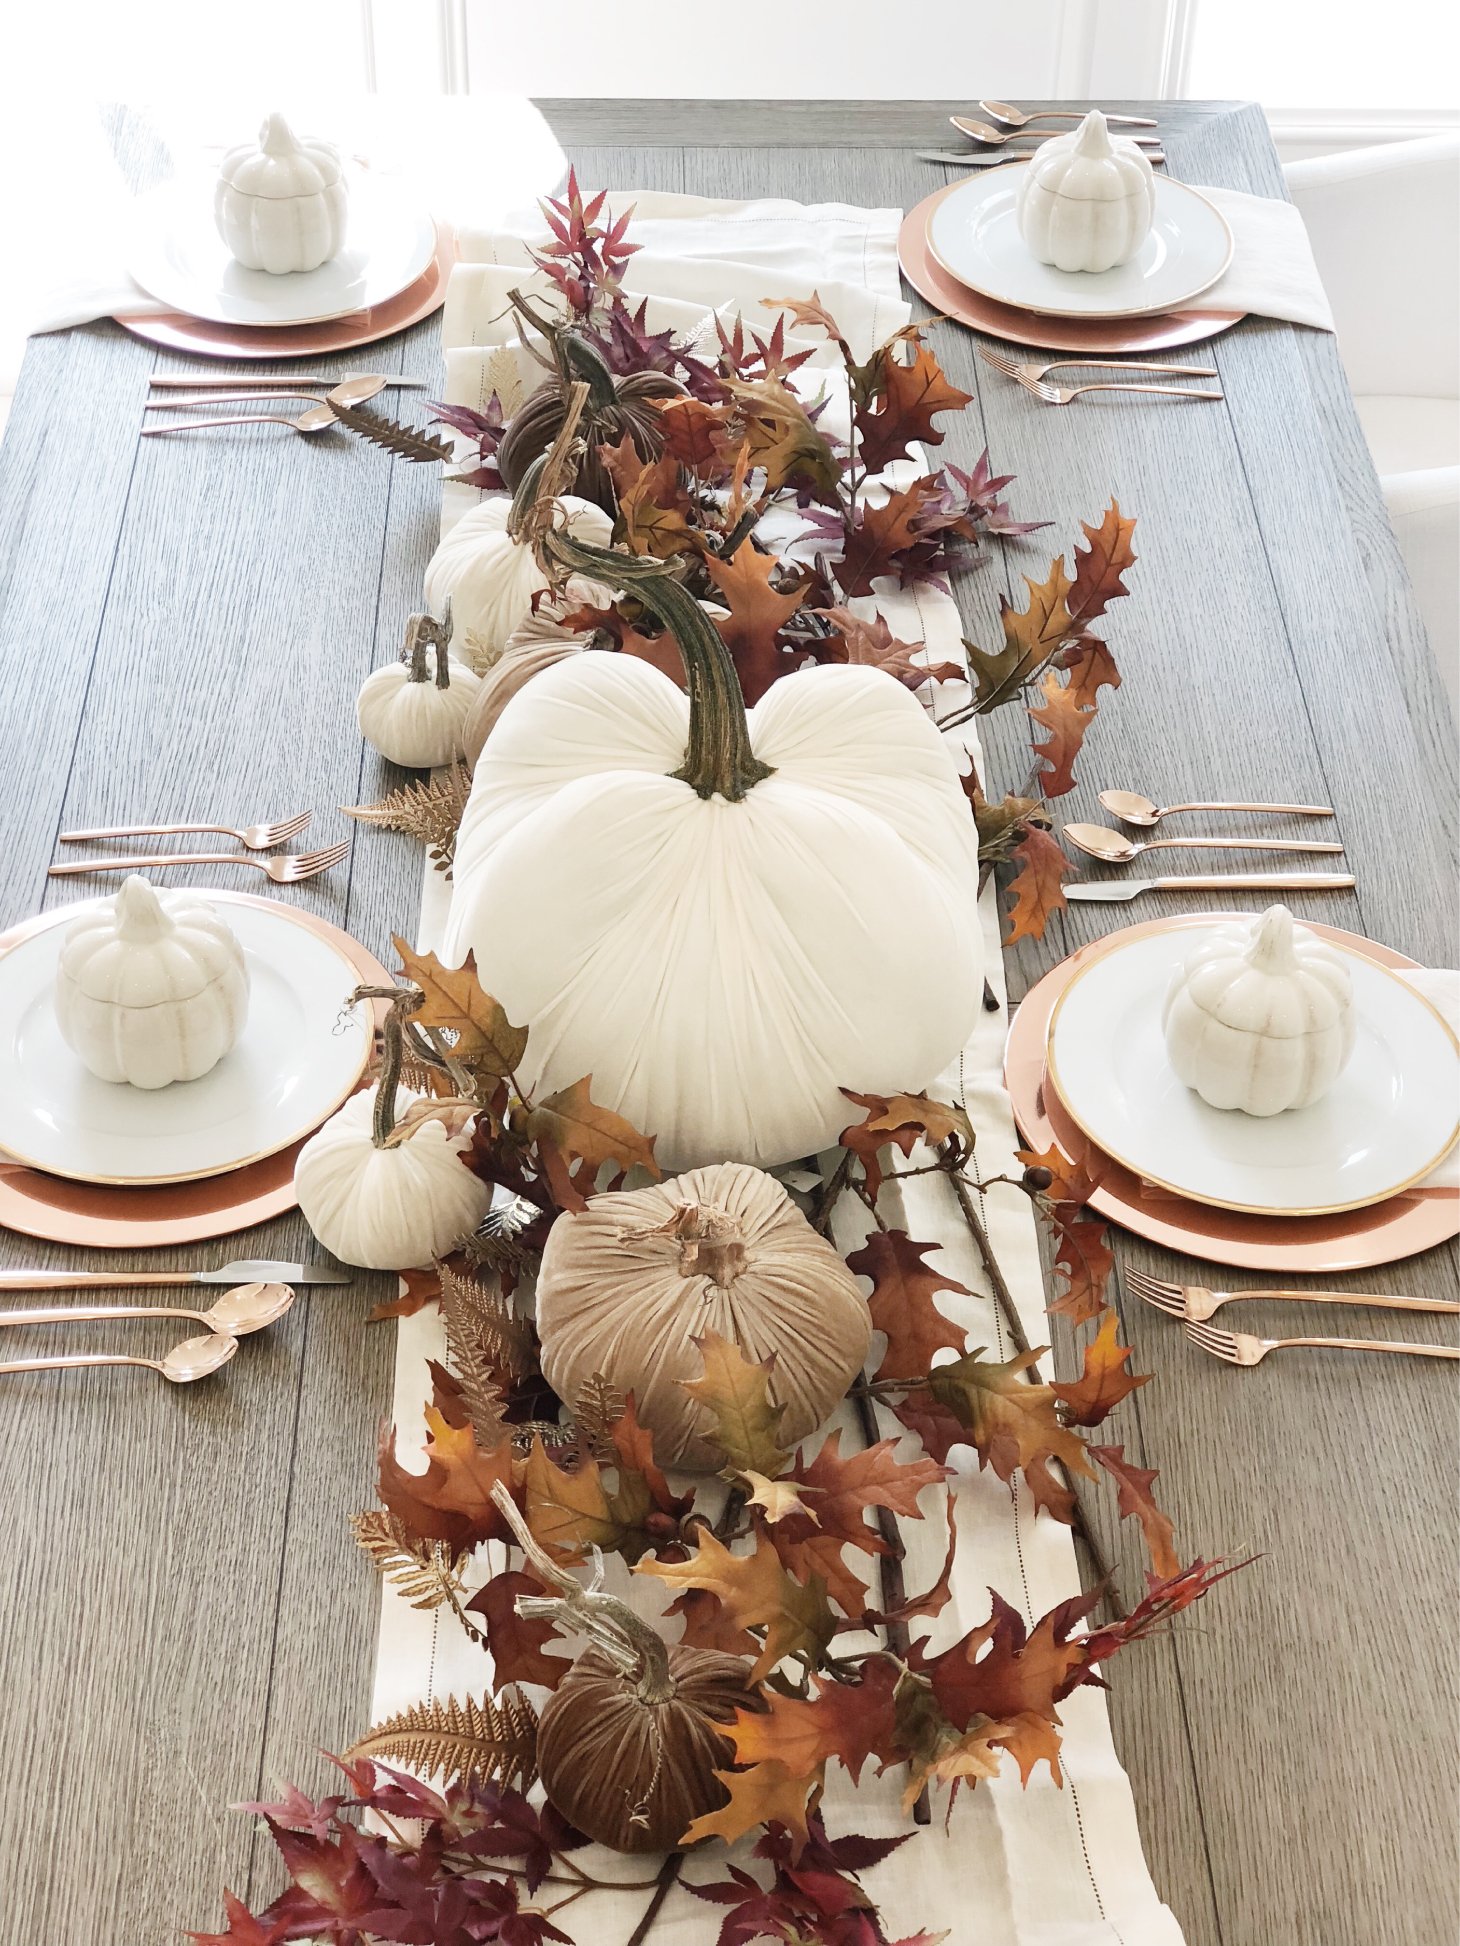
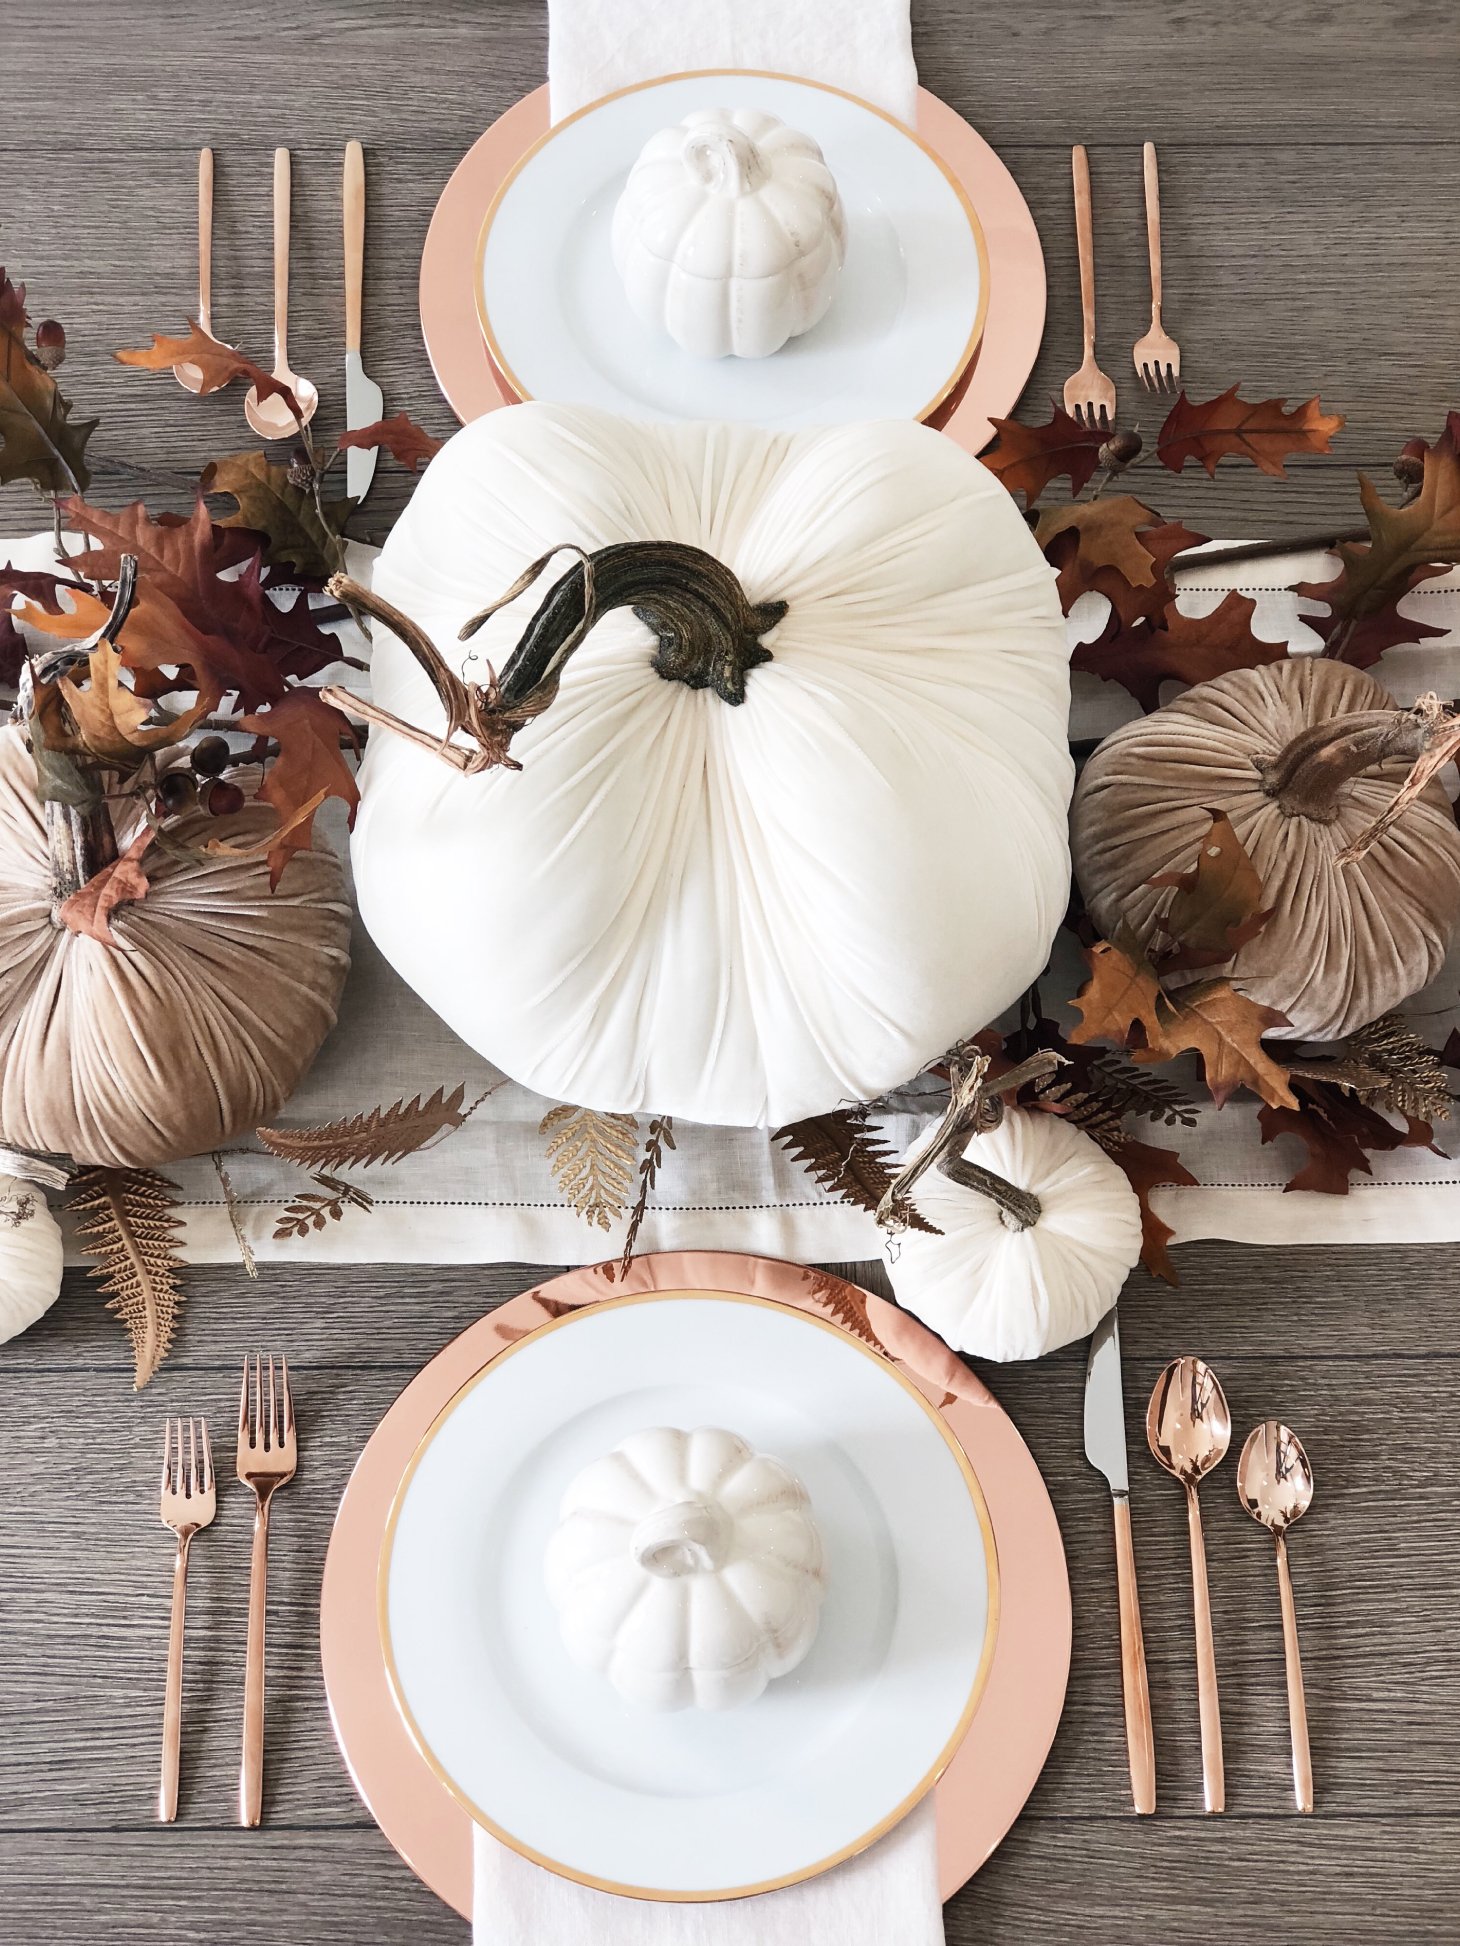
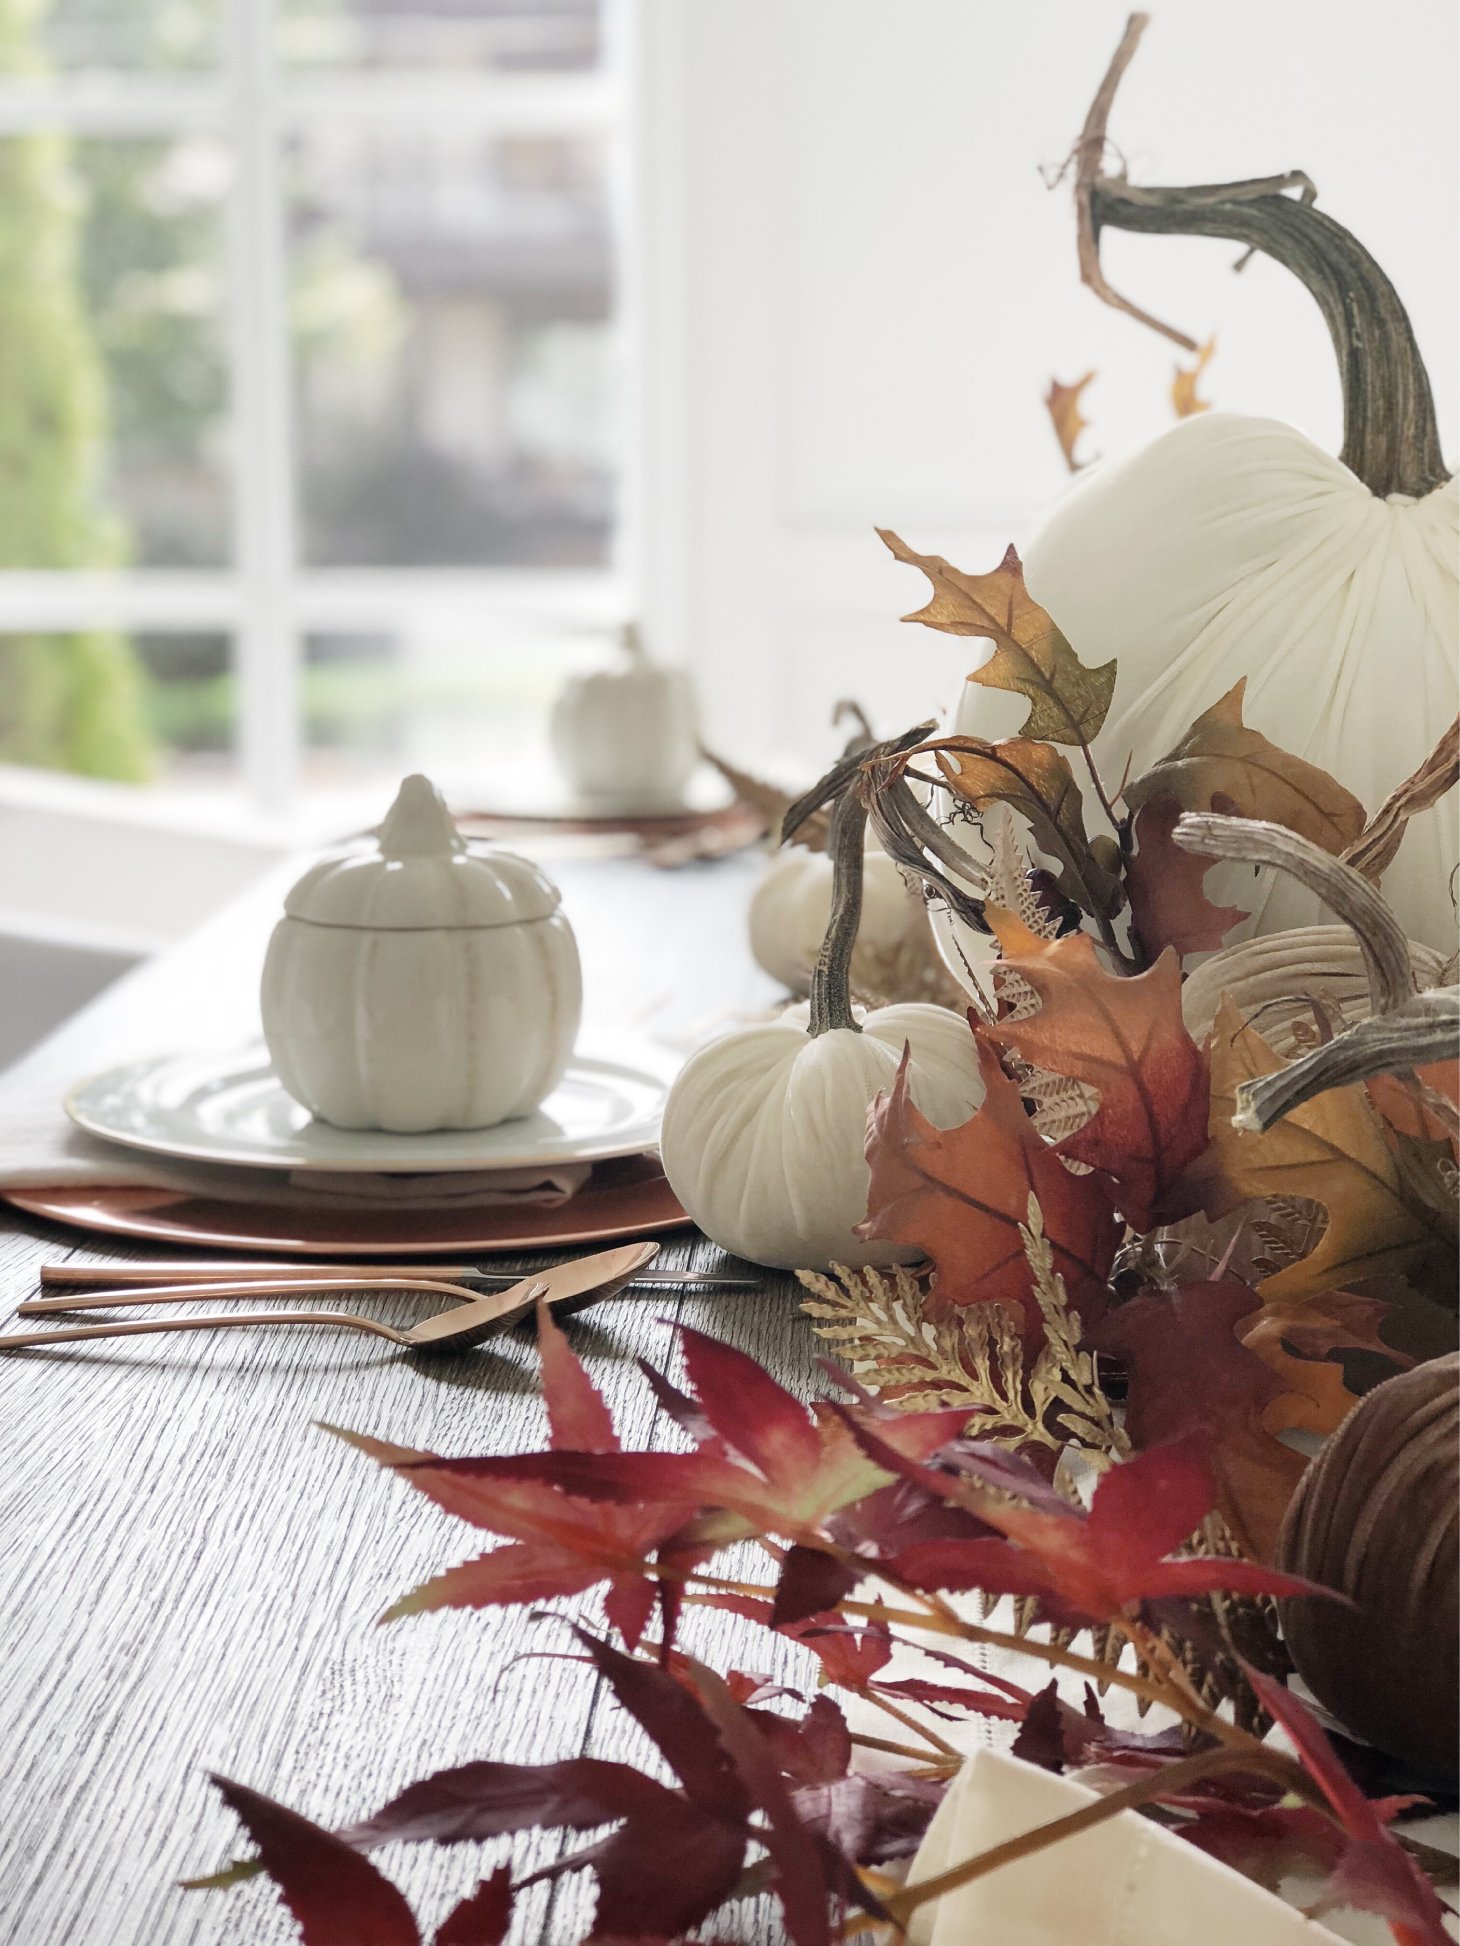
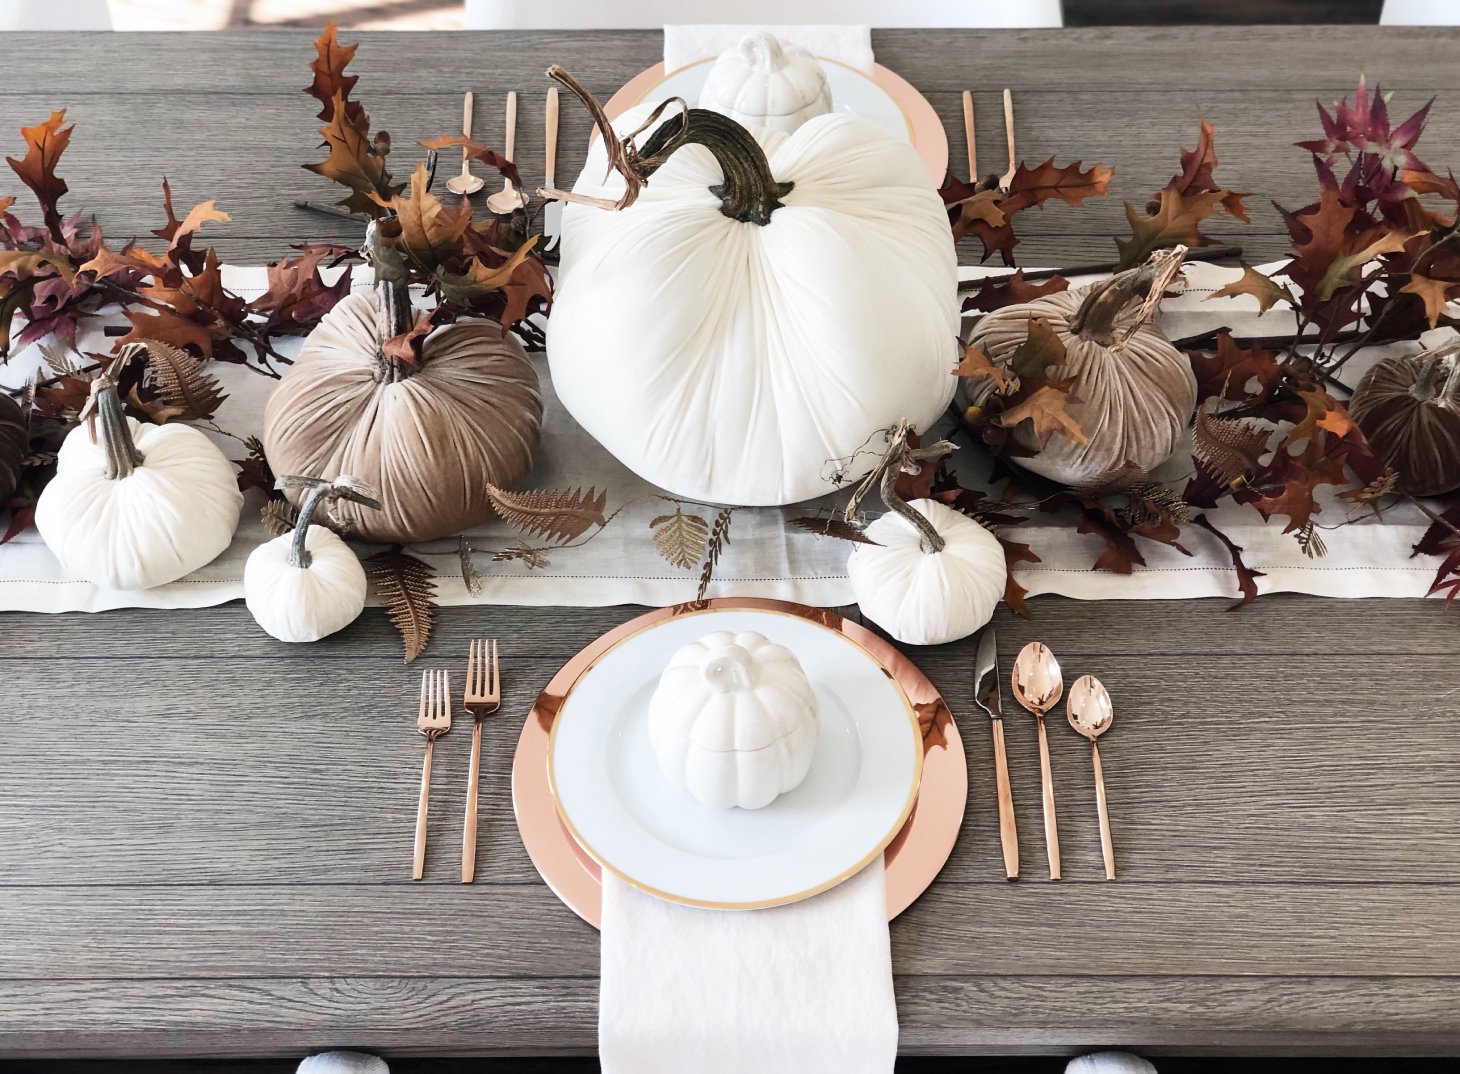
Tablescape

In our old apartment we did not have a fireplace or a staircase, so it was exciting for me to be able to play with those new spaces. However, one thing we did have was a dining room, and I just loved decking out the table for every holiday!
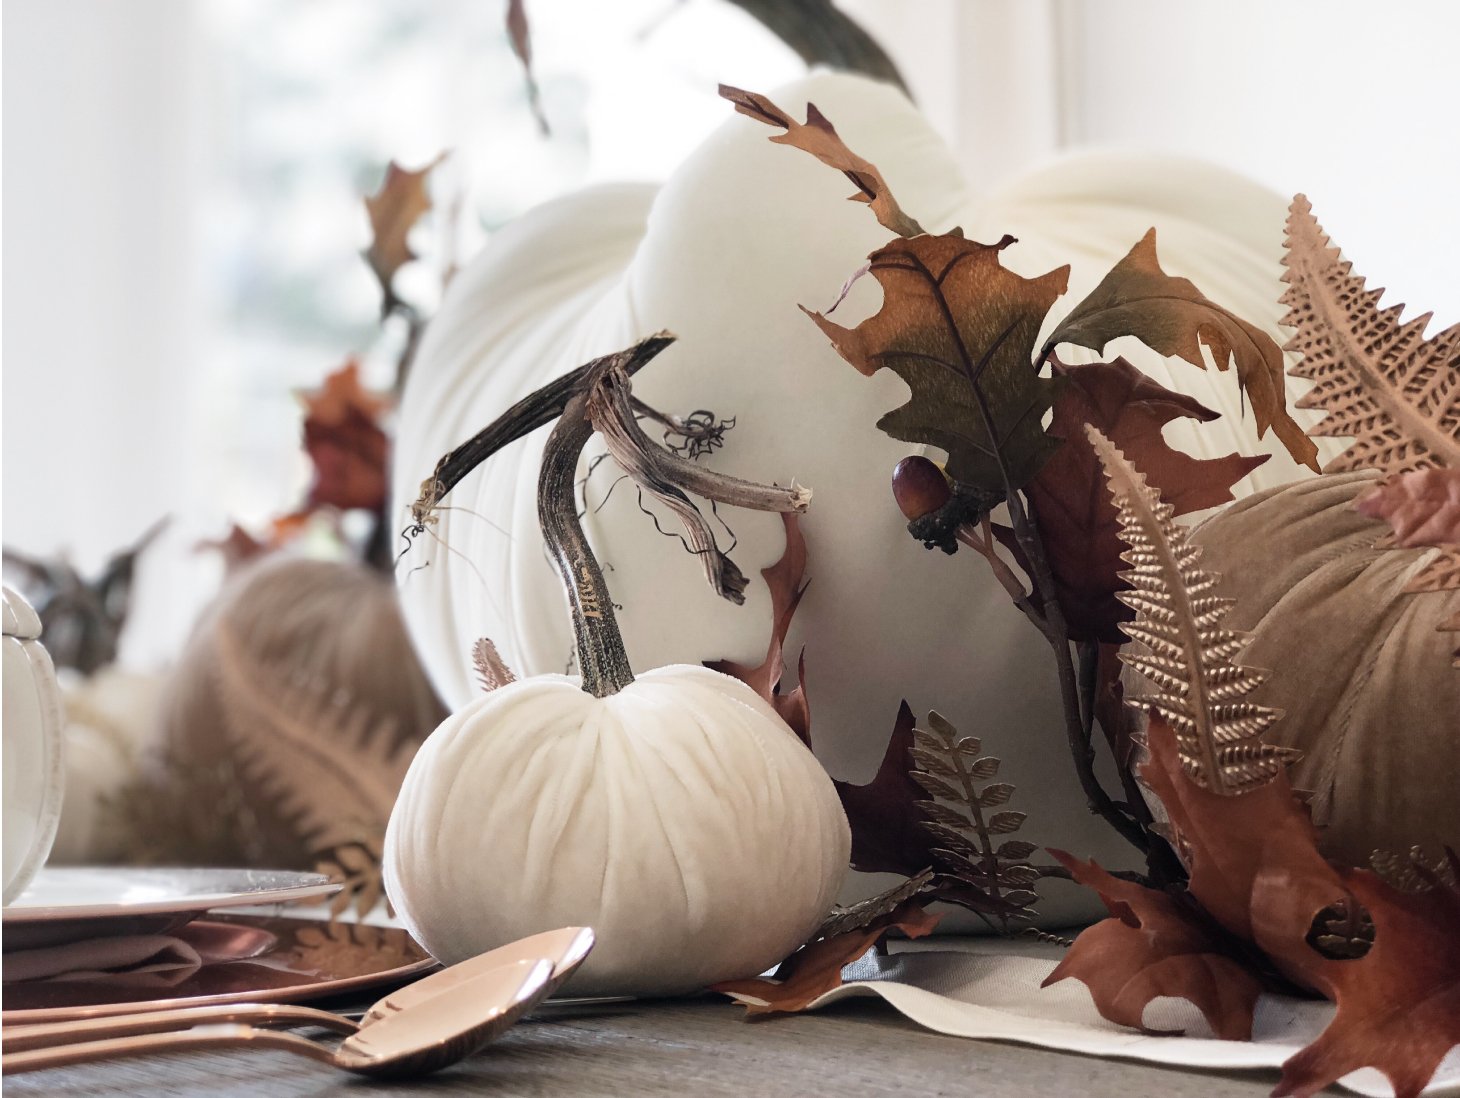
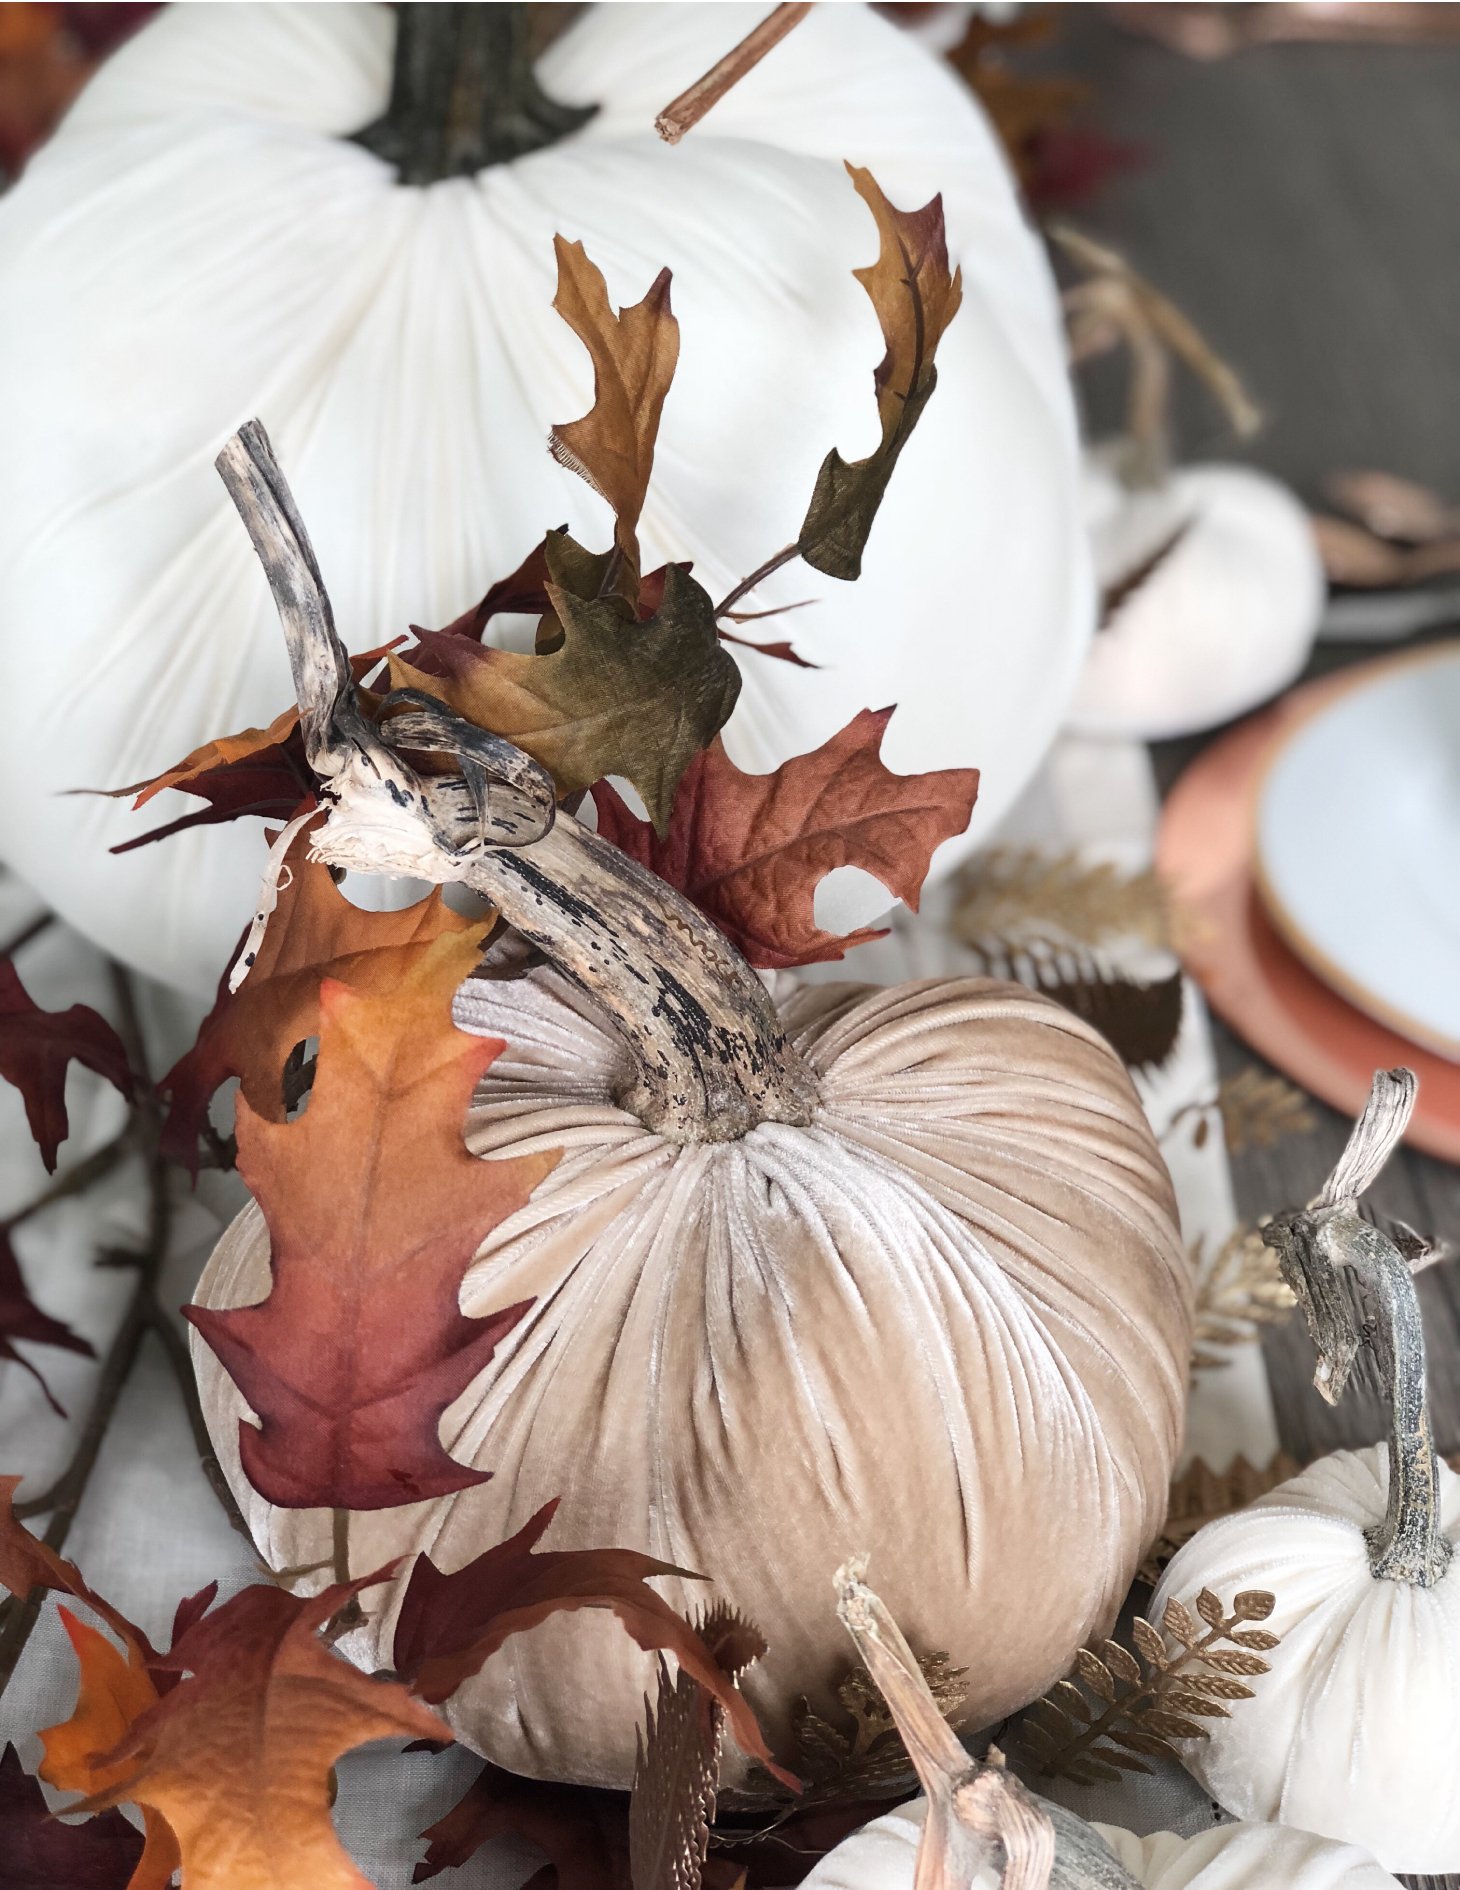
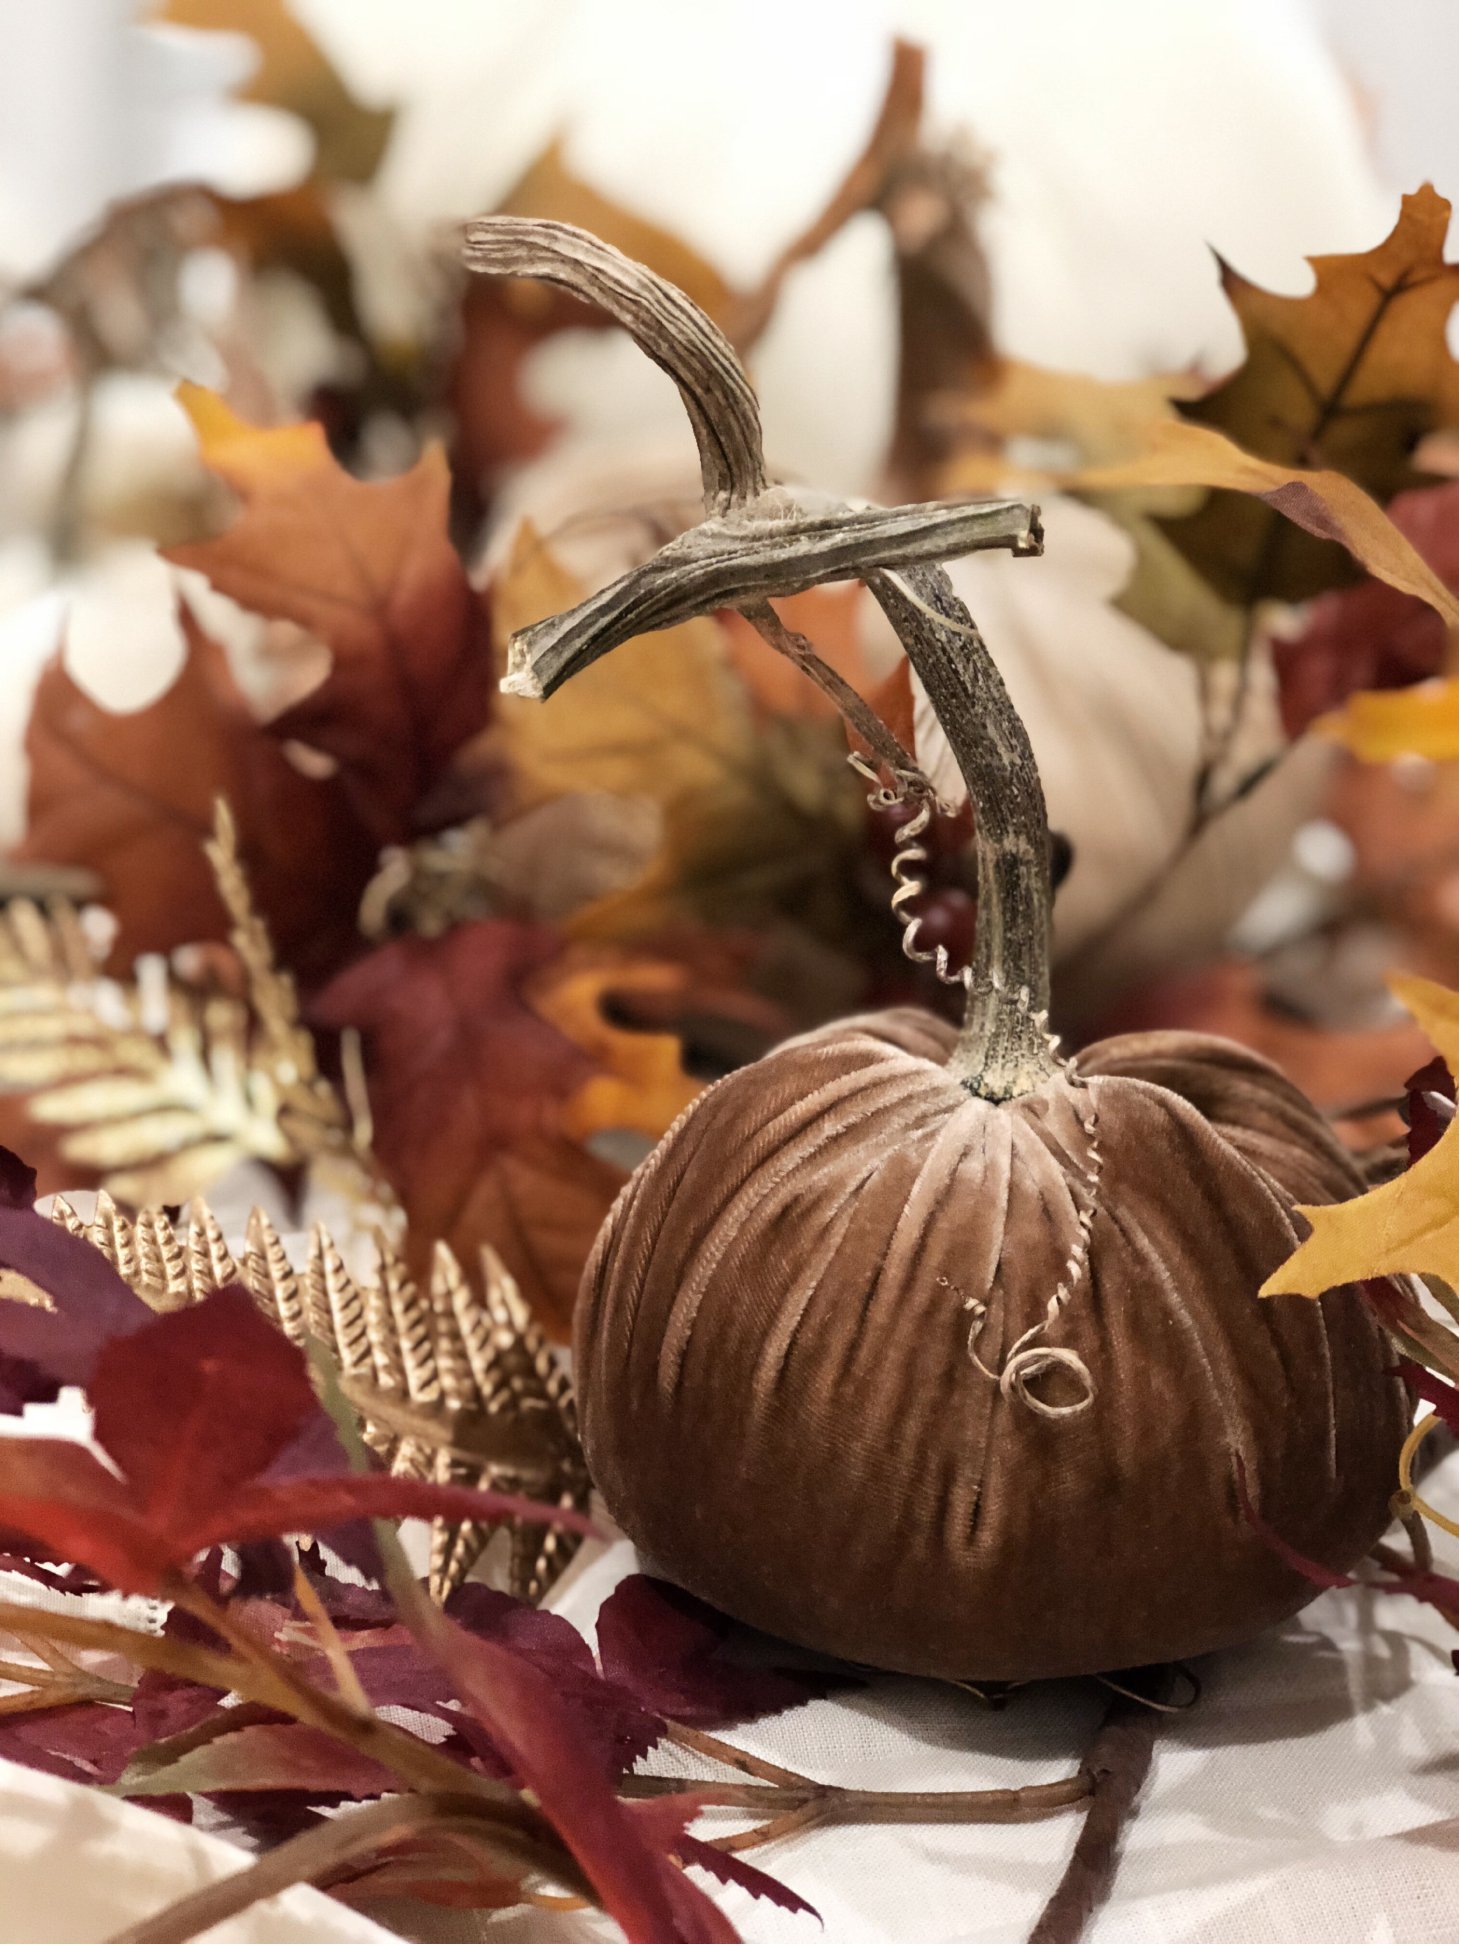
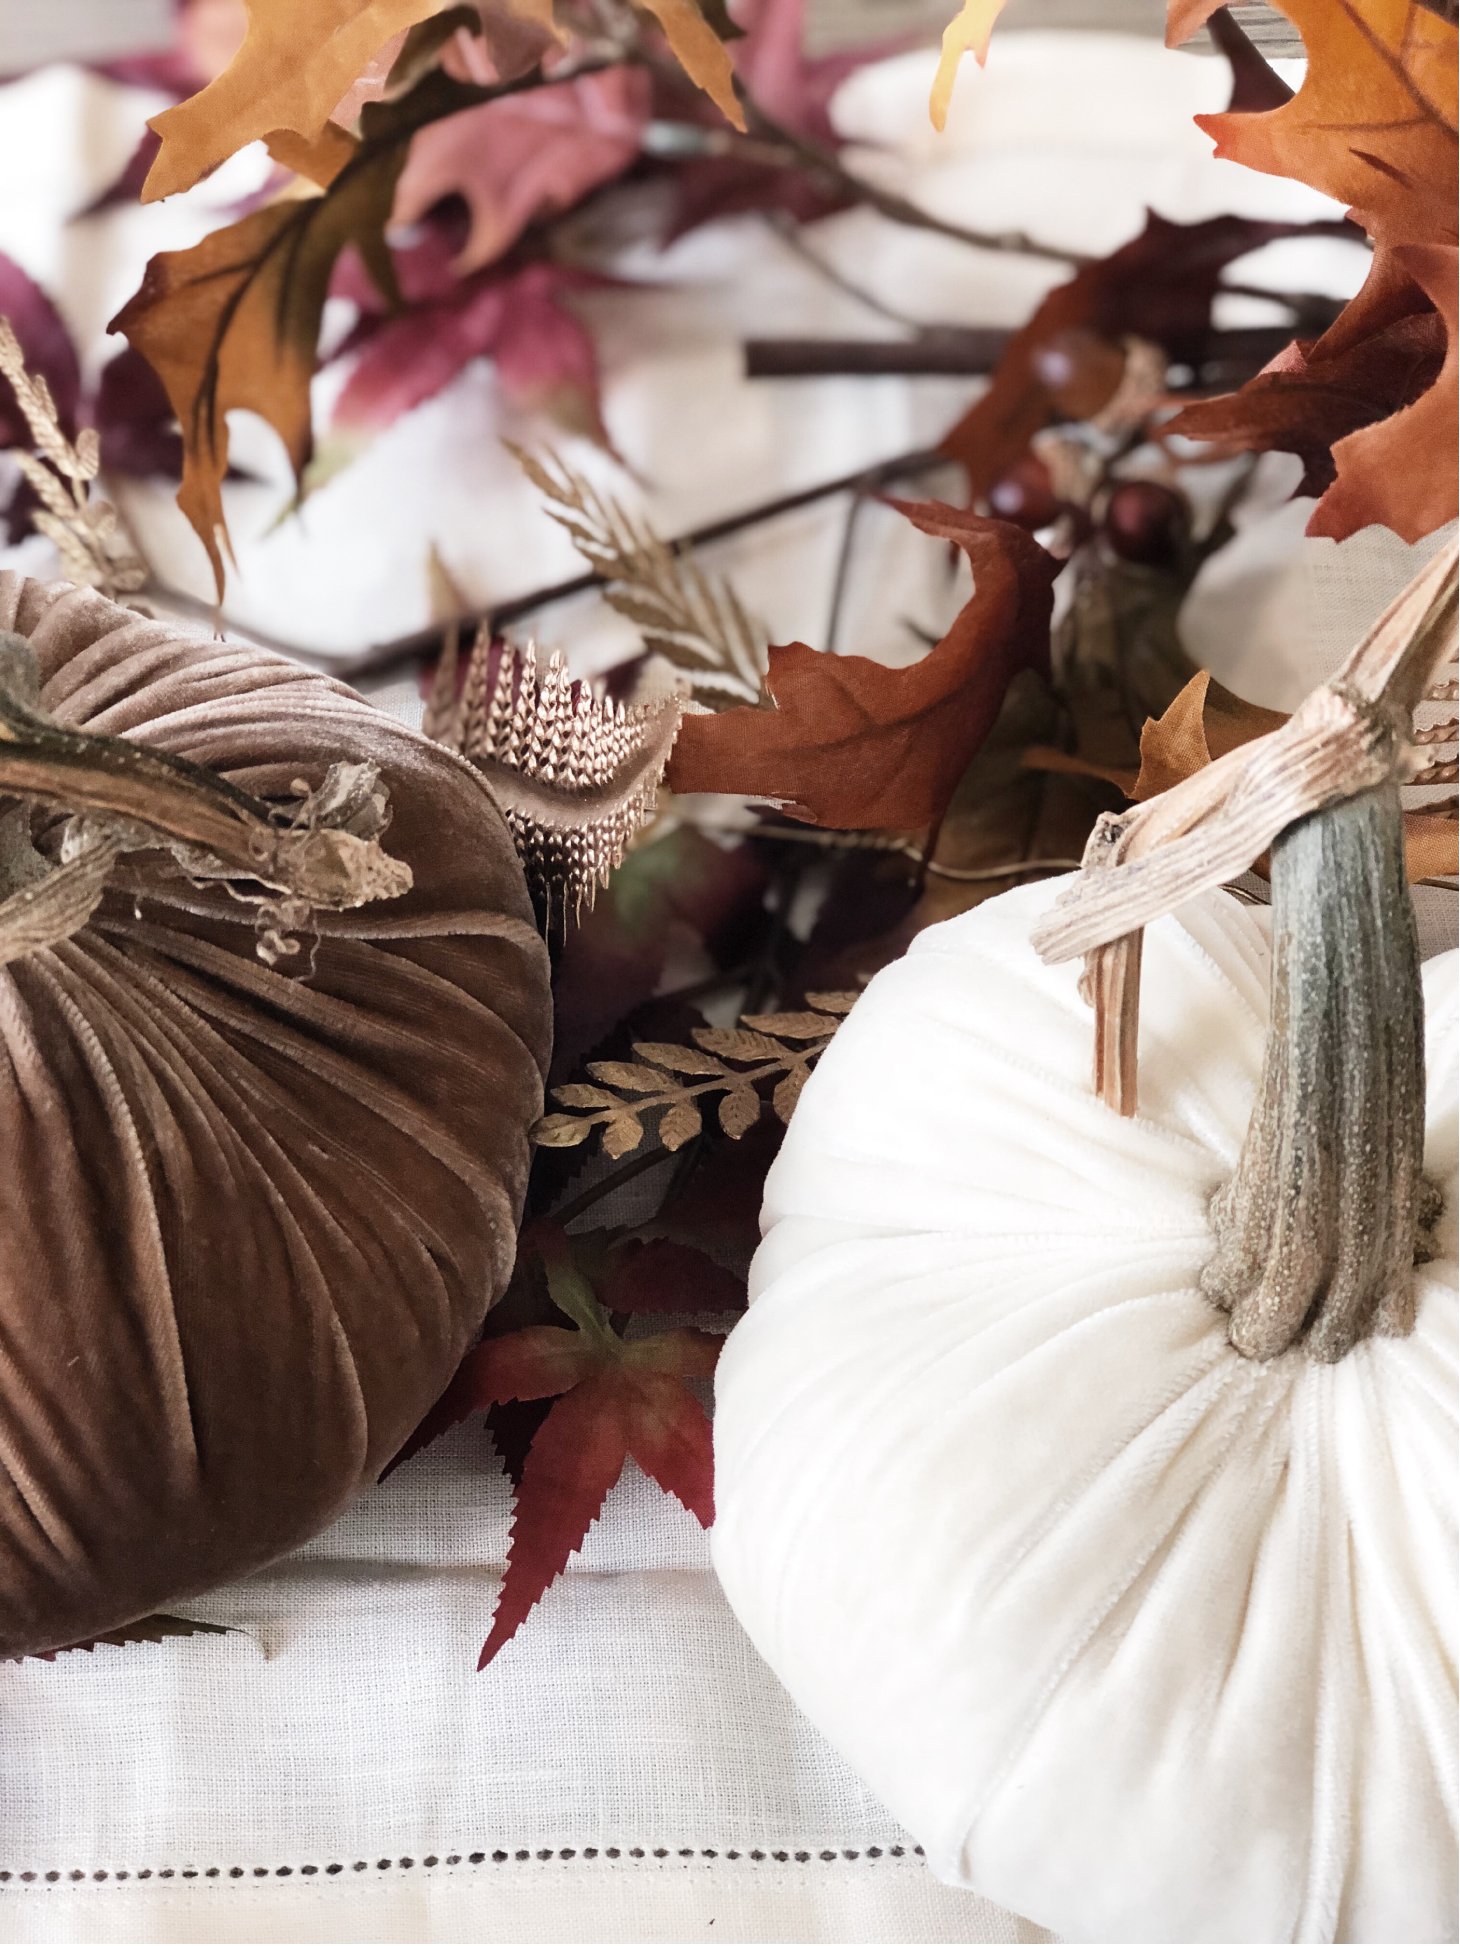
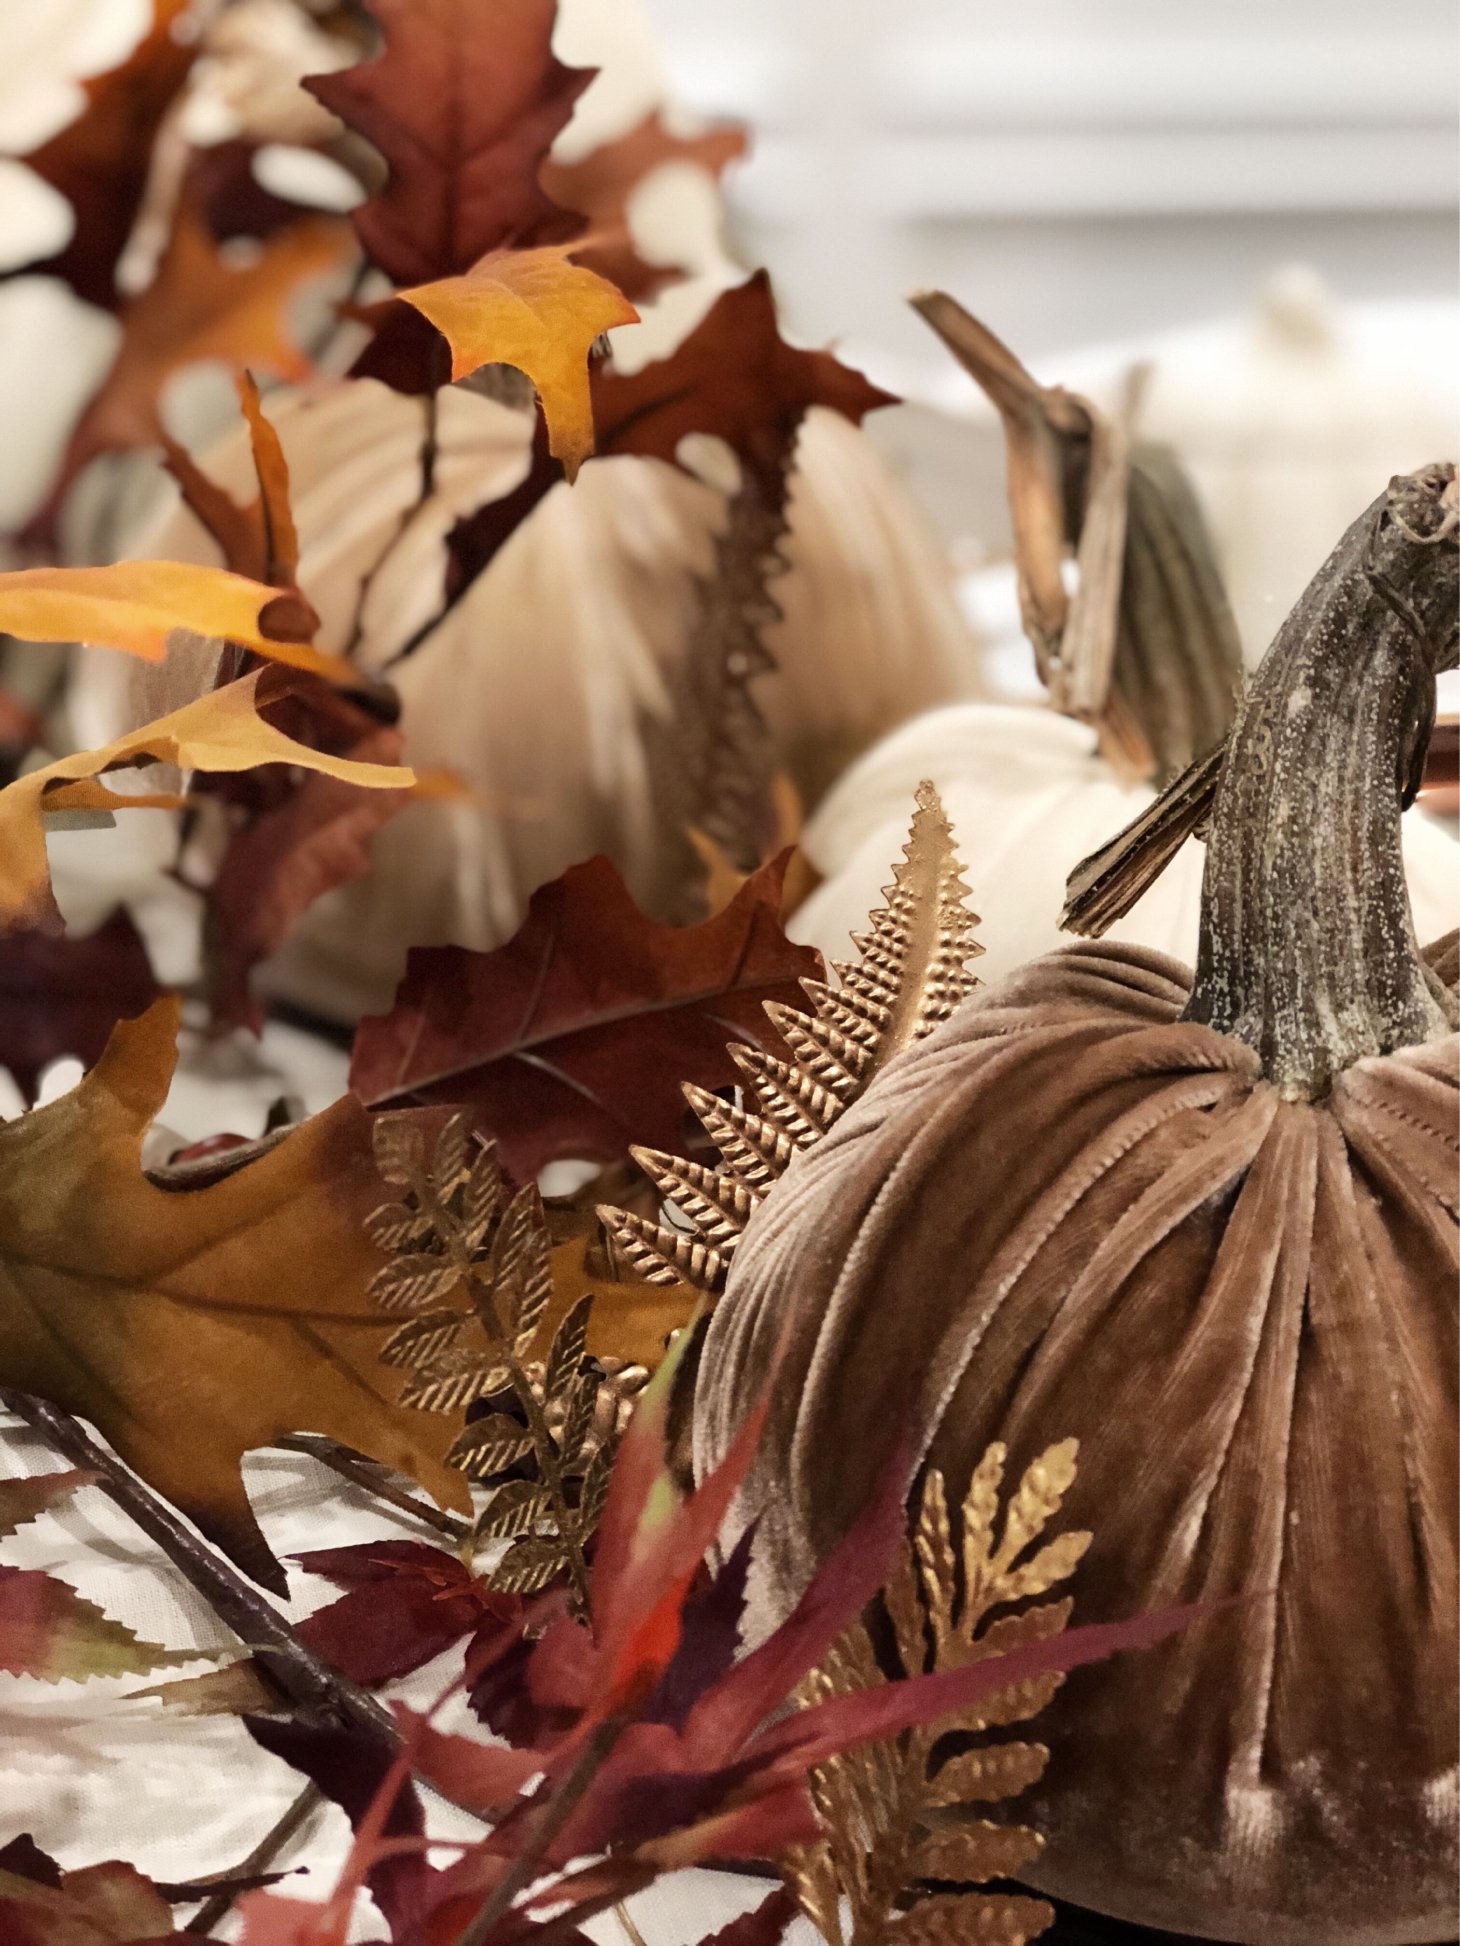
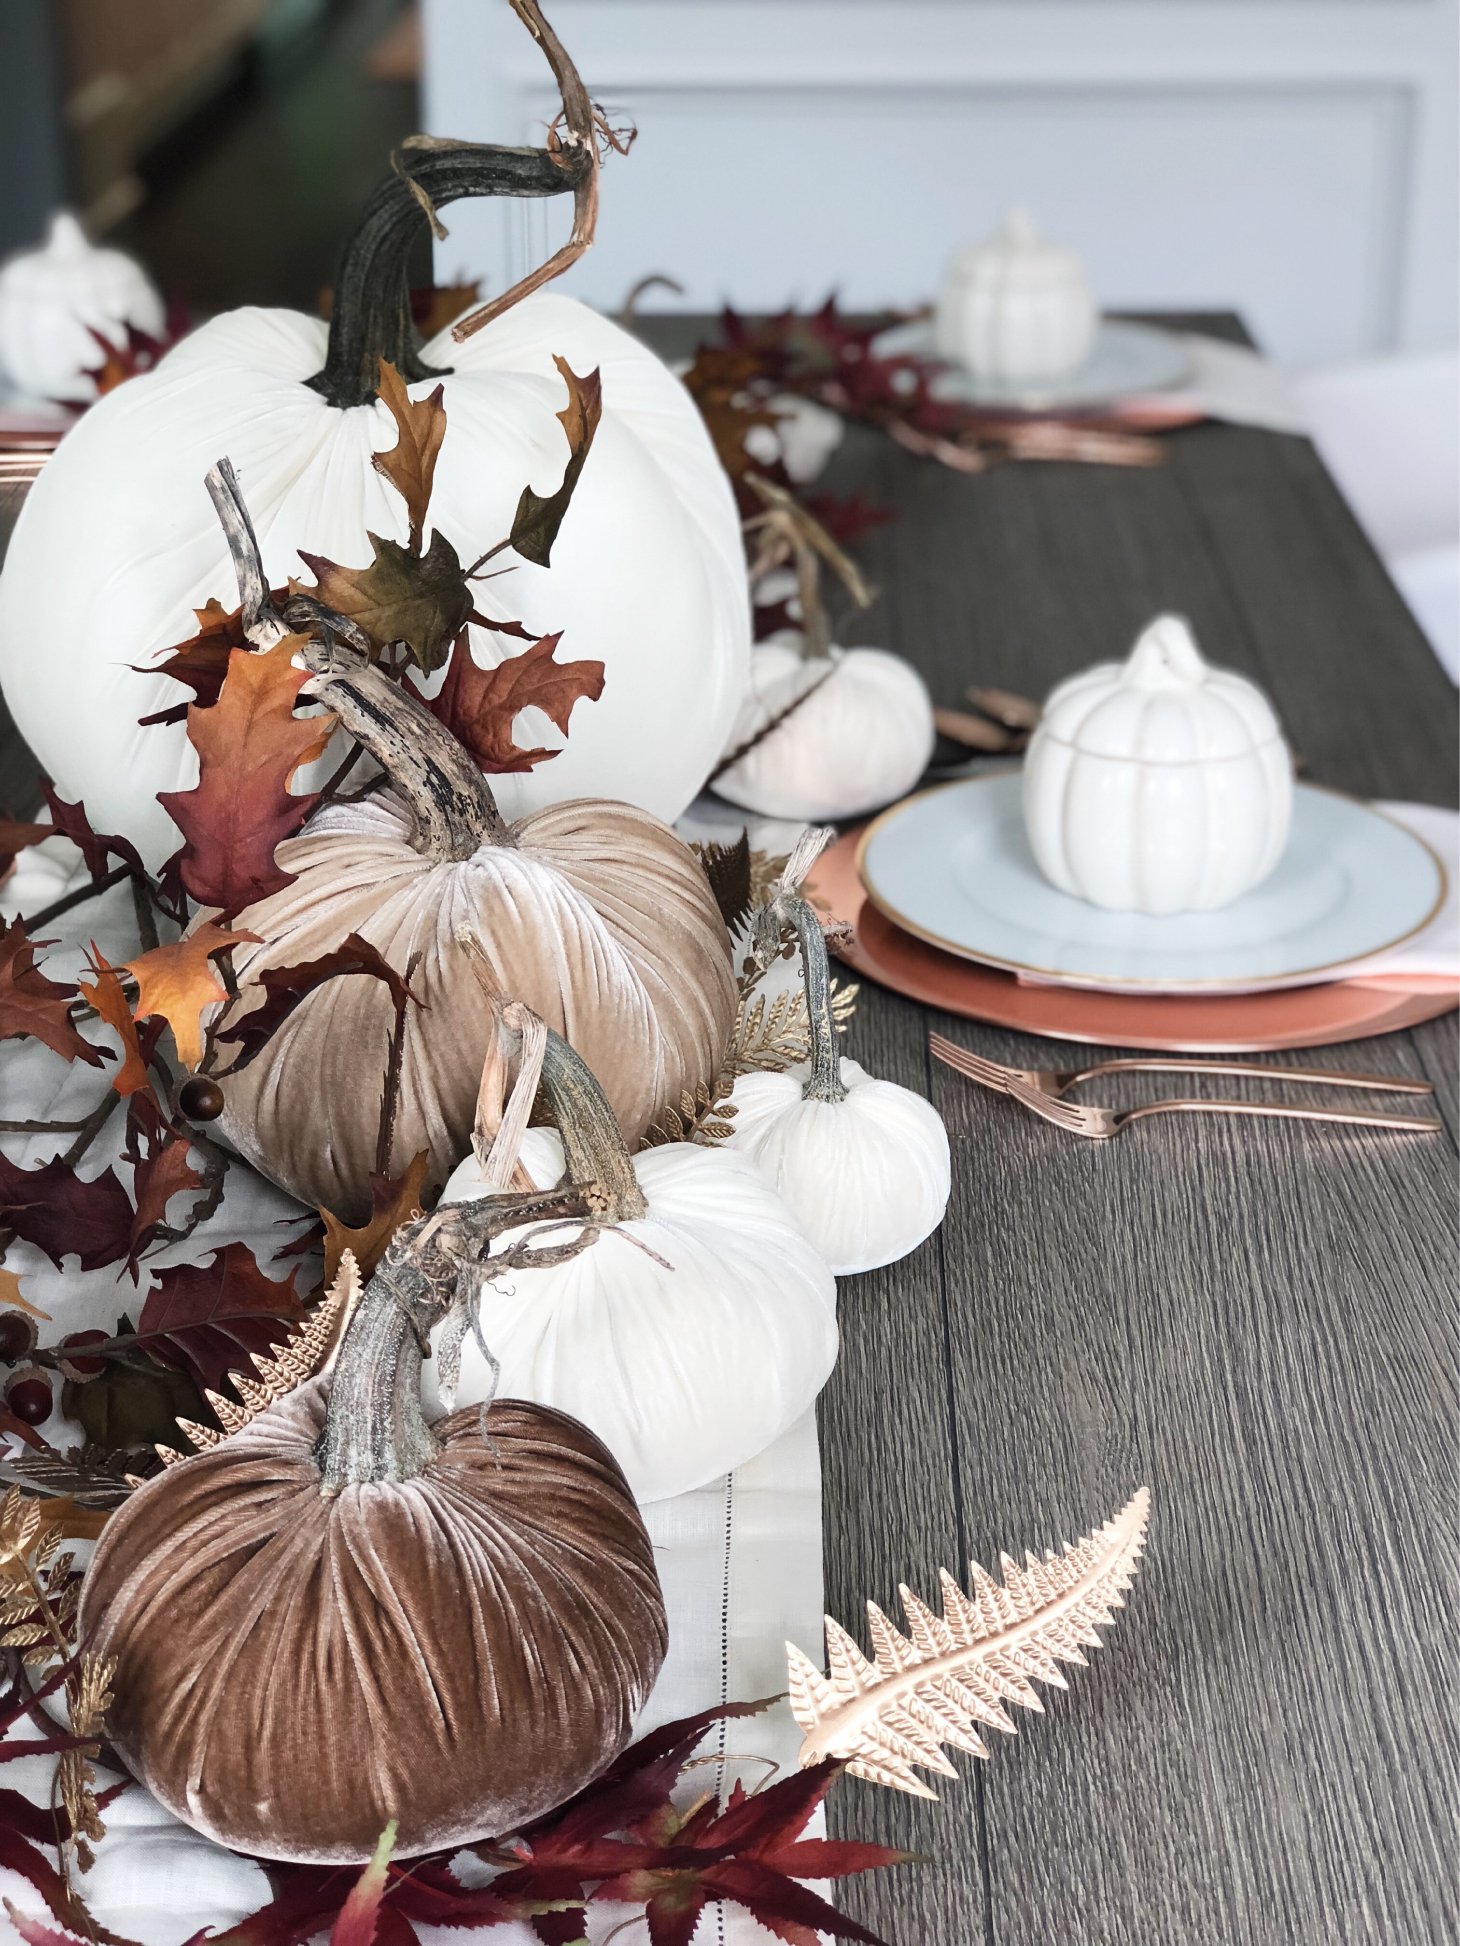
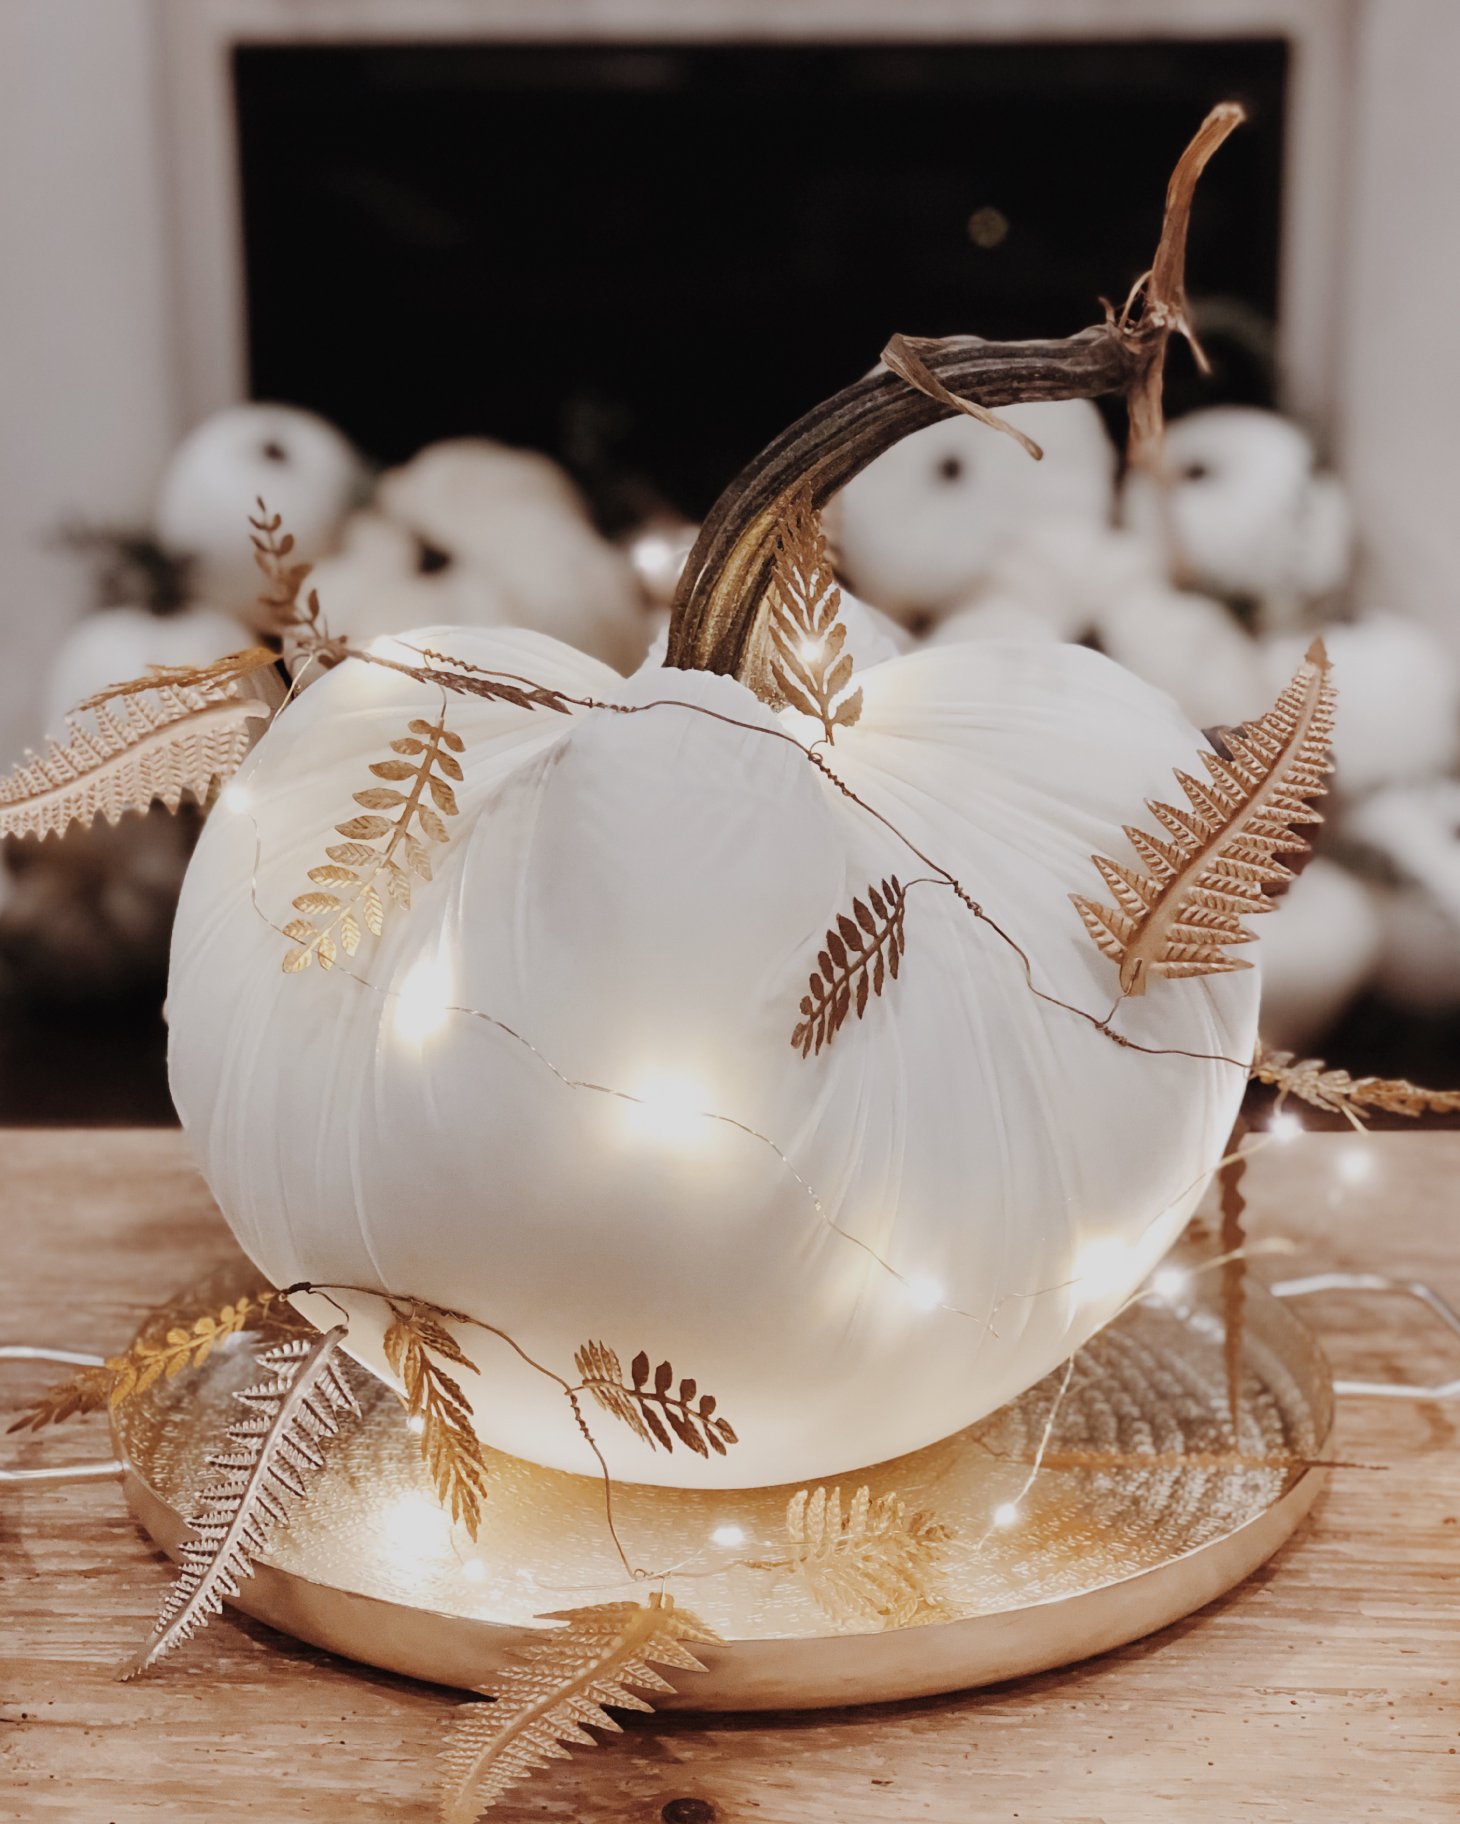
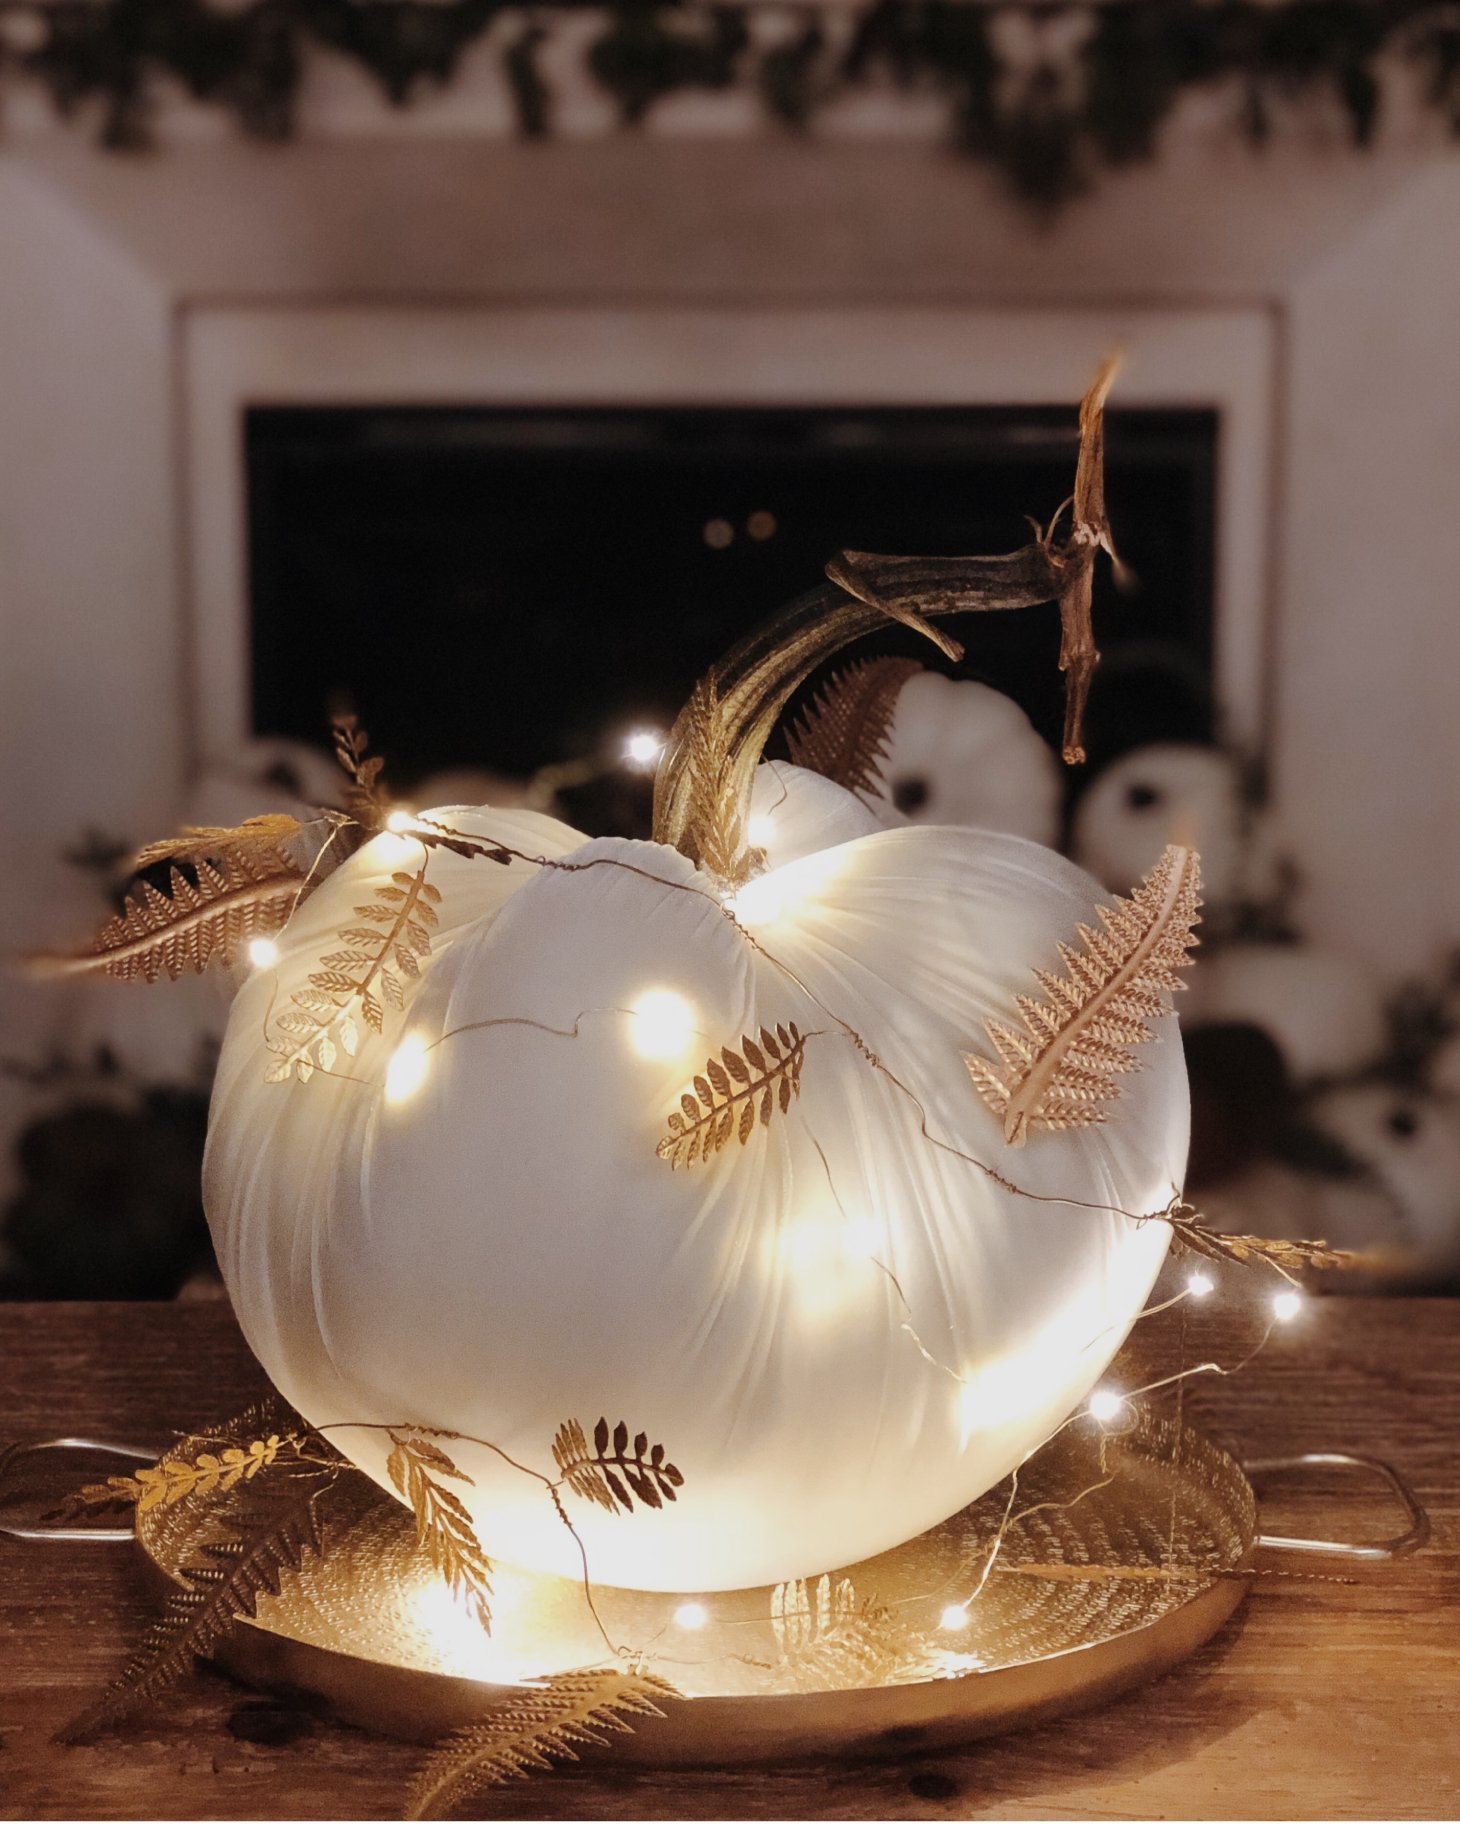
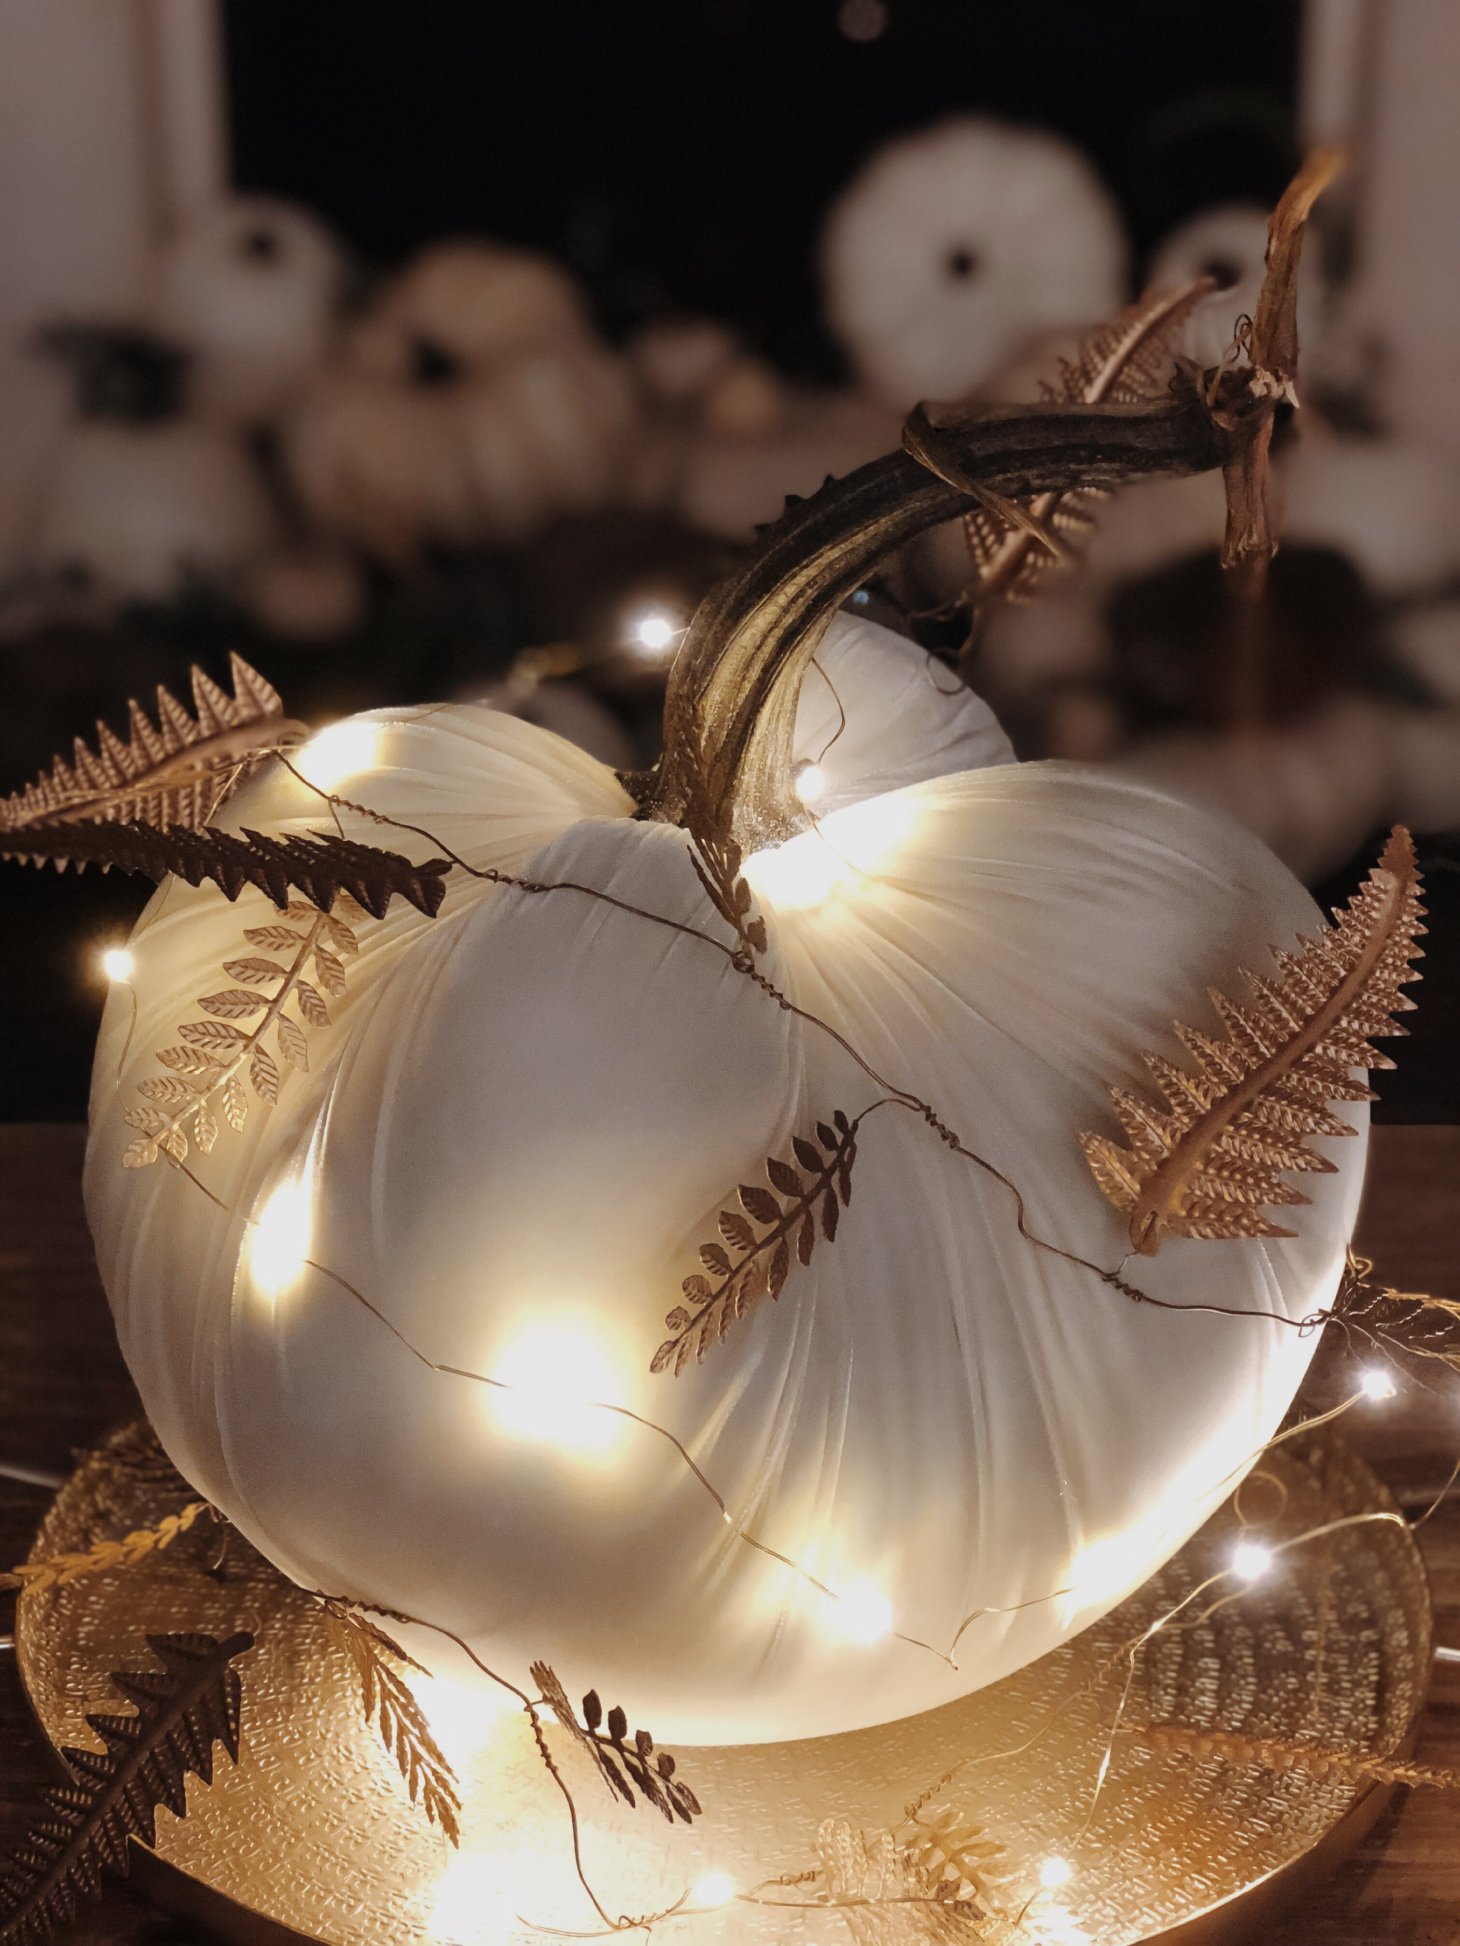
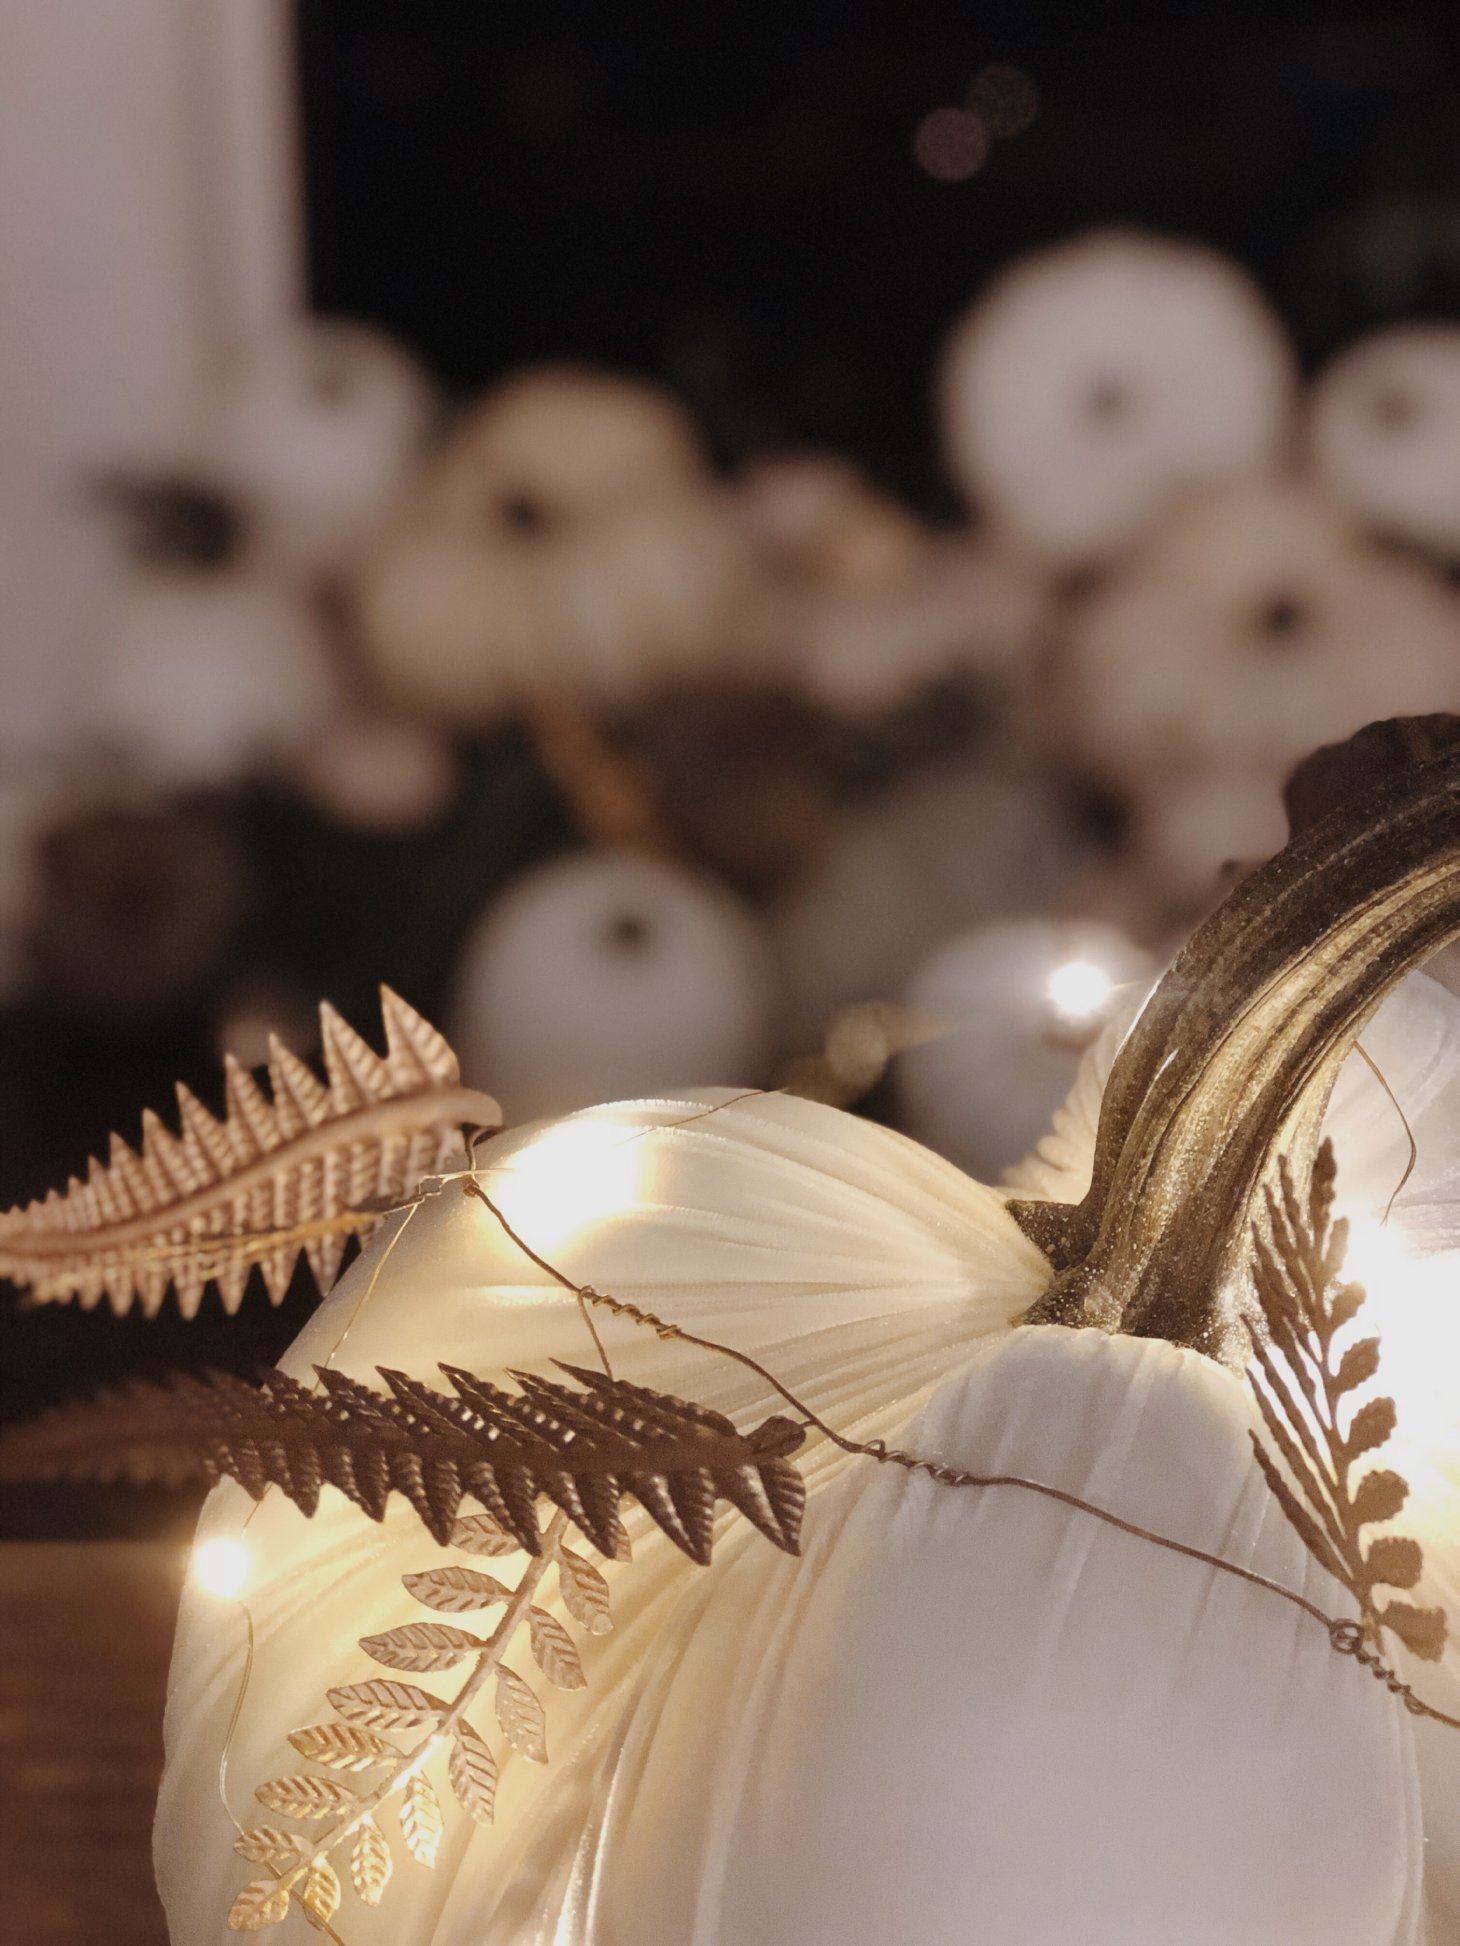
I am OBSESSED with Hotskwash velvet pumpkins, and I knew I wanted those to anchor my tablescape. I ordered a variety of ivory, mocha, and bone colors in a few different sizes from LoveFeast shop. There are a lot of velvet pumpkin varieties out there, but Hotskwash is by far the best quality and look the best in my opinion. They are definitely expensive, though, and I know I’ll be slowly adding to my collection over the years. Emphasis on the slowly. I’ve linked a few less-expensive varieties below!
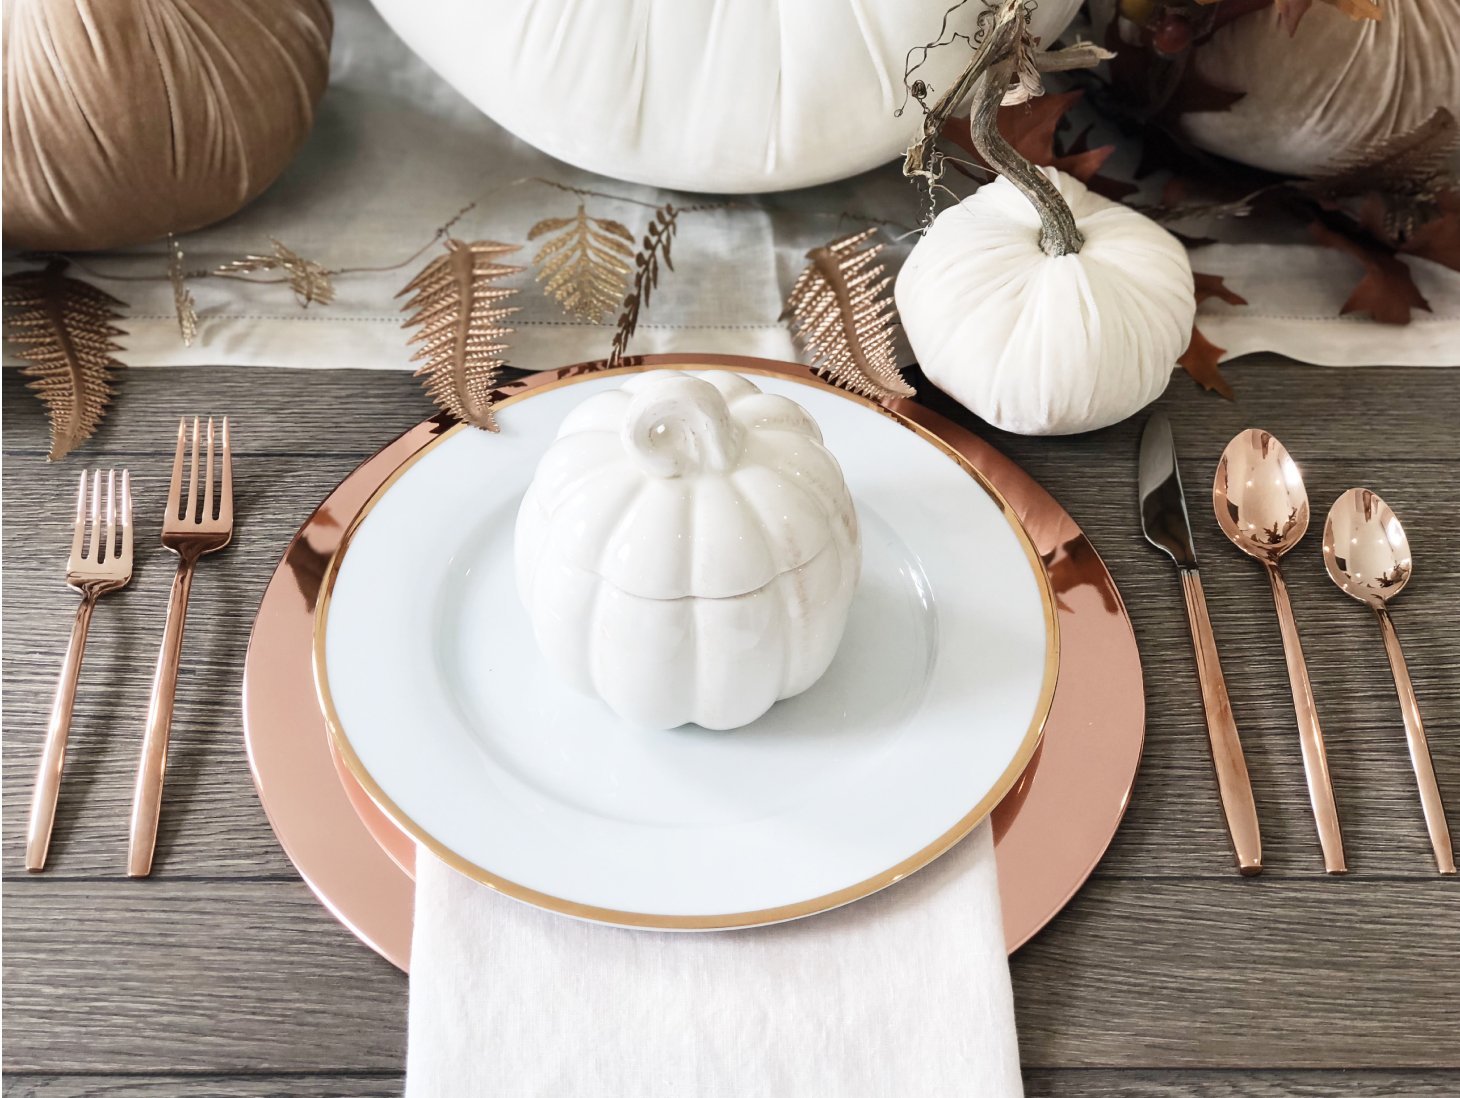
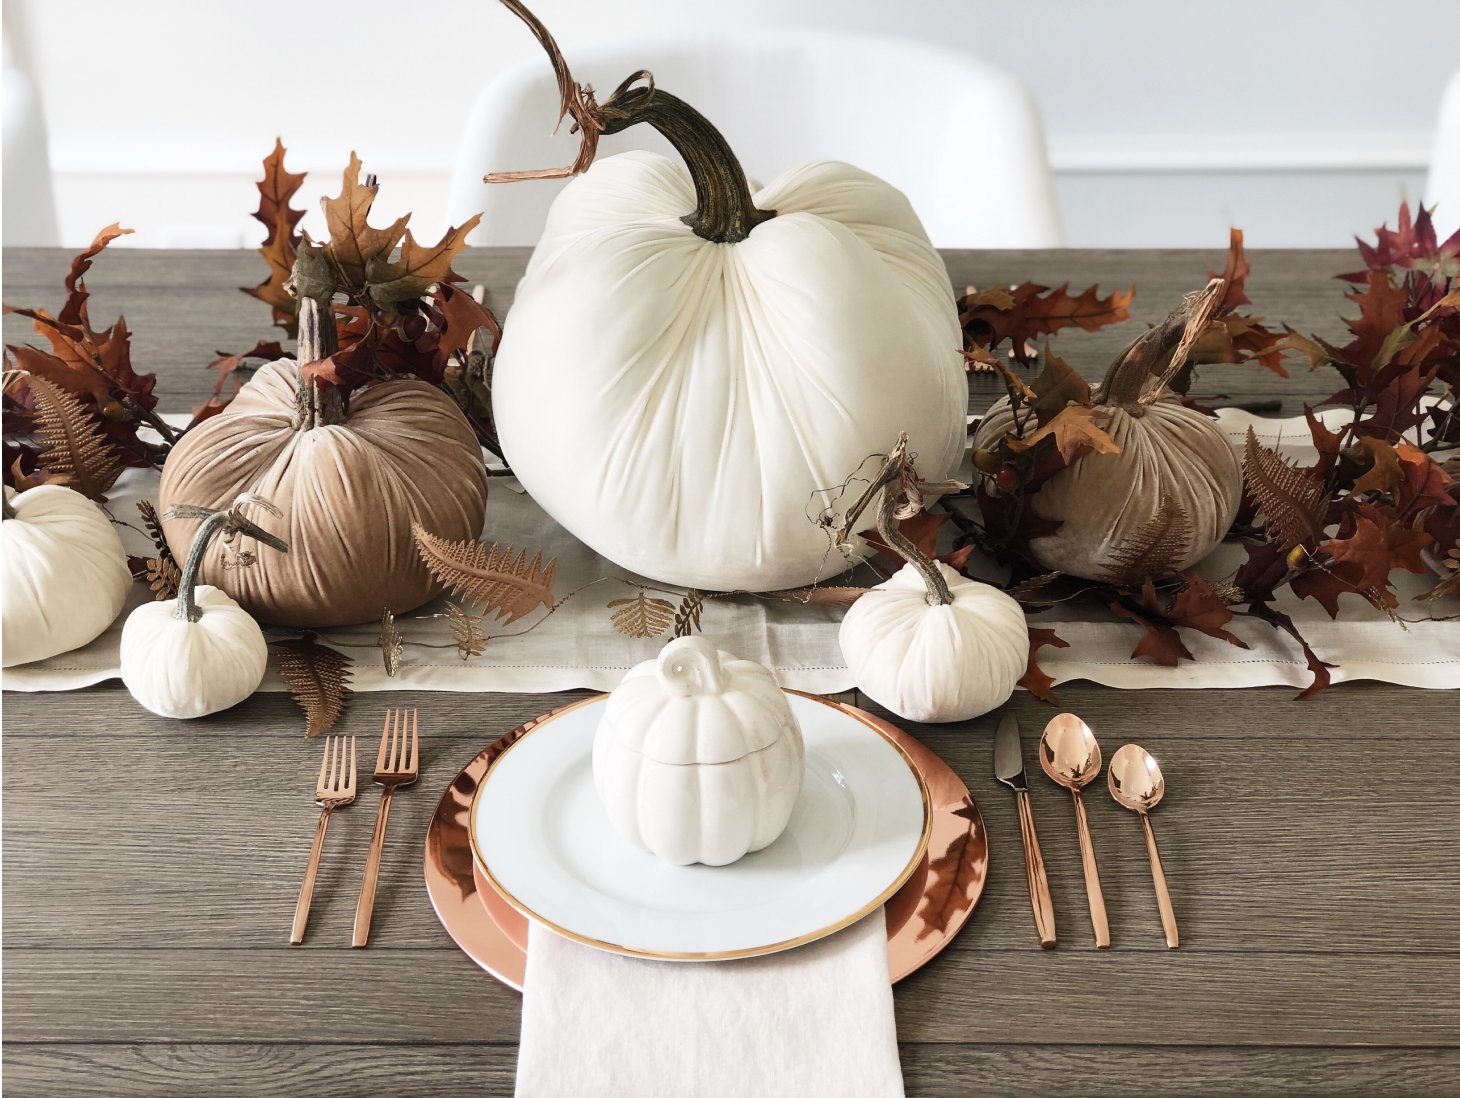
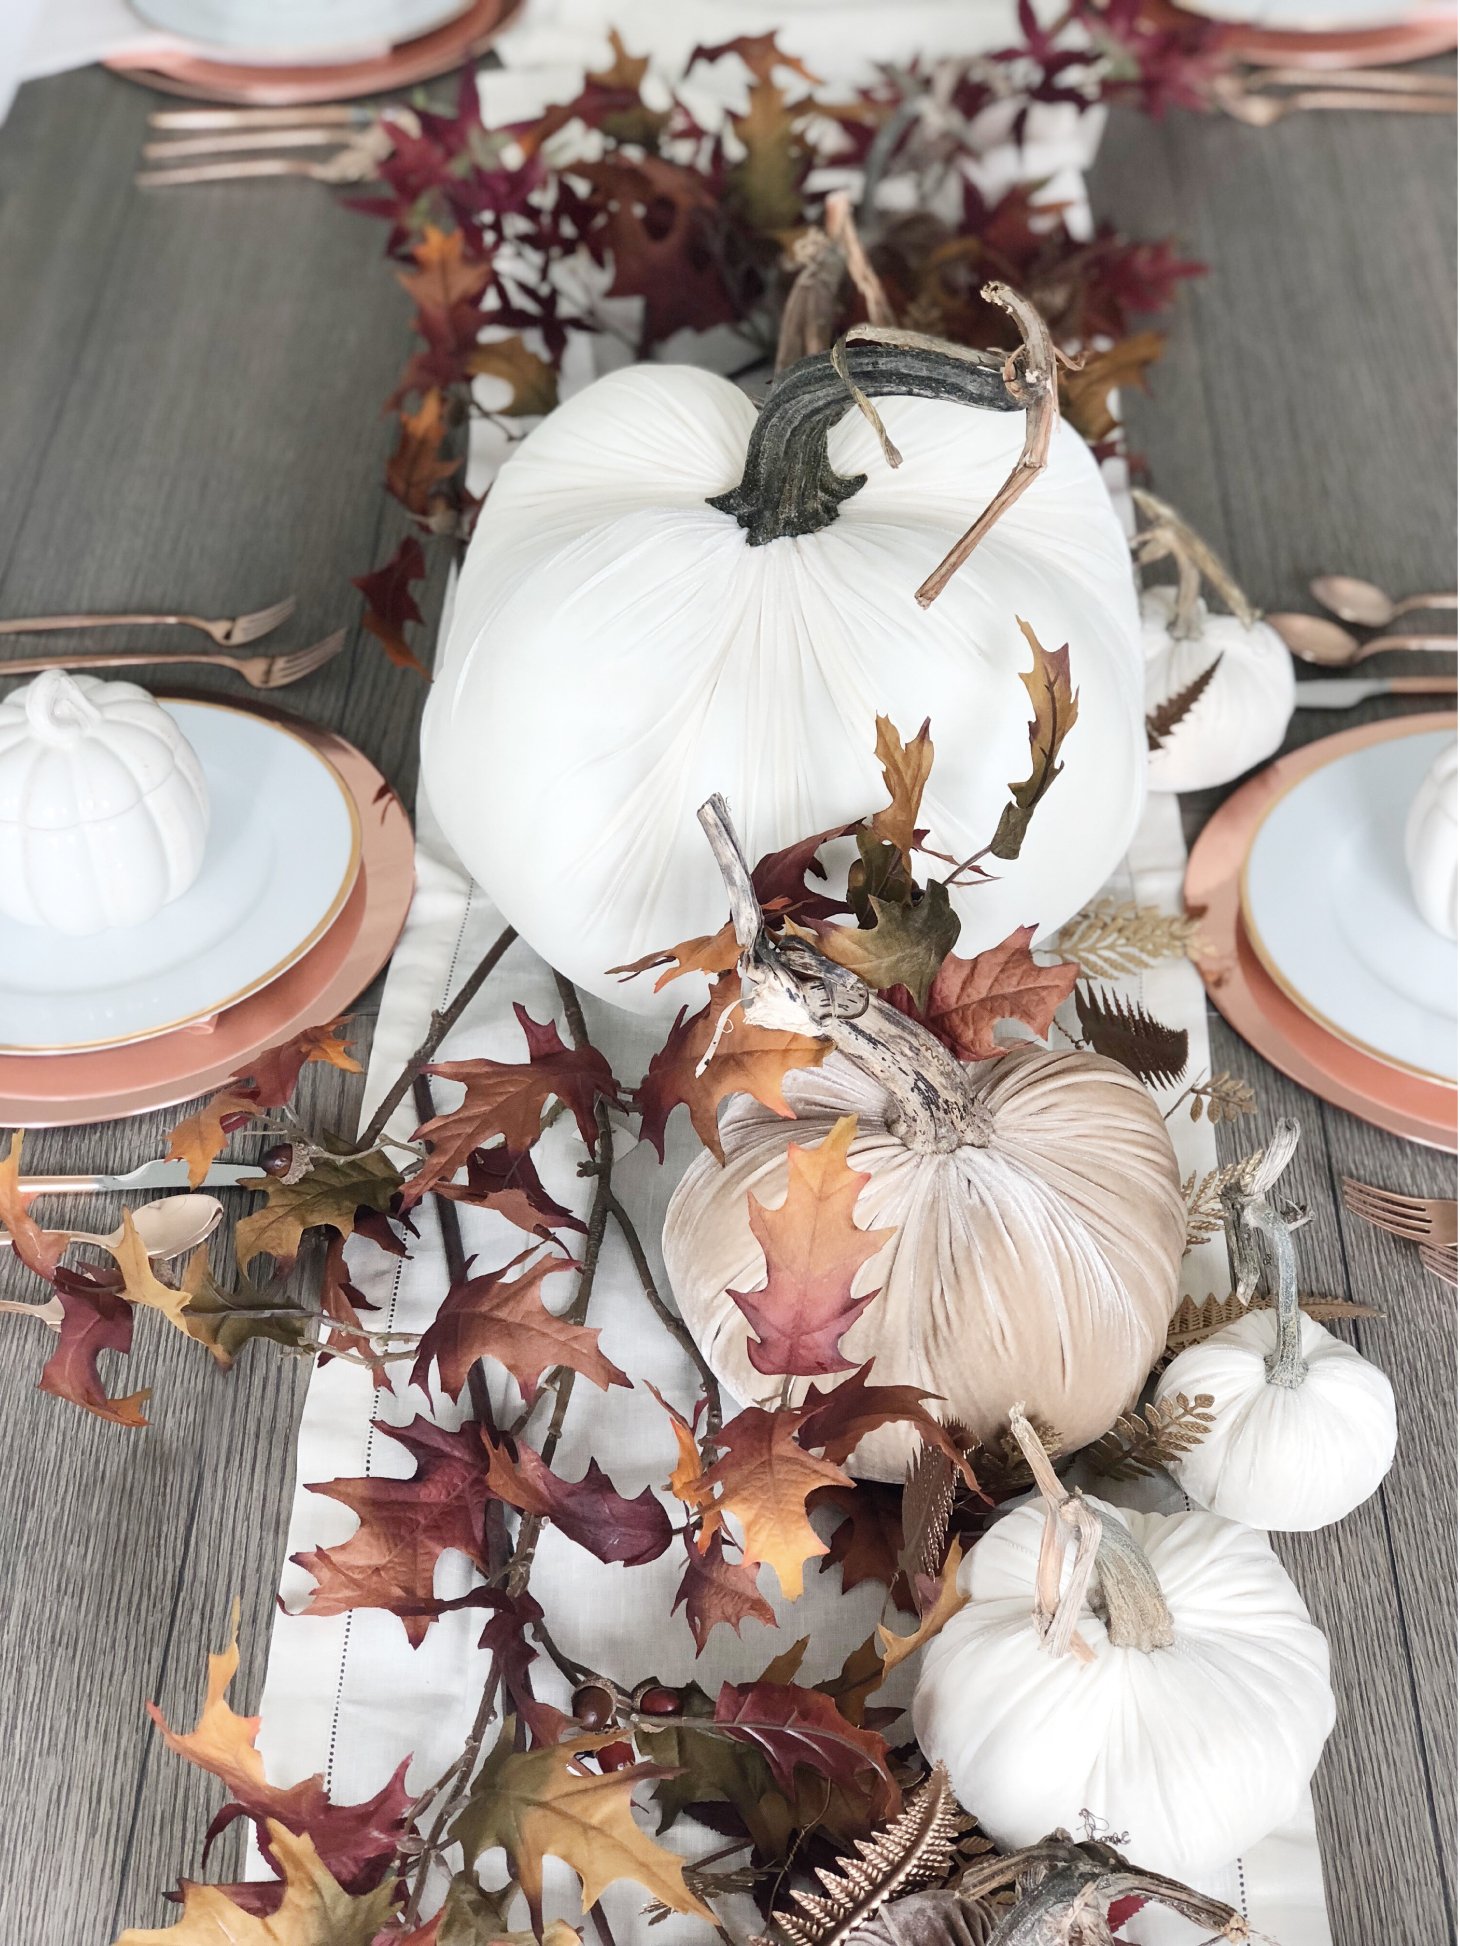
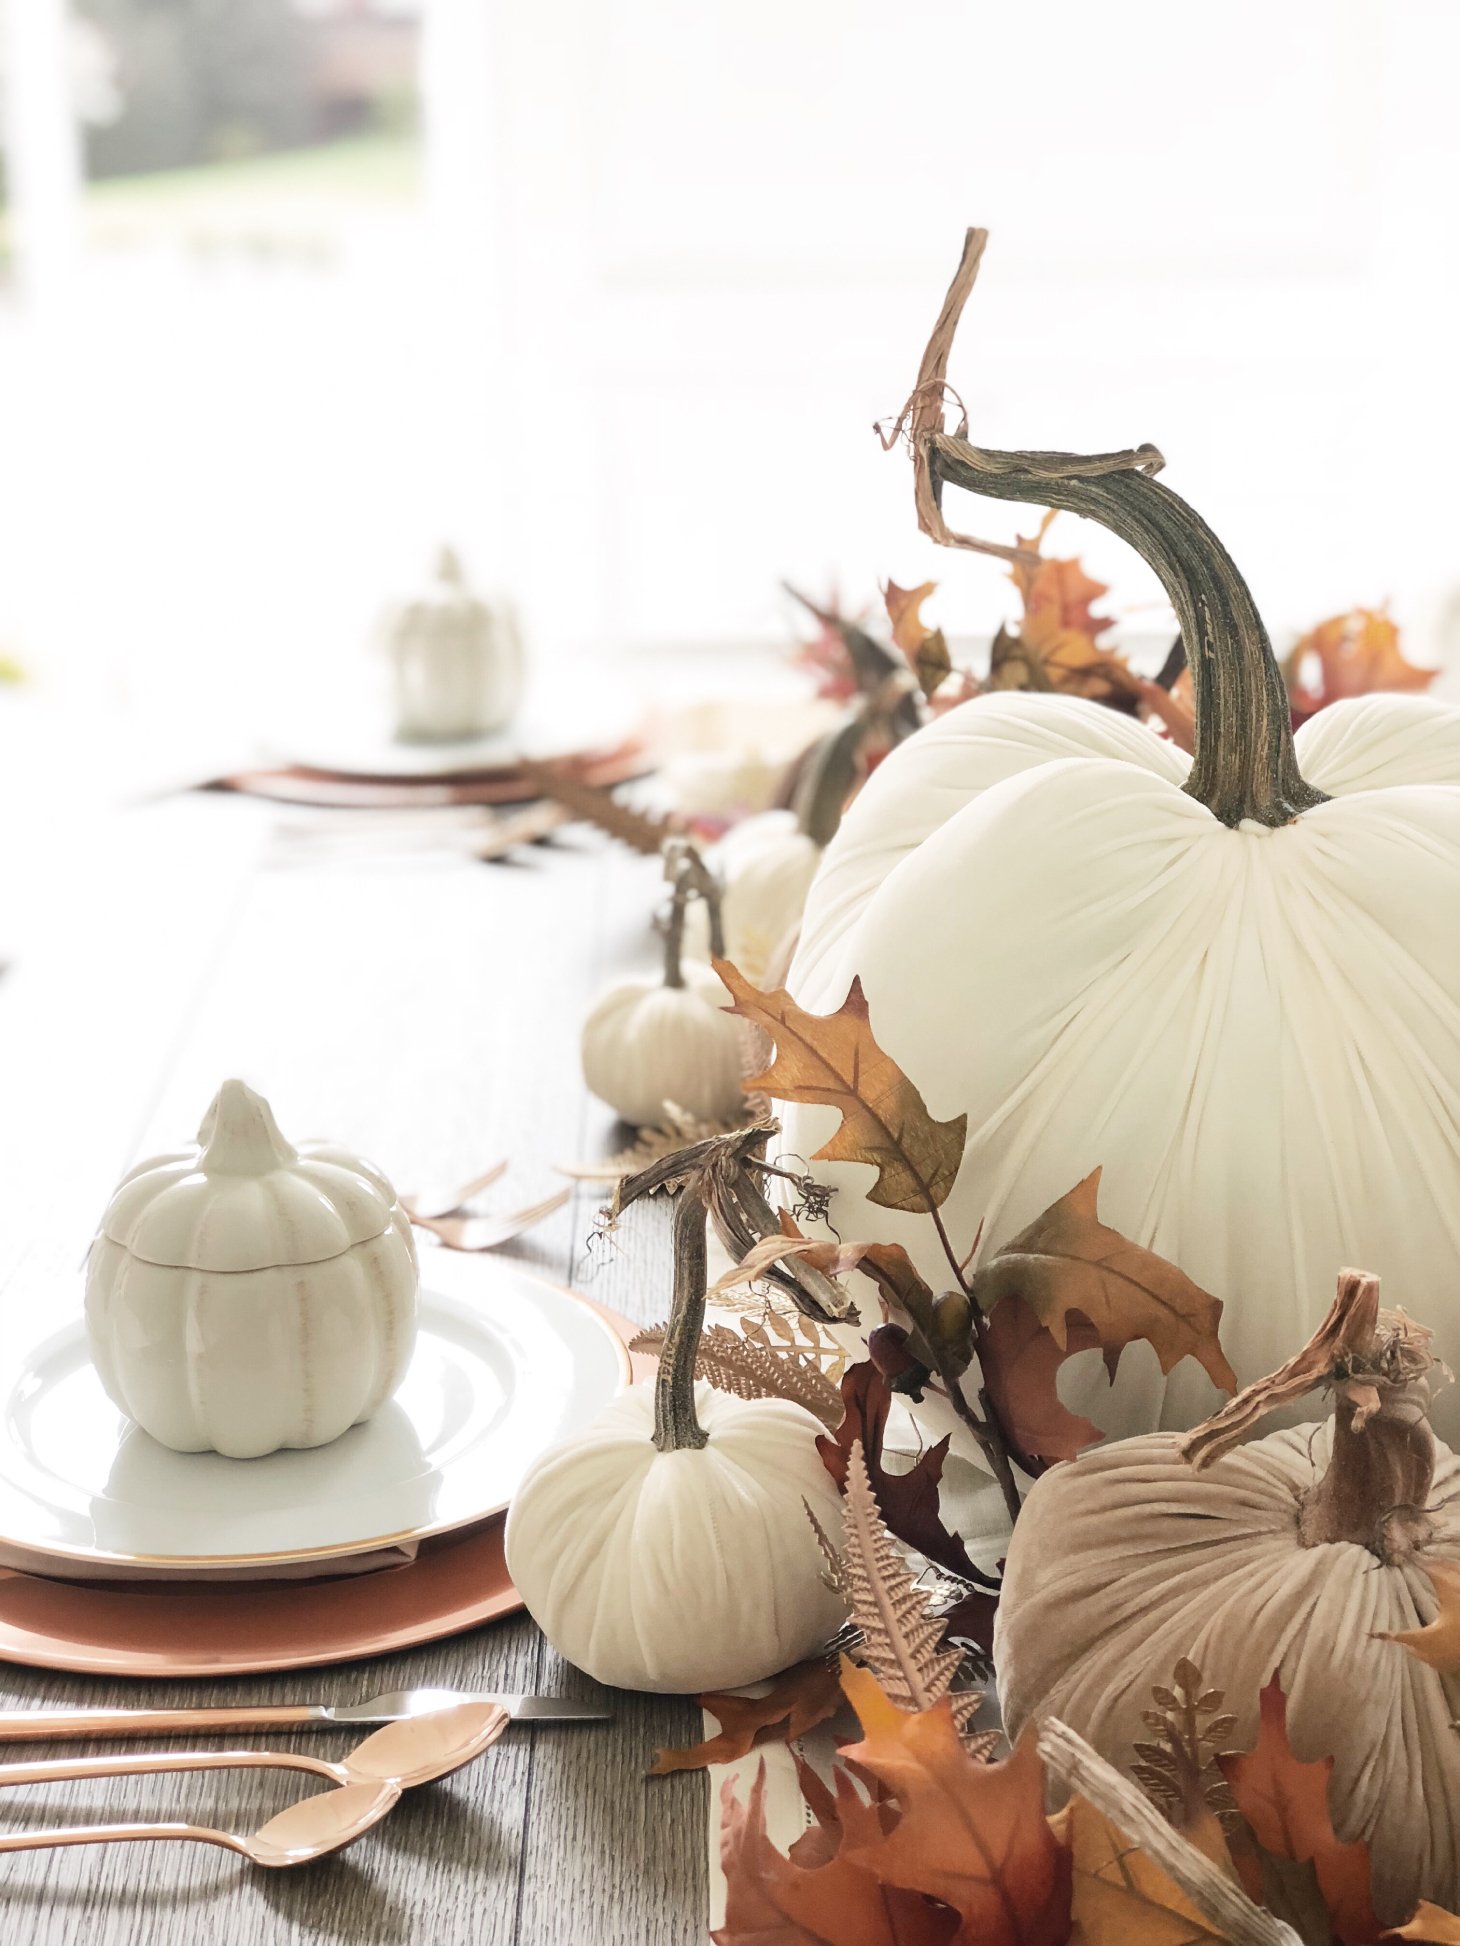
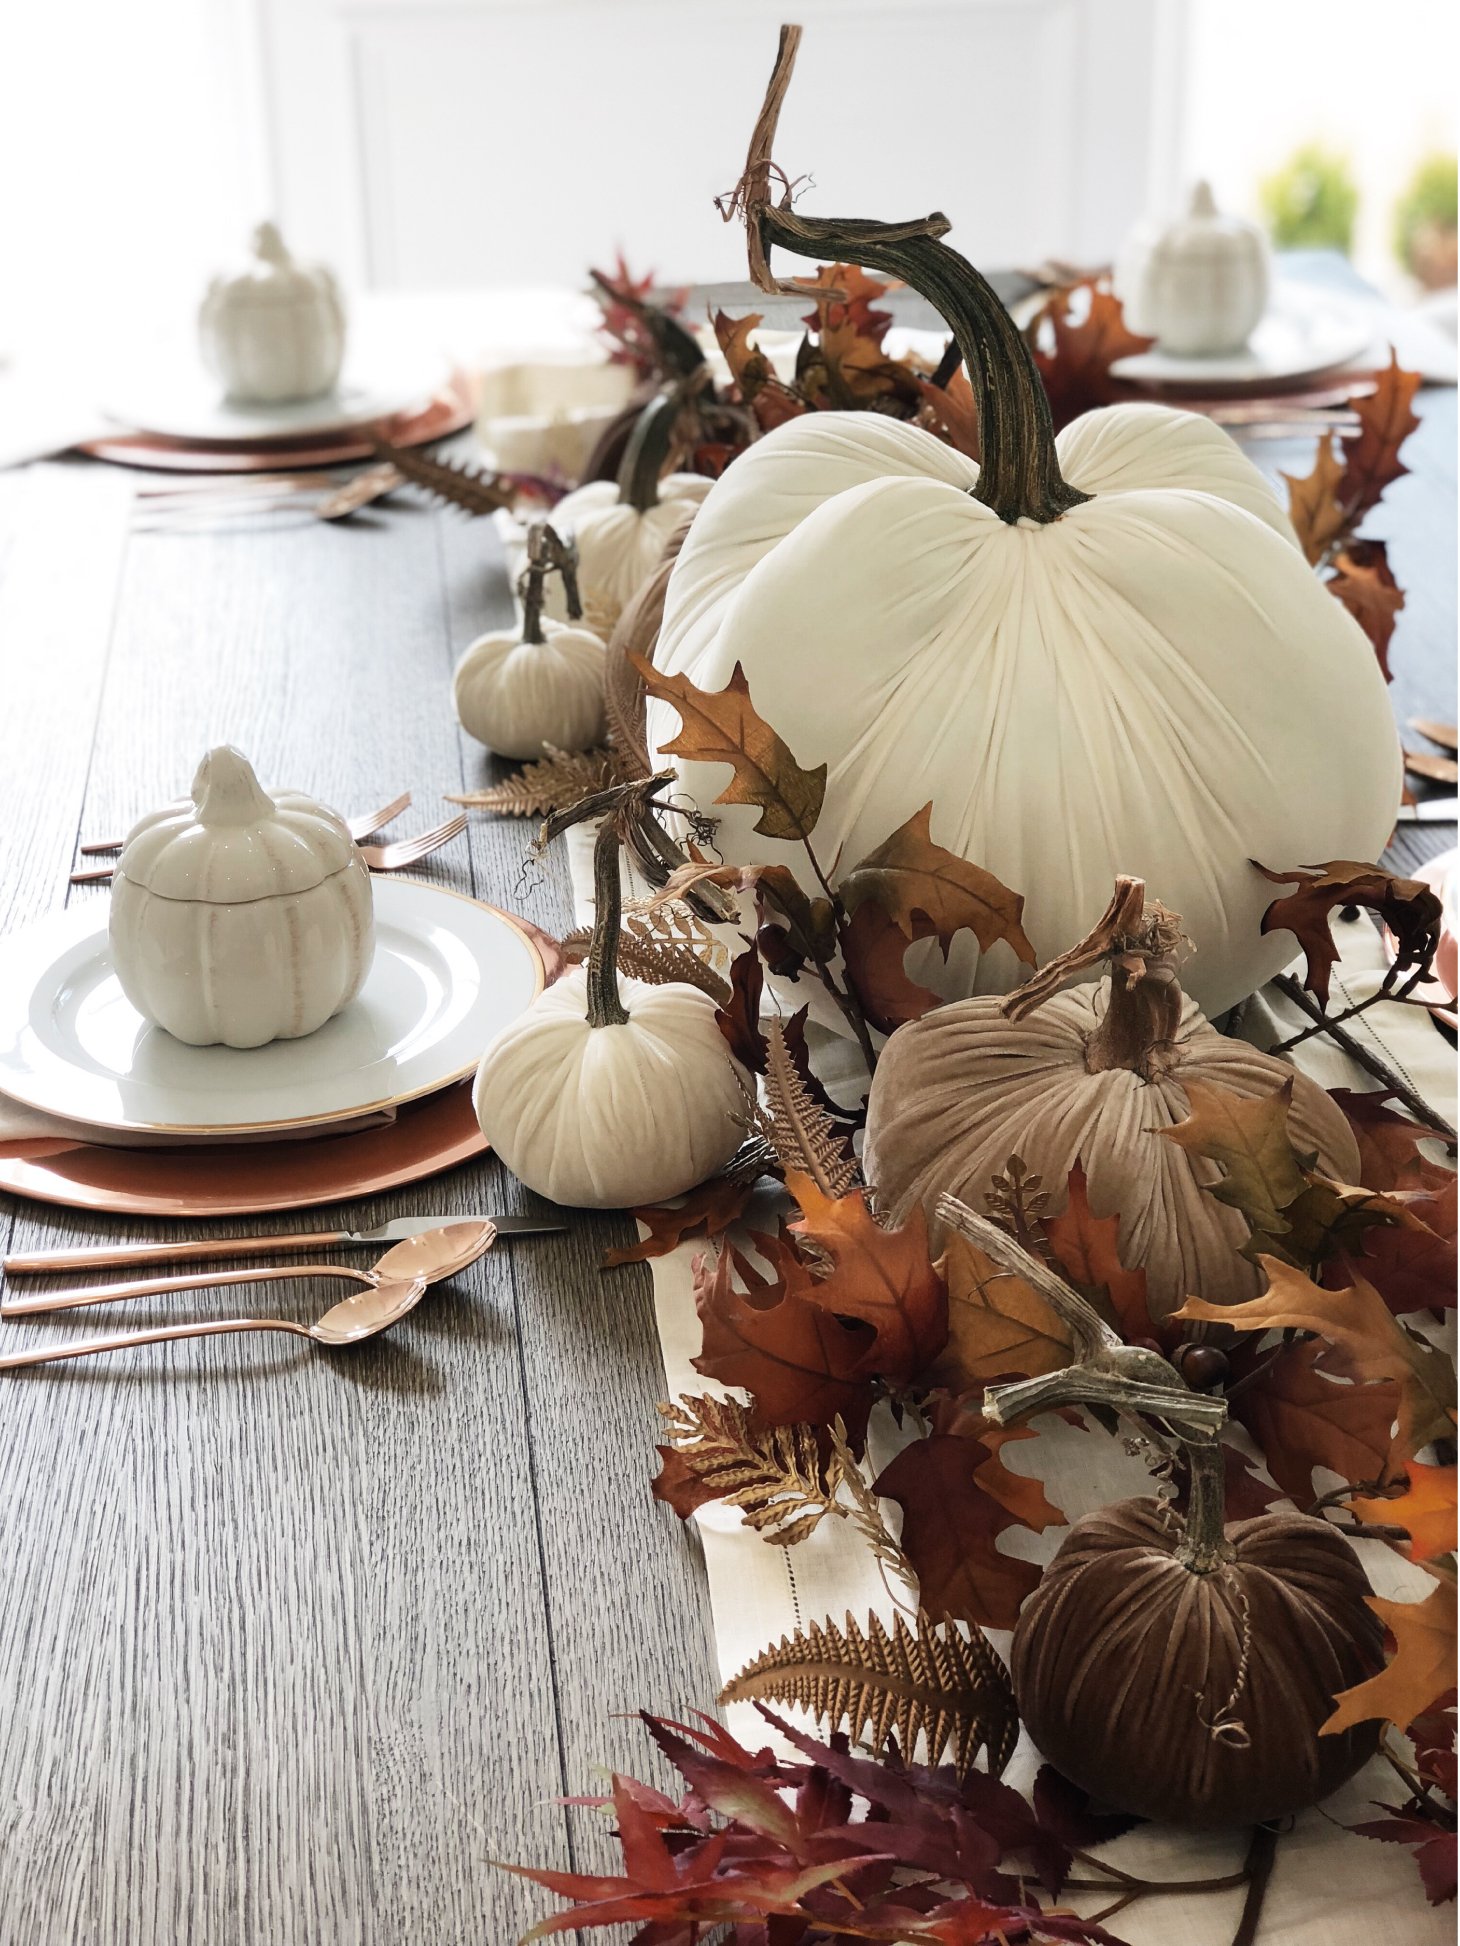
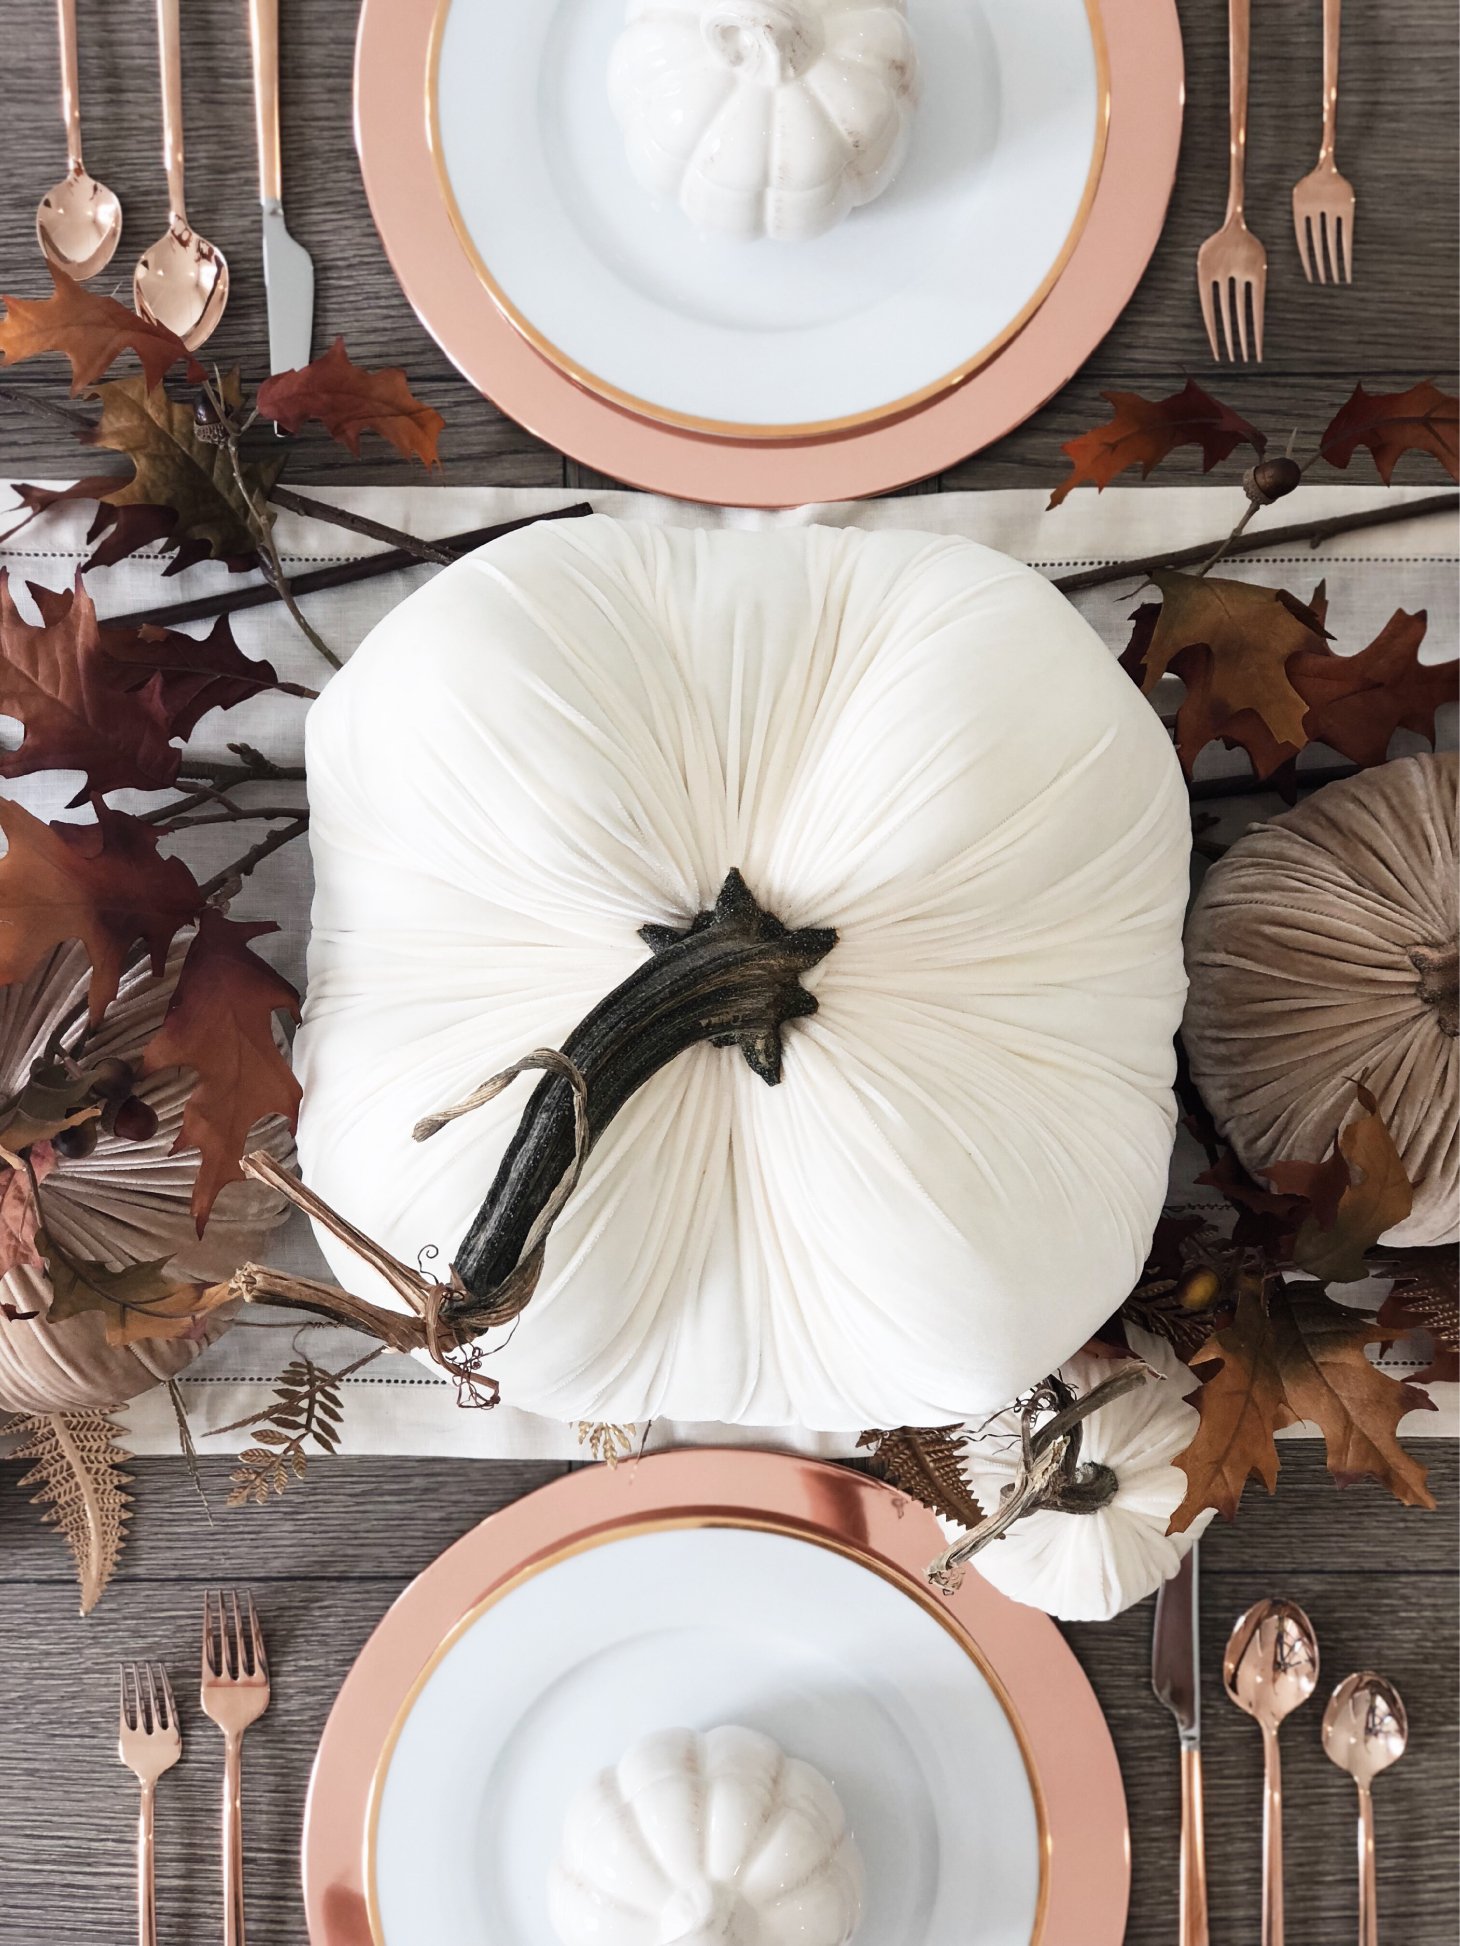
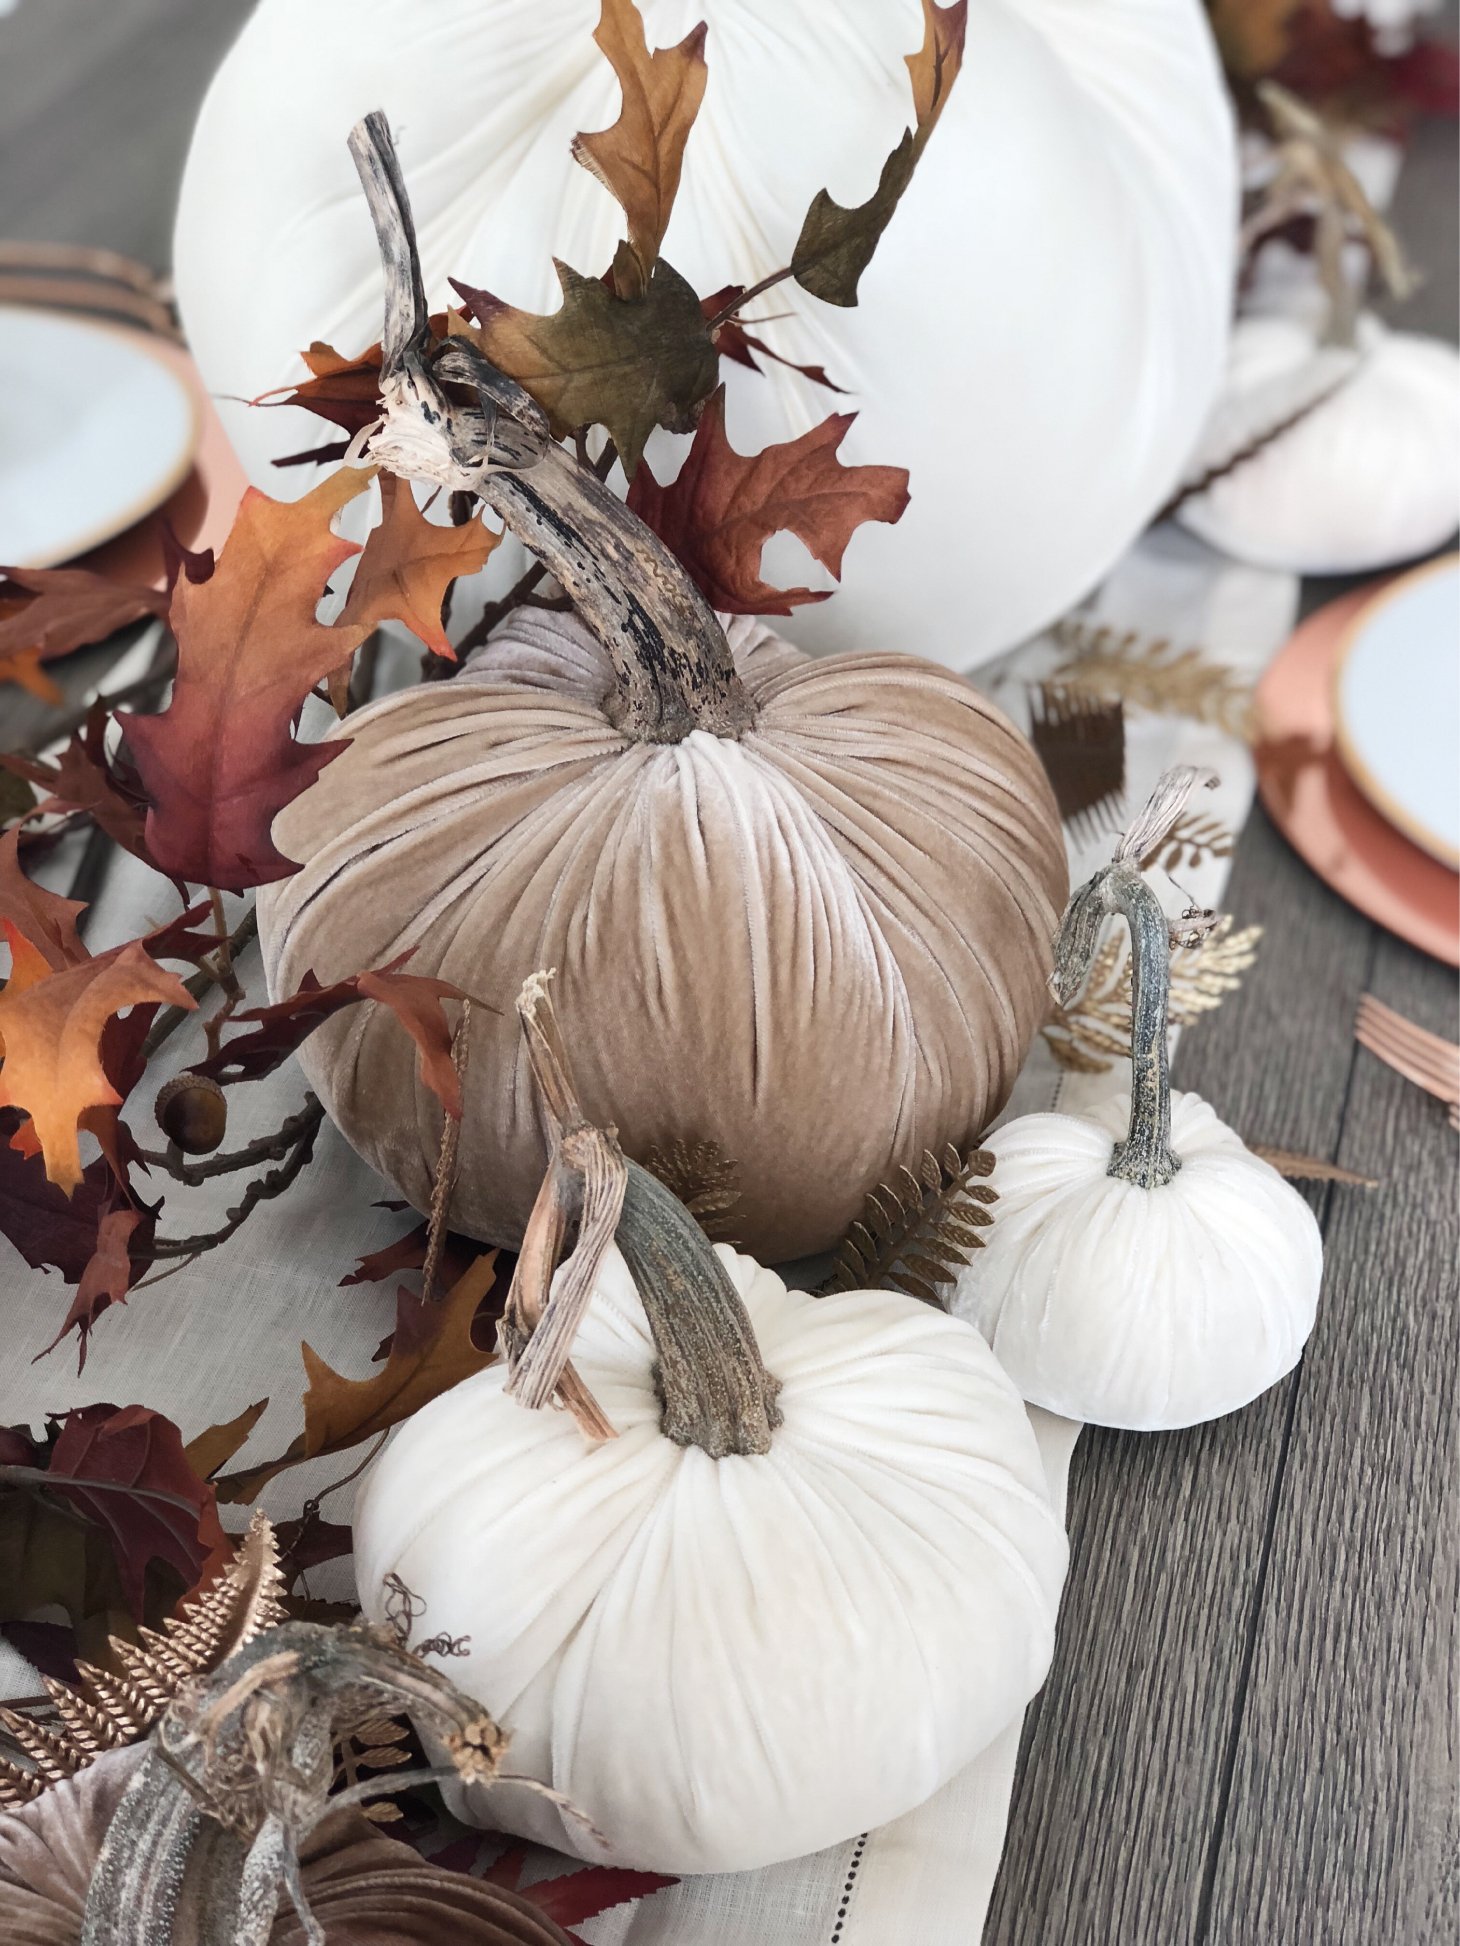

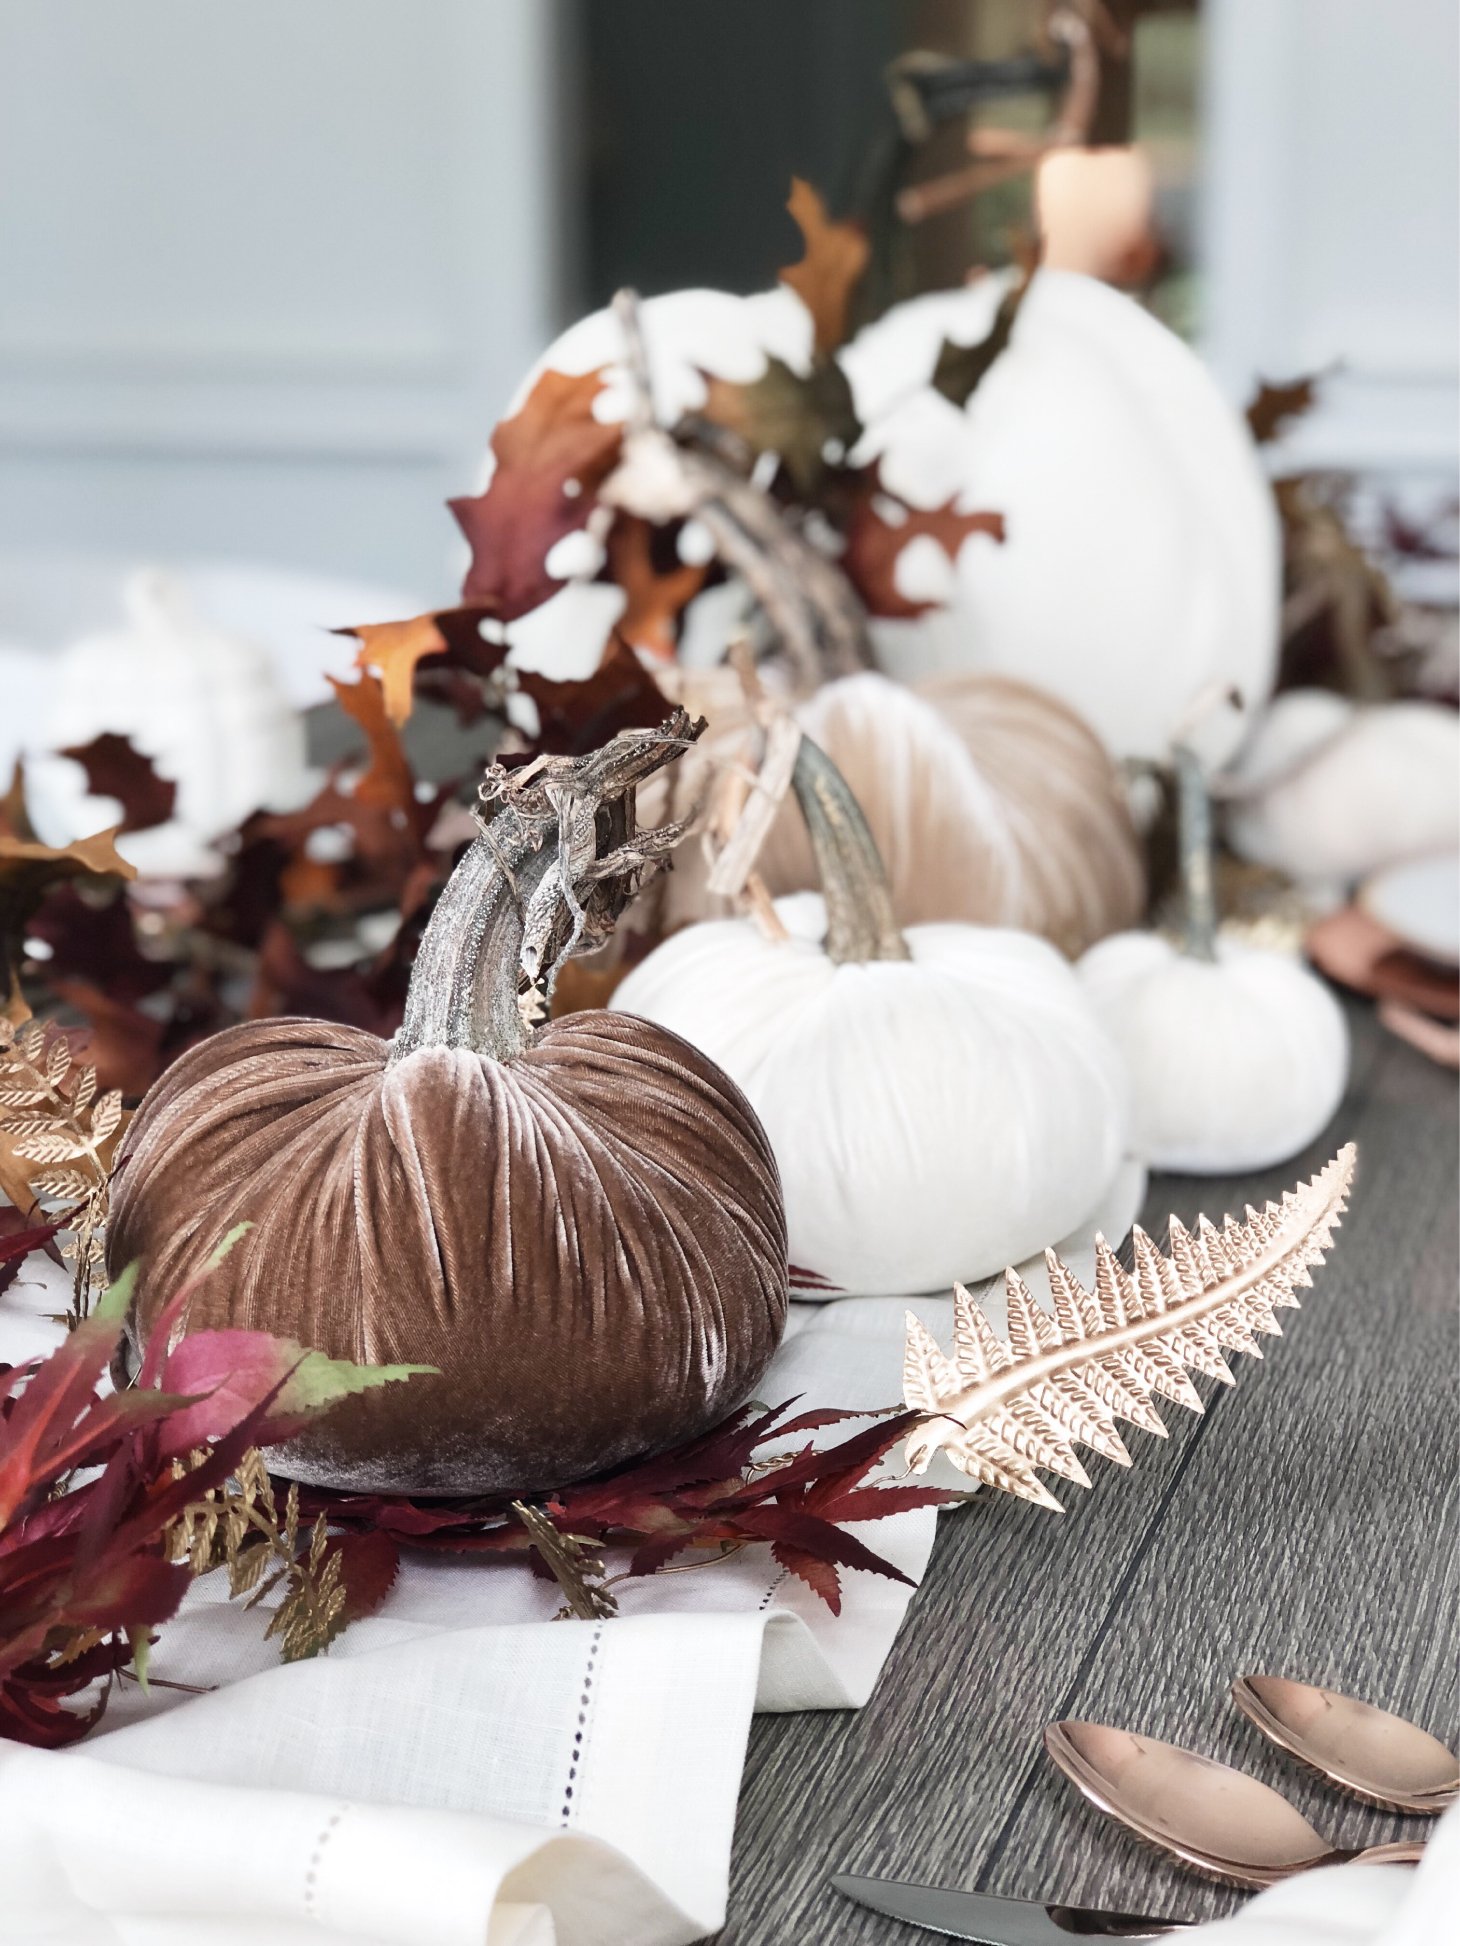

Everything linked below is exact, except for the pumpkin soup bowls (which are several years old) and the velvet pumpkins (for which I’ve linked less expensive versions)!
A NOTE ON KEEPING YOUR REAL PUMPKINS FRESH

One thing you don’t want is for your pumpkins to rot soon after you get them home. The first thing I do is fill my utility sink (you can also use a bathtub) with warm bleachy water and soak my pumpkins. While they are in the water I use a scrub brush to get in all the cracks and crevices to remove dirt and germs. In my experience, this has increased the life of my pumpkins significantly.
I bought my large pumpkins the last week of September and there is currently no sign of any mold or rotting. However, with the warmer-than-usual weather and the fact that they were kept outside before I bought them I am not sure how those factors will affect their longevity. I will come back and update this post with exactly how long they lasted! It is worth mentioning that I purchased some mini pumpkins and gourds at the same time as my larger pumpkins and I did not bleach these and have already thrown them out due to rot.
I hope you’ve enjoyed this little peek inside my home! I am still very much in the decorating phase and I plan to share much more of that process with you guys in the coming months!
Hopefully this post has inspired your seasonal décor and I am here to answer any questions you may have! If you love the décor, please let me know in the comments or in an email – I LOVE hearing from you guys!
If you liked this post, save it to Pinterest!